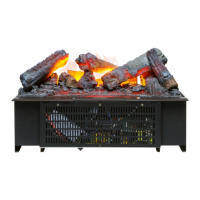
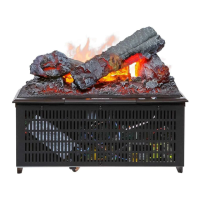
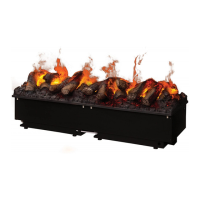
9. Put a small amount of washing up liquid into the sump, and using the supplied brush, gently clean all surfaces in the sump
and gently clean the transducer including the metal discs located in the top grooved surface. (See Fig.9)
10. When cleaned, thoroughly rinse the sump with clean water to remove all traces of washing up liquid.
11. Clean the outlet surface of the sump lid with the brush and ush out thoroughly with water. (See Fig.10)
12. Reverse the above steps to reassemble.
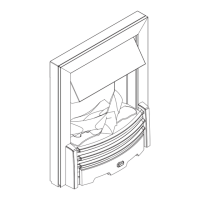
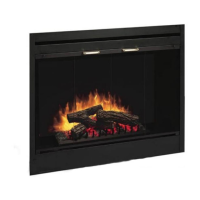
Air lter.
1. Press Switch ‘A’ to the ‘OFF’ (0) position (See Fig.2)
2. Gently lift out the fuelbed and place carefully on the ground. (See Fig.3)
3. Gently slide the air lter upwards out of its plastic holder. (See Fig.11)
4. Gently rinse with water in the sink and dry with fabric towel before returning.
5. Replace the lter making sure that the coarse black lter is facing the front of the re.
6. Replace the fuelbed.
7. Press Switch ‘A’ to the ‘ON’ ( I ) position (See Fig.2)
Remote Control Operation
On the control panel, Switch A (see Fig.2) must be in the ‘ON’ ( I ) position in order for the remote control to operate. There are 3
buttons on the remote control. (See Fig.7) To operate correctly the remote must be pointed towards the front of the grate. (See
Fig 12). The remote control functions are as follows:
Press once to turn on Flame eect only.
This will be indicated by one beep.
Press once to turn on Half Heat and Flame Eect.
This will be indicated by two beeps.
Press again to turn on Full Heat and Flame Eect.
This will be indicated by three beeps.
Standby
This will be indicated by one beep.
Recycling.
For electrical products sold within the European Community. At the end of the electrical products useful life it should
not be disposed of with household waste. Please recycle where facilities exist. Check with your Local Authority or
retailer for recycling advice in your country.
After Sales Service.
1 Year Parts and Labour Warranty
Your product is automatically guaranteed for one year from the date of purchase. Within this period, we undertake to repair or
exchange this product free of charge providing:
a) Proof of purchase such as a sales receipt can be provided, showing that the appliance was bought within the 12-months
prior to registering the defect/fault.
b) The appliance was correctly installed and operated in accordance with the manufacturer’s instructions and used solely for
domestic purposes.
c) The defect/fault was not as a result of accident, misuse, unauthorised modication or inexpert repair.
Consumable parts, such as fuses in plugs and bulbs, which require routine replacement are excluded from the
guarantee.
Your rights under this guarantee are additional to your statutory rights, which in turn are not aected by this guarantee.
Should you require after sales information or assistance with this product please go to www.dimplex.co.uk and select
“Customer Support” Or call our help desk on 0844 879 3588 (UK) or 01 842 4833 (R. O. I.).
Spare parts are also available on the web site. Please retain your receipt as proof of purchase.
Extended Parts and Labour Warranty
Your 1 year warranty is extended for an additional 12 months when you register the product with Dimplex, within 28 days of
purchase. If you do not register the product with Dimplex within 28 days, your product will remain guaranteed for 1 year only.