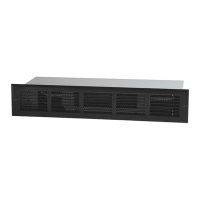
- 7 -
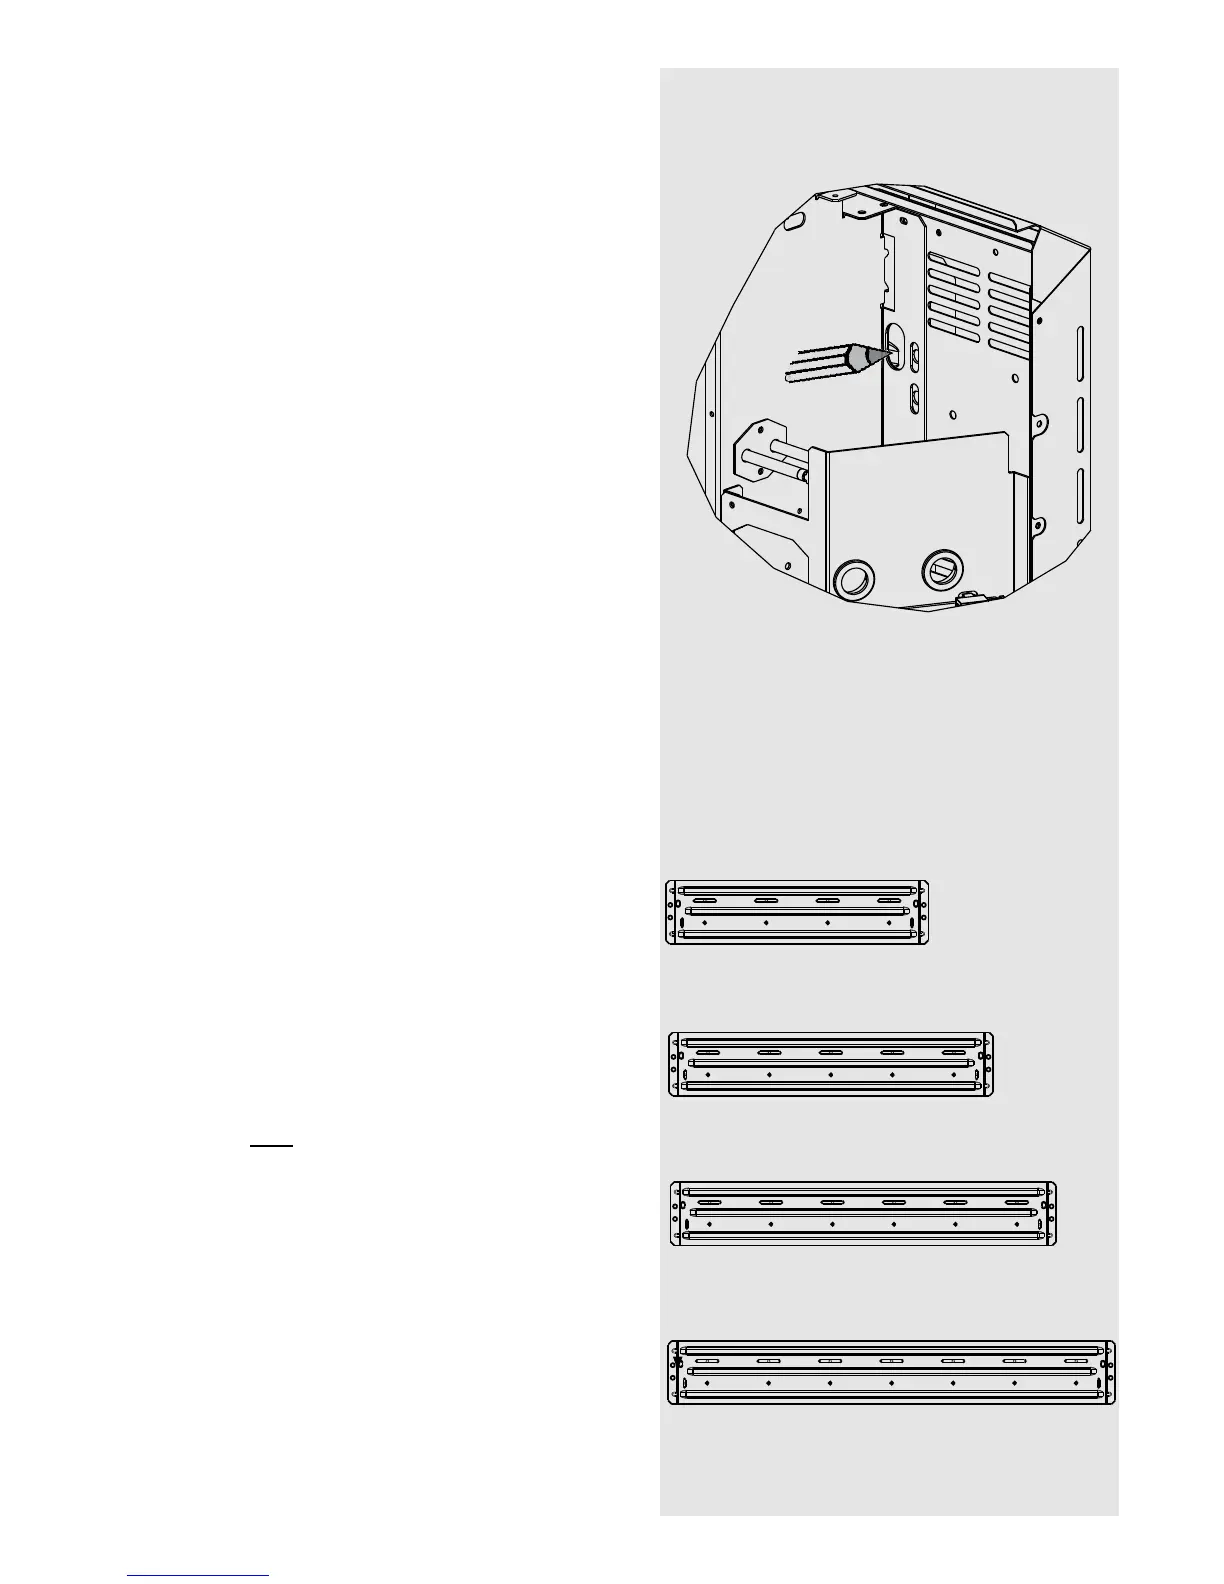
Fig. 6
Fig. 7
6. Place the heater in its fi nal position and mark
the fi xing holes through the location holes visible
through the back of the heater.
Mark the fi xing positions at the two extreme ends of the
heater with the heater pushed tight against the wall.
Remove the wall bracket from the heater by removing
the two screws at each end of the bracket. Place
the heater to one side and reposition the bracket
against the wall aligning it with the location marks. It is
advisable to use a screwdriver with a magnetic tip
as screws dropped may enter the fan housing.
7. Six fi xing positions must be selected for each
model. Mark the positions for the fi xing holes.
Remove the bracket from the wall, drill the holes
and fi t the wall fi xings best suited to the application.
Secure the wall bracket to the wall using six screws.
Secure the heater using the appropriate screw fi ttings.
NOTE: UNDER NO CIRCUMSTANCES SHOULD
ANY SCREWS BE REMOVED WITHOUT FIRST
REMOVING ALL BRICKS FROM THE HEATER.