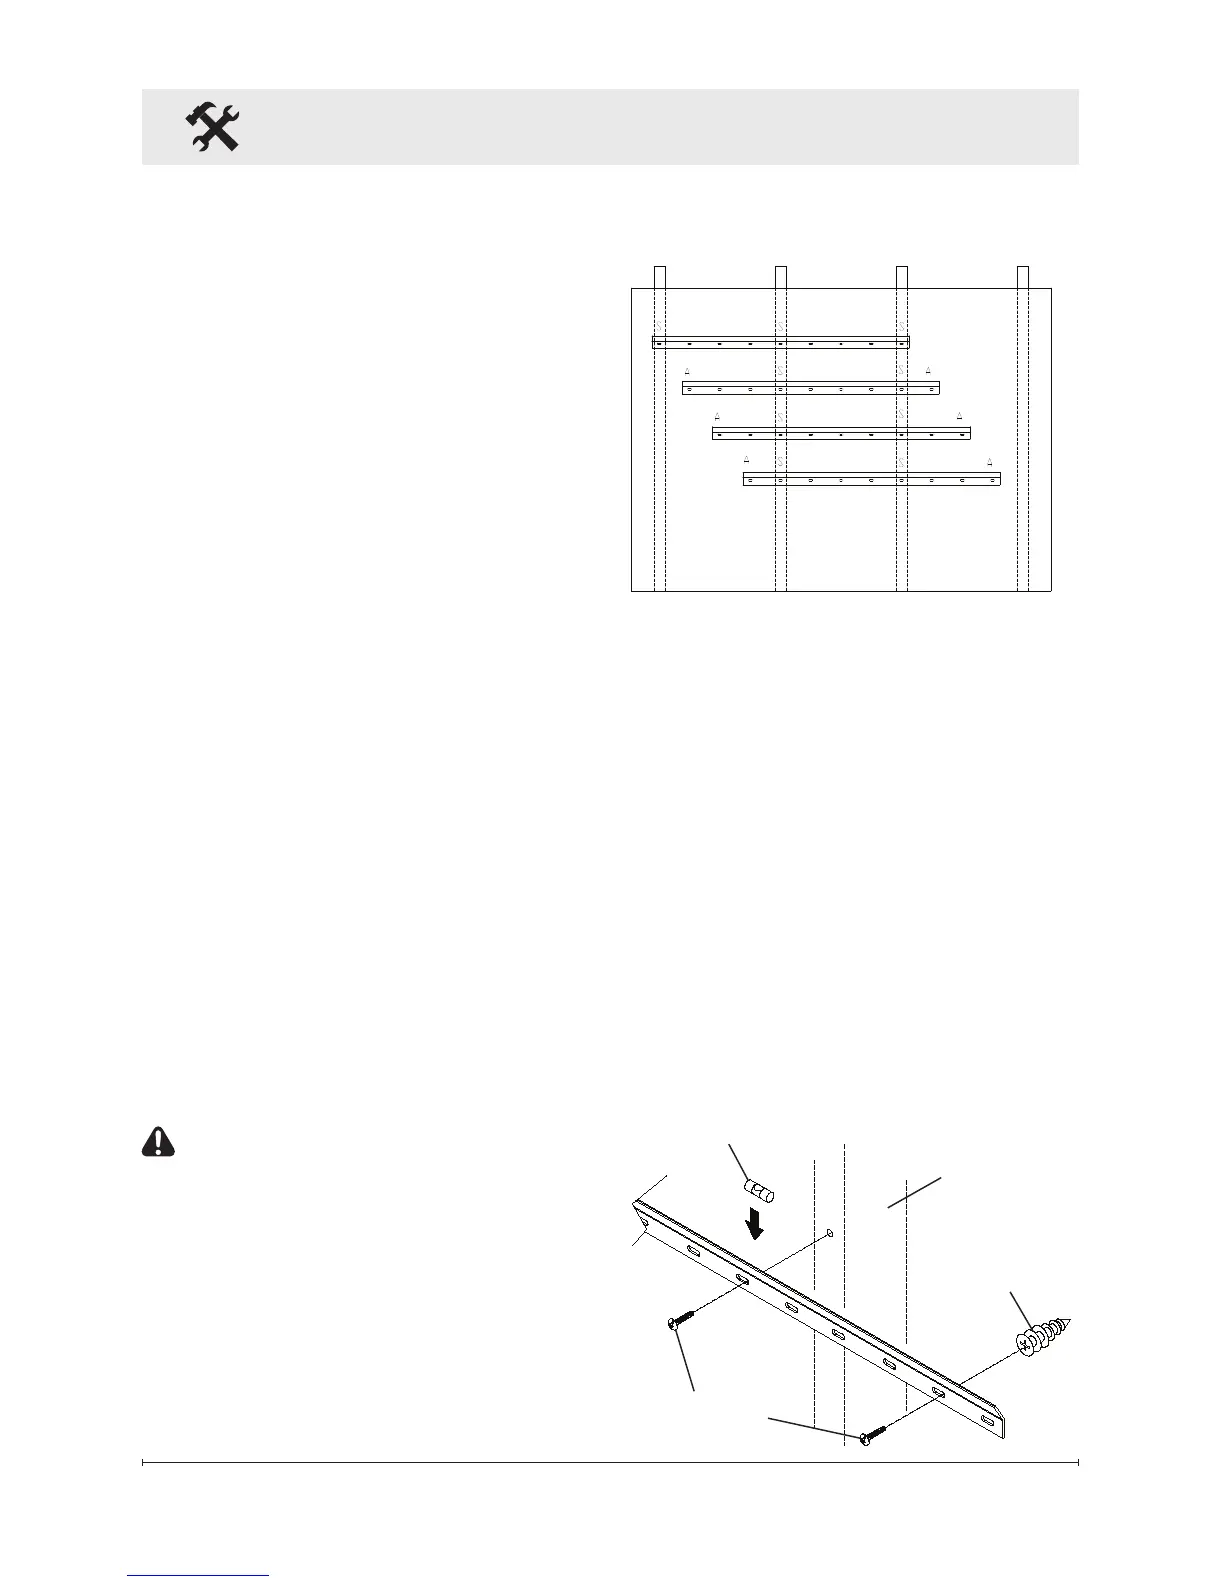
Figure 2
Installation
①
Make sure the unit's Main
ON/OFF switch is switched OFF.
(Refer to operating instruction
section)
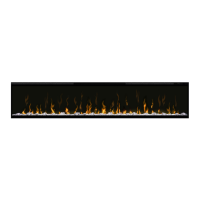
② Choose your desired height
and location for the electric
replace.
③Locate a minimum of two (2)
wall studs to install the wall mount
bracket on.
④ Mark an approximate location
for one (1) of the supplied #8
screws to be used on each of the
wall studs.
⑤ Referring to Figure 2 for
placement possibilities of the wall
mount bracket, use the supplied
bubble level and mark the
appropriate positions for wall stud
and/or wall anchors as needed.
CAUTION: A minimum of
two (2) wall studs (marked
by S in Figure 2), and either
a third wall stud or two
(2) wall anchors (marked by
A in Figure 2) must be used
to securely support the
electric replace.
Fireplace Installation
⑥ Remove the wall mount
bracket and install any wall
anchors where marked (none
required if installing the wall
mount bracket using three (3) wall
studs as shown in Figure 2).
⑦ Following the example shown
in Figure 3, install the wall mount
bracket using the supplied #8 x 1½
inch screws.
Wall Stud
#8 x 1 1/2"
Screws
Bubble Level
Wall
Anchor
Figure 3