The following in particular is prohi-
bited:
Vacuuming:
– People, animals, plants or items of
clothing on the body
High risk of injury!
– Hot ash, burning cigarettes, matches
and highly ammable substances
Risk of re!
– Water and other liquids
Risk of short circuit!
– Toner (for laser printers, copying ma-
chines, etc.)
Risk of re and explosion!
Use
– in the vicinity of explosive or highly
ammable substances
Risk of re and explosion!
– outdoors
Risk of damage due to rain and dirt!
– of non-original accessories
Impairment of appliance safety!
Carrying out repairs yourself
Risk of injury and loss of entitlement
to free replacement!
Concerning disposal
After its service life, dispose of the appli-
ance in an environmentally friendly manner,
as described,
>“Environmental protection and disposal“
on page 13.
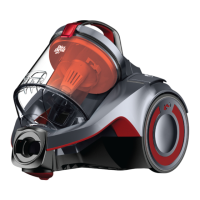
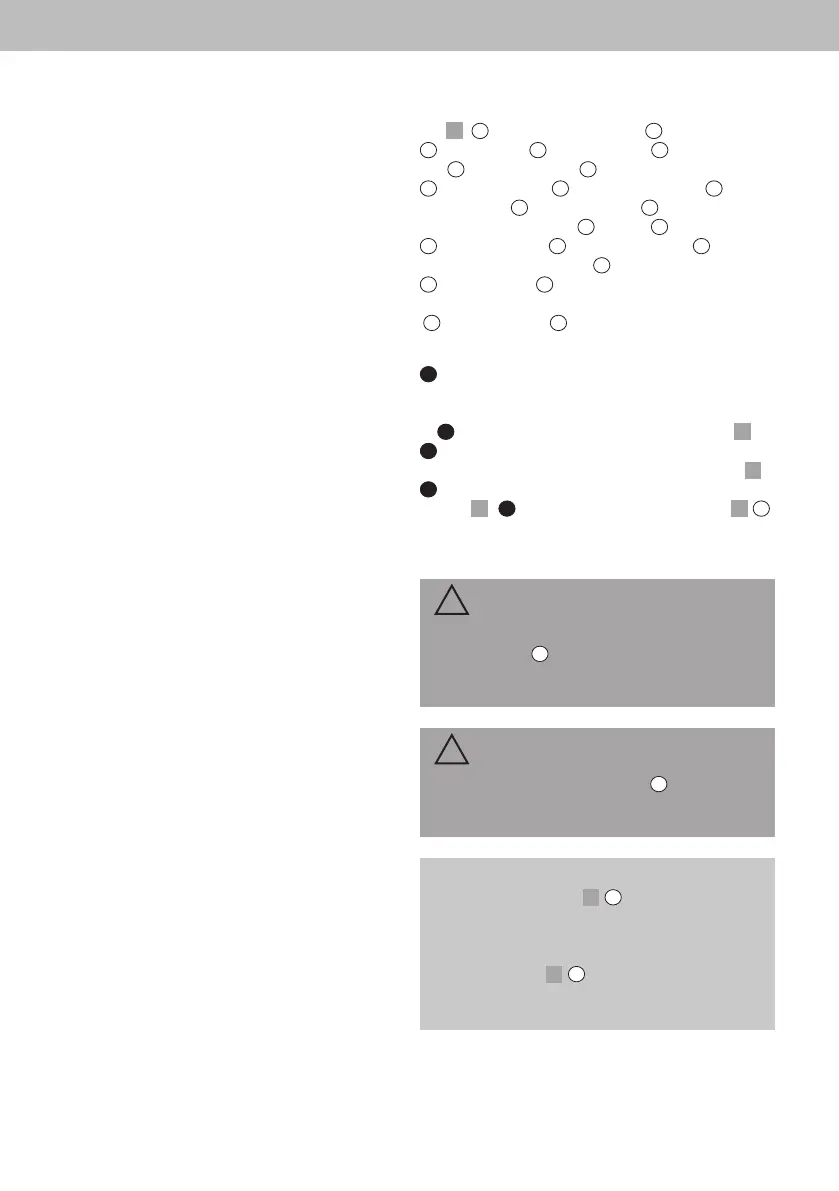
Preparatory work
Getting to know the appliance
Fig.
1
:
1
Dust bin cover release;
2
dust bin;
3
hose release;
4
dust bin cover;
5
dust bin han-
dle;
6
dust bin release;
7
cord rewind button;
8
parking bracket;
9
exhaust lter cover;
10
con-
nection cord;
11
ON/OFF button;
12
suction hose
with accessory bracket;
13,
handle;
14
bypass vent;
15
telescopic tube;
16
suction hose port;
17
tele-
scopic tube release catch;
18
switchable oor nozzle;
19
carpet nozzle;
20
3-in-1 combi nozzle
Accessories (optional):
A
parquet nozzle;
B
mini turbo nozzle
Unpacking and assembling
1
Check that the unpackaged contents are com-
plete. If you notice any transport damage or if an-
ything is missing, contact your dealer immediate-
ly.
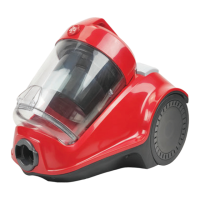
2
Connect suction hose and appliance (Fig.
2
).
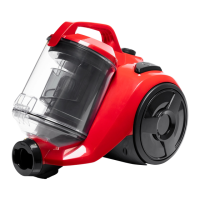
3
Connect the suction hose with the telescopic tube
and adjust the length of the telescopic tube (Fig.
3
).
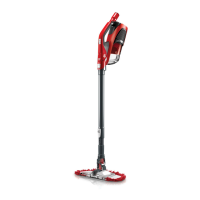
4
Connect telescopic tube and switchable oor noz-
zle (Fig.
4
).
5
Ensure that the bypass vent (Fig.
1
/
14
)
is completely closed.
Using the accessories
CAUTION!
For hard oors, only use the switchable oor
nozzle (Fig.
1
/
18
) with the brush (Fig.
10
) ex-
tended, as the hard oor may otherwise become
damaged.
CAUTION!
If using the turbo nozzle (Fig.
1
/
B
), make sure
that the surface can withstand the rotating brush
without becoming damaged.
NOTE:
The carpet nozzle (Fig.
1
/
19
) is a nozzle devel-
oped specially for carpets and cleans deep down.
As a result of its design it may adhere rmly to the
carpet. This adhesion can be reduced using the
bypass vent (Fig.
1
/
14
).
Do not use the carpet nozzle for hard oors as
the hard oors will otherwise become damaged.
16
EN