Do you have a question about the DITEC GOL4 and is the answer not in the manual?
Instructions for coding DITEC GOL4 (white LED) and GOL4c (red LED) remotes.
Steps to code a new remote using an existing one, including button presses and placement.
Procedure to enter a 10-number code using CH1 (0) and CH2 (1) buttons on the GOL4C remote.
Steps to register remotes by pressing the PRG button and then a remote channel button.
Procedure to clear all or specific remotes from the radio receiver's memory.
| Brand | DITEC |
|---|---|
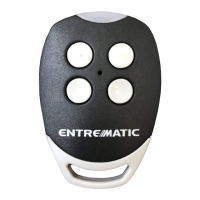
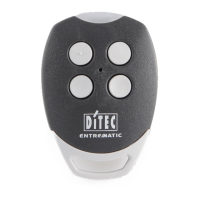
| Model | GOL4 |
| Category | Remote Control |
| Frequency | 433.92 MHz |
| Number of Buttons | 4 |
| Coding Type | Rolling Code |
| Battery Type | CR2032 |
| Compatibility | DITEC Entrematic garage doors and gates |
| Range | 50-100 meters |