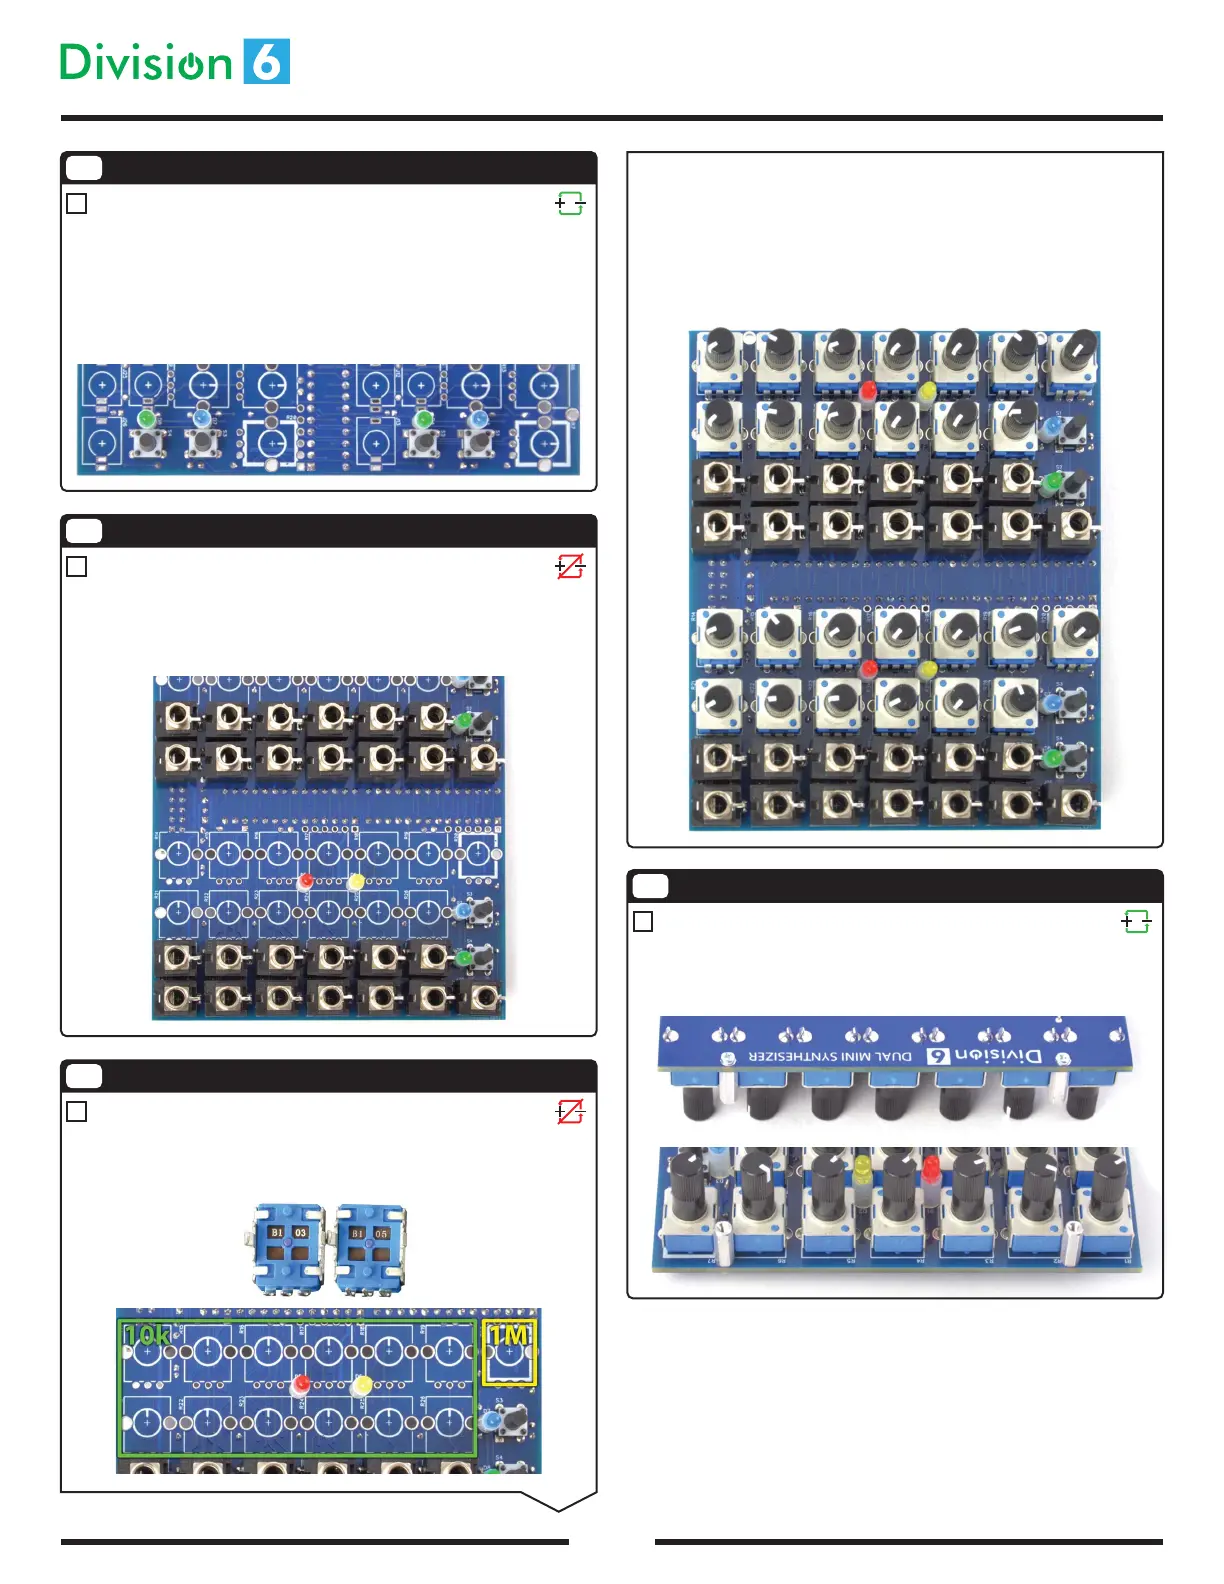
Install Pots
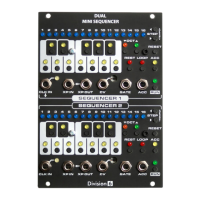
Dual Mini Synthesizer Build Instructions
Page 3/4
12
Attach Standos
Using 2 silver screws, attach the 2 standos so that they protrude from the
same side of the board you just installed the pots on. The holes for the
standos aren’t labeled, but they have thick silver rings around them.
Insert all the pots, making sure they are as straight and at to the PCB as
possible. Solder one mounting tab on each pot. Temporarily install the front
panel to ensure all the pot shafts are poking through the center of their holes.
If any pot needs adjustment, simply heat up the one tab you soldered and
adjust the positioning of the pot.
Once all the shafts are lined up to your satisfaction, solder the remaining pins
on the pots.
9
Install Buttons
Insert tact switches S1-S4 into the PCB. They t 2 dierent ways, and either
way is ne. They will snap into place, making it easy to ip the board over and
solder them. Make sure they are at and straight as you insert them. You may
want to temporarily place the the front panel to make sure the buttons line up
with the holes in the panel. Once everything is lined up, solder the button
pins. The pins are short enough that they don’t need to be trimmed.
10
Install 3.5mm Jacks
Insert J1-J26 into the main PCB, soldering one pin of each as you go to hold it
in place. Check to make sure that they are at against the board and lined up
with the silkscreen pattern; reheat and reposition if not. Place the front panel
on the jacks to ensure alignment, and solder the remaining pins.
11
Be careful here, because there’s one pot per synthesizer that’s dierent from
the rest! R7 and R20 are 1M (say B105 on the bottom), where all the others are
10k (say B103 on the bottom).
Continued...
 Loading...