Using the Dragon Touch Software
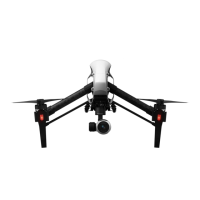
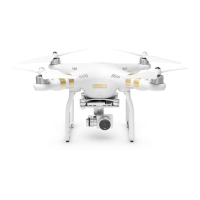
The quadcopter can be flown autonomously using the Dragonstone Touchscreen
Tablet (Figures 8 and 9) that is included with the UAV. To do this, activate the Tower
3DR app from the homepage of the tablet. Once open, the UAV and tablet can be paired
up via bluetooth. The tablet and UAV have already been paired up from previous use but
in case they are not linked; there is a button (“connect”) at the bottom of the tablet when
the app is open that will do this if not synced automatically. If the UAV and tablet are
synced up, there will be data about the UAV displayed in the parameters box in the top
right. If they are not synced, there will be a “no signal” message displayed in the
parameters box.
To set up autonomous flight, select “flight editor” from the drop down box
located where the flight history tab is in the top left of the screen. Once in flight editor,
you can set up a flight mission for the UAV to perform. To do this, first clear any existing
missions or waypoints already uploaded to the tablet and UAV. If not cleared the UAV
will register the existing waypoints and mission parameters with the new ones that are
inputted. Once cleared, you can begin setting up the mission parameters that you want the
UAV to achieve. The display on the screen of the tablet will show an aerial google map
view of the UAV and surroundings. Click on points on the screen to set up waypoints for
the UAV. The waypoints will be listed in sequence, (ex. 1,2,3) and you can select what
you want the UAV to do at each waypoint from the drop down box located above the
parameters box. The waypoints can serve a variety of purposes such as loiter, hover, flip,
takeoff, and land. Waypoint information such as altitude and “delay time before
proceeding to the next waypoint” are also able to be set up here. When setting up the
mission, be sure to list the first waypoint as take off, if starting from the ground, and the
final waypoint should be set to land.
Once the mission has been established, upload the mission to the UAV by
selecting the dropdown box in the top right corner of the screen. Now, go back to flight
history from the flight editor page. Once there, the mission can now be accomplished.
First, use the “arm” button at the bottom of the screen to turn the UAV on and prepare to
execute the mission. Once armed, use the “execute” button at the bottom of the screen to
have the UAV start to fly the designed mission route.
During flight at any time if the drone needs to be landed use the land button at the
bottom of the screen to have the UAV land immediately. A home button location can also
be set up for the drone to return to at any point. This can also override the manual
controller for emergency landings.