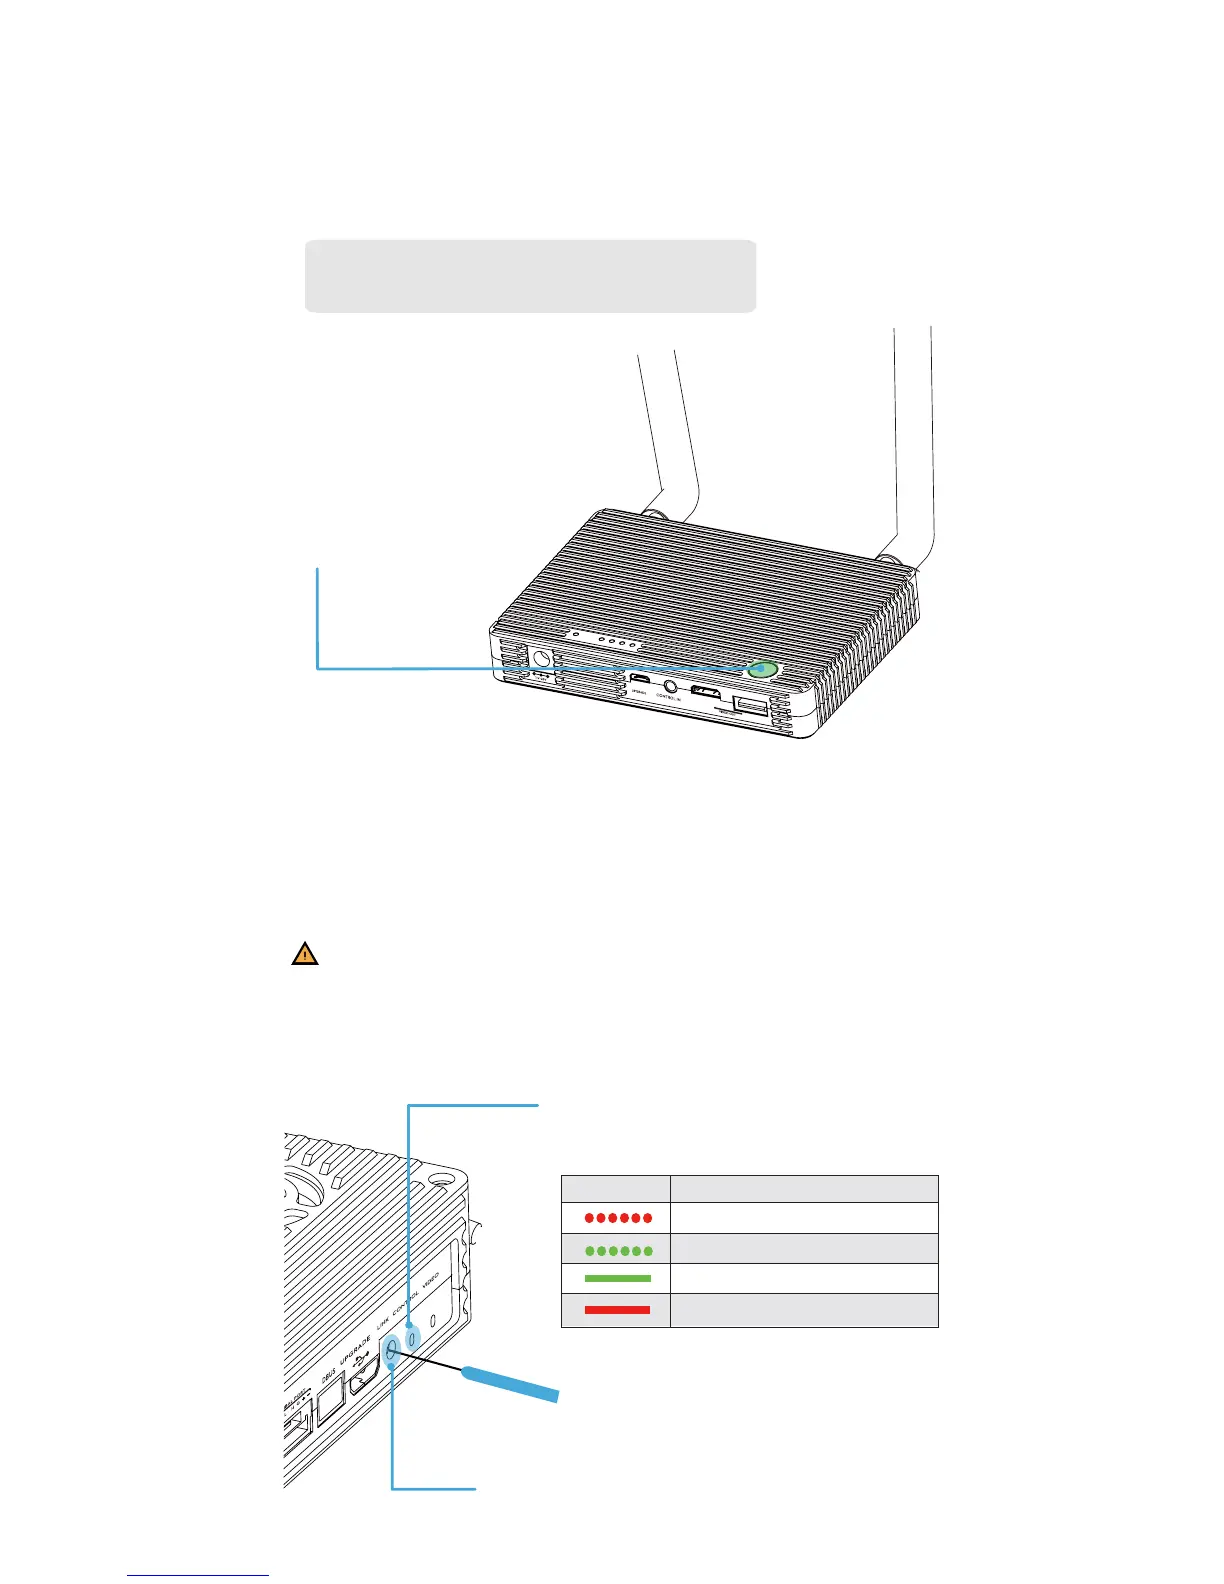
POWER ON
LINK
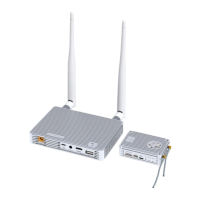
1. Maintain a distance of 0.5m to1m between the air and ground systems,
then power on the air system.
Use a pin to press [LINK] button on the air system. Press and hold on for 5
seconds then release. When link is finished, the [CONTROL] indicator on air
system will turn a solid green. (See the following table for indicator details)
Linking is completed when the Lightbridge is shipped. [CONTROL]
indicator light will show a solid green when powered on. If re-linking
is necessary, [CONTROL] indicator light will blink green, then follow
the above steps.
Notes:
CONTROL
:
LINK
:
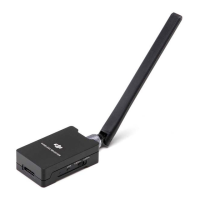
2. Power on ground system.
Remote controller link indicator
Linking in progress.
Successful link.
Link button
Press button once to display battery capacity. Press
again and hold 2 seconds to power on / power off.
Make a note of battery capacity before
use. (Read the battery capacity description
in manual for more details)
Ground system: Power on
Indicator
Description
Signal detected but not linked.
No detected signal.
 Loading...