CONNECTIONS
Assembly of Winsta AC connectors
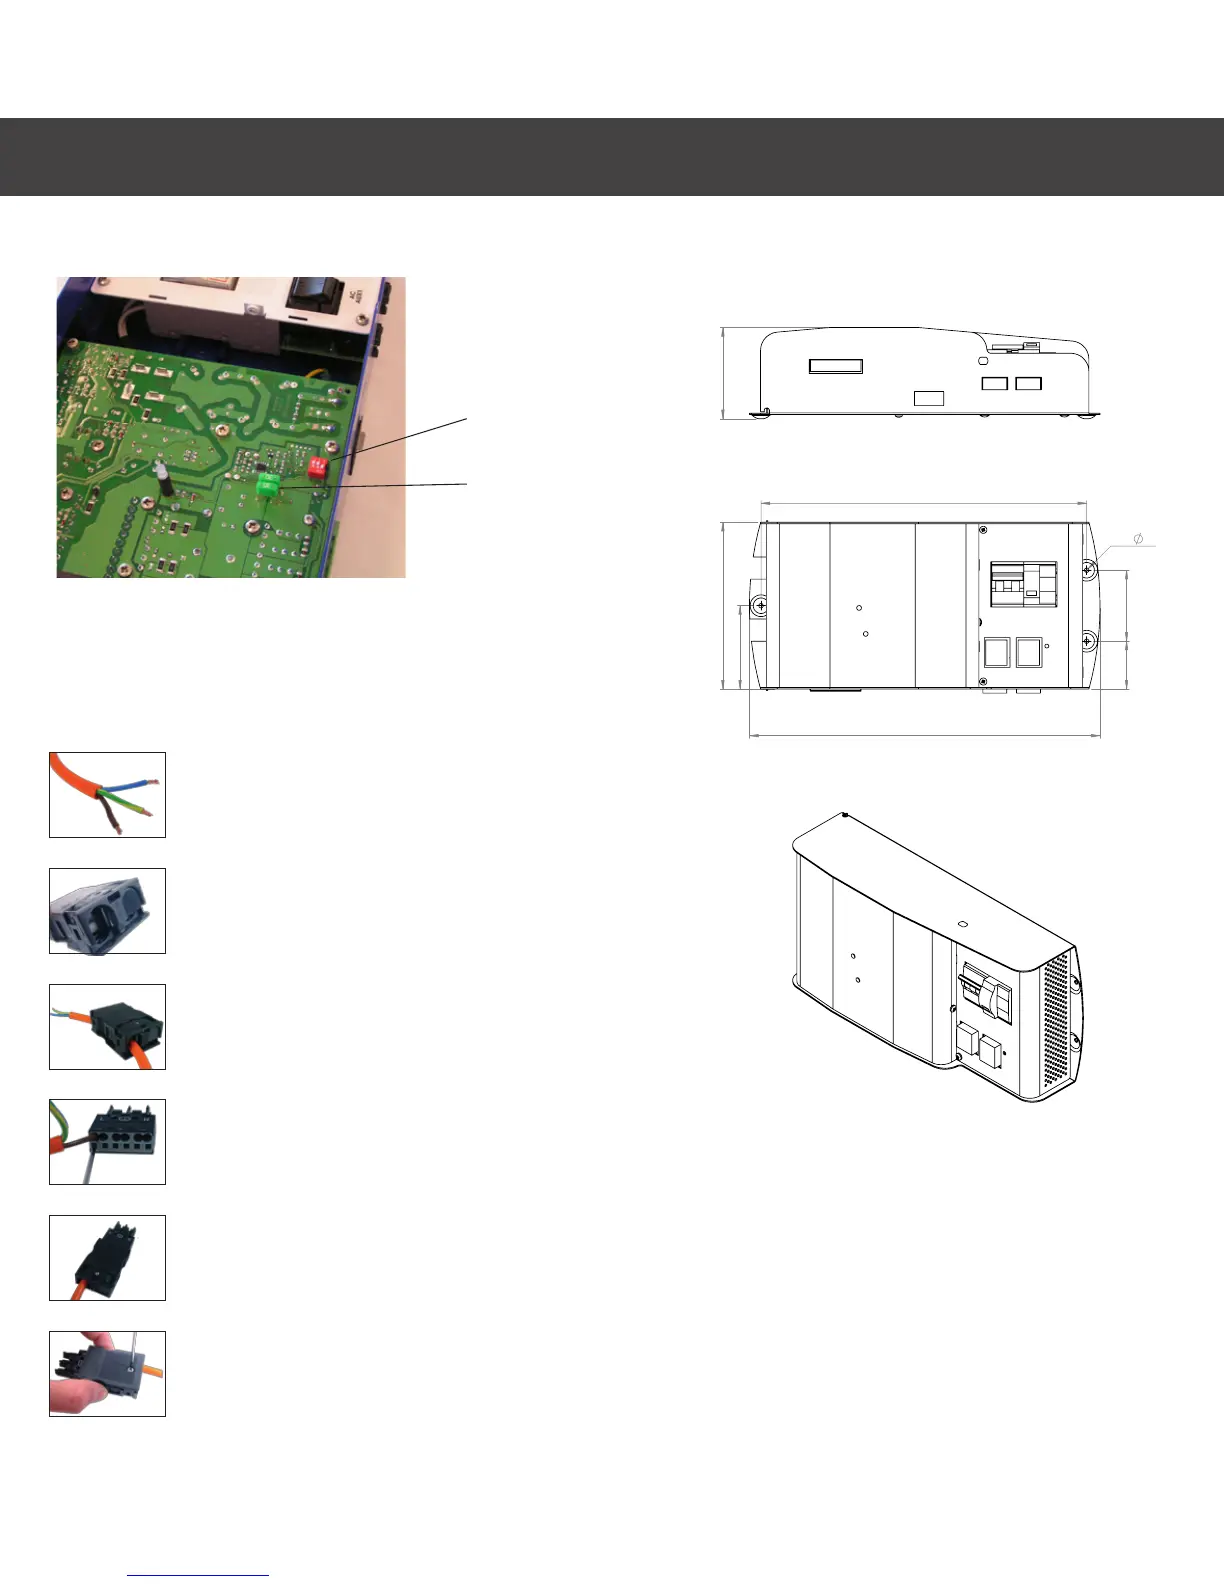
7 STEP 1
Strip the cable over around 3 cm
Strip the 3 wires over around 8 mm
Tin the bare copper ends
7 STEP 2
Remove the cap from the case, using a cutter
7 STEP 3
Thread the cable into the case
7 STEP 4
Insert a at screwdriver into the square hole, to open the
contact, and insert the wire. Repeat this operation on
the 3 wires, as shown in the wiring diagram
7 STEP 5
Insert the connector into the case and check that the
cable penetrates around 1 cm into the case.
7 STEP 6
Press on the sides of the case and t the
assembly screw
EN
DIMENSIONS
Installation dimensions
[
3RUWHGXJUDQG/\RQ
0,5,%(/&('(;
PGSFRQWDFW#PGSPRWRUFRP
7HO
)D[
3/$11
'X0RWHXUDX0RXYHPHQW
$
02',),&$7,216
'$7(6
,QG
&RGHV$UWLFOHV
23(
3URSULpWp0'3QHSHXWrWUHUHSURGXLWVDQVXQHDXWRULVDWLRQH[SUHVVHHWpFULWH
&RQWU{OH4XDOLWp
,QVWUXFWLRQVSDUWLFXOLqUHV
7ROpUDQFHV*pQpUDOHV
0DWLqUH
6<0
&UpDWLRQ
&RQIRUPH5R+6
GLPHQVLRQV
DQJOHV
pWDWVGHVXUIDFH
$OO,Q2QH3UHPLXP
0(&
LQG
'pVLJQDWLRQ
+RUV,QGLFHV