4
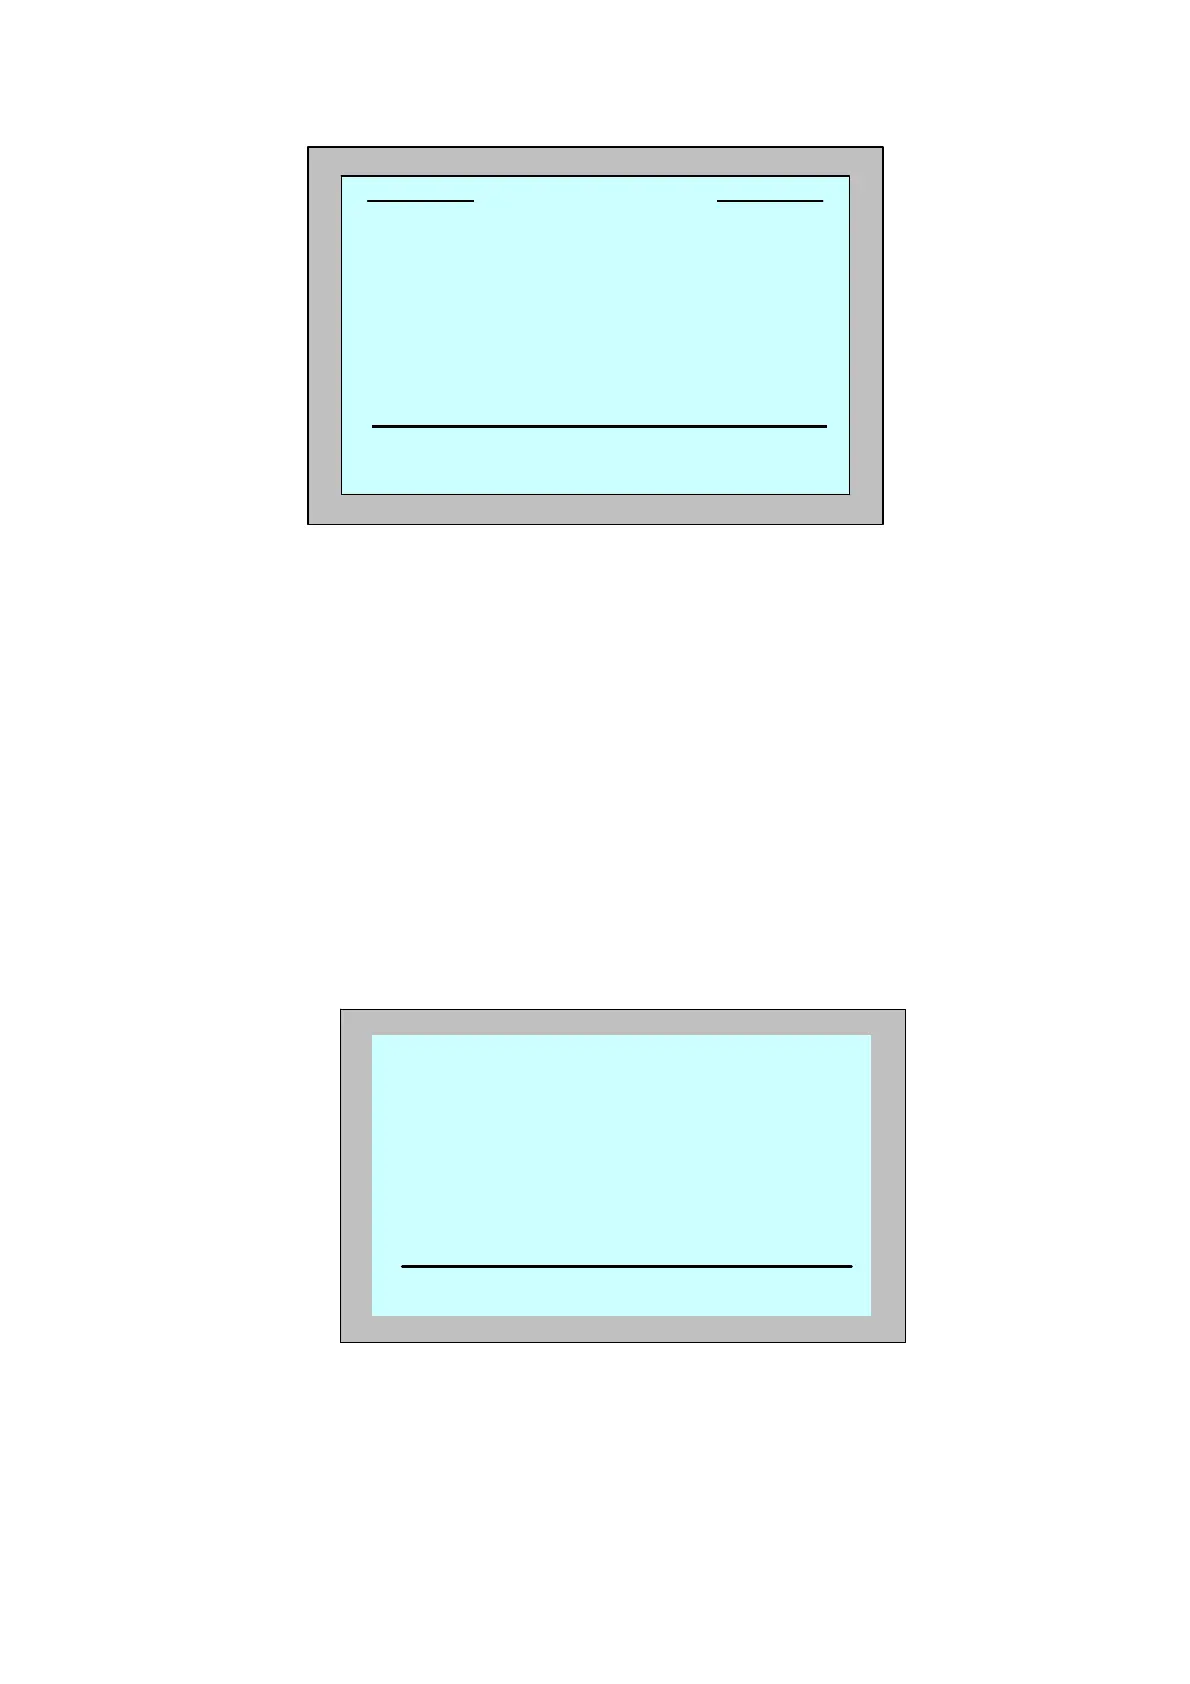
Figure 3: Pool Length Set Up
4. Using the arrows,, select the required pool length. Press Set.
5.TheAlign Robot to Pool Width screen displays.
6. Using the floating cable, move the robot so that it is parallel to the
width of the pool with the cable behind it.
7. Press Start. The MMI screen displays "Direction setup please wait".
The robot moves forward slowly for 20 seconds and stops.
The screen displays "Direction setup completed".
8. Press Start. The cleaning session starts. Factory default settings are
used. In order to change parameters refer to Configuring Additional
Pool Profiles on page 9.
The robot starts its cleaning cycle and the MMI displays the
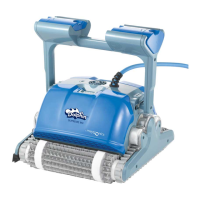
Countdown screen (Figure 4):
Figure 4: Countdown screen for 3 hour session
The countdown screen shows that a 3 hour cycle time was selected and
that the time remaining is 2 hours, 59 minutes and 59 seconds.
At the end of the cleaning session, the robot stops automatically.
To remove the robot from the pool, proceed as explained in Removing
the Robot from the Swimming Pool on page 5.
3
hr
- cycle
lock stop
hh:mm:ss
Default cleaning
02:59:59
Pool Length Set Up
25 30 35 40 50 60
Set back