5
EN
Pre-Installation
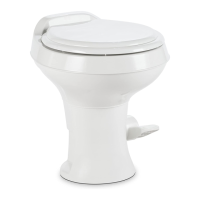
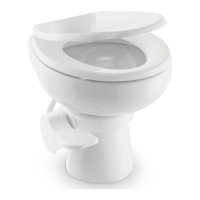
2.5.2 Low-Profile Toilet Dimensions
Ref
301
Model
in. (mm)
311
Model
in. (mm)
321
Model
in. (mm)
q
15.5 (394)
15.25 (387) 15 (381)
w
16 (406)
15 (381) 14.75 (375)
e
19.75 (502)
19 (483) 22 (559)
r
Seat
Height:
14 (356)
Seat
Height:
13.75(349)
Seat
Height:
13.5 (343)
t
13 (330)
14.75 (375) 15.75 (400)
y
Seat Lid Up:
30 (762)
Seat Lid Up:
29.5 (749)
Seat Lid Up:
31 (787)
2.6 Installation Requirements
This manual will help you replace an existing
toilet. To create a new location for your new
toilet, contact a qualified service professional.
Verify that your existing toilet:
• Has a flexible water supply line coming
through the floor or wall. If the line comes out
of the floor, you will need an elbow adapter
kit.
• Is attached to the floor with two bolts that are
perpendicular to the back wall.
– If there are four bolts, you will need a
Universal Mounting Kit, in the appropriate
color.
– If you are changing the toilet orientation
(the angle of the toilet to the room ), you
can use a Universal Mounting Kit, or
remove the floor flange and install a new
one in your preferred orientation.
• Is level with the floor. If the flange is installed
in the sub-floor, you may need a taller seal
than the one provided.
Make sure there is enough space for your new
toilet. Compare the dimensions for your model
listed in “Toilet Dimensions” on page4 to
the measurements listed in “Minimum Space
Requirements” on page5. Verify:
• The rough-in size (from the centerline of the
flange to the back wall)
• The door swing clearance
• That the foot pedal, when depressed, will
touch the same flat surface on which the
toilet is installed.
I
For a more pleasant installation day, empty
the holding tank before you begin.
2.6.1 Minimum Space Requirements
q
r
t
y
u
w e
4 Required Clearances, Including Rough-In
q
300 Model:
8.5 (216)
10 (254) 11 (279)
301 Model:
8.75 (222)
w
11 (279)
e
11 (279)
r
Floor Flange
t
Le Wall
y
Back Wall
u
Right Wall
Gravity-Flush Toilet
 Loading...