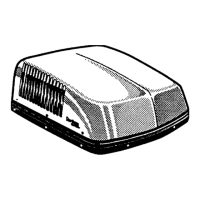
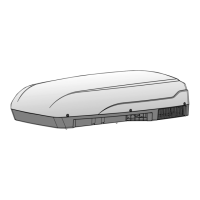
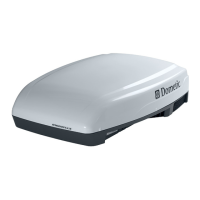
Dometic BR342 Installation
EN 11
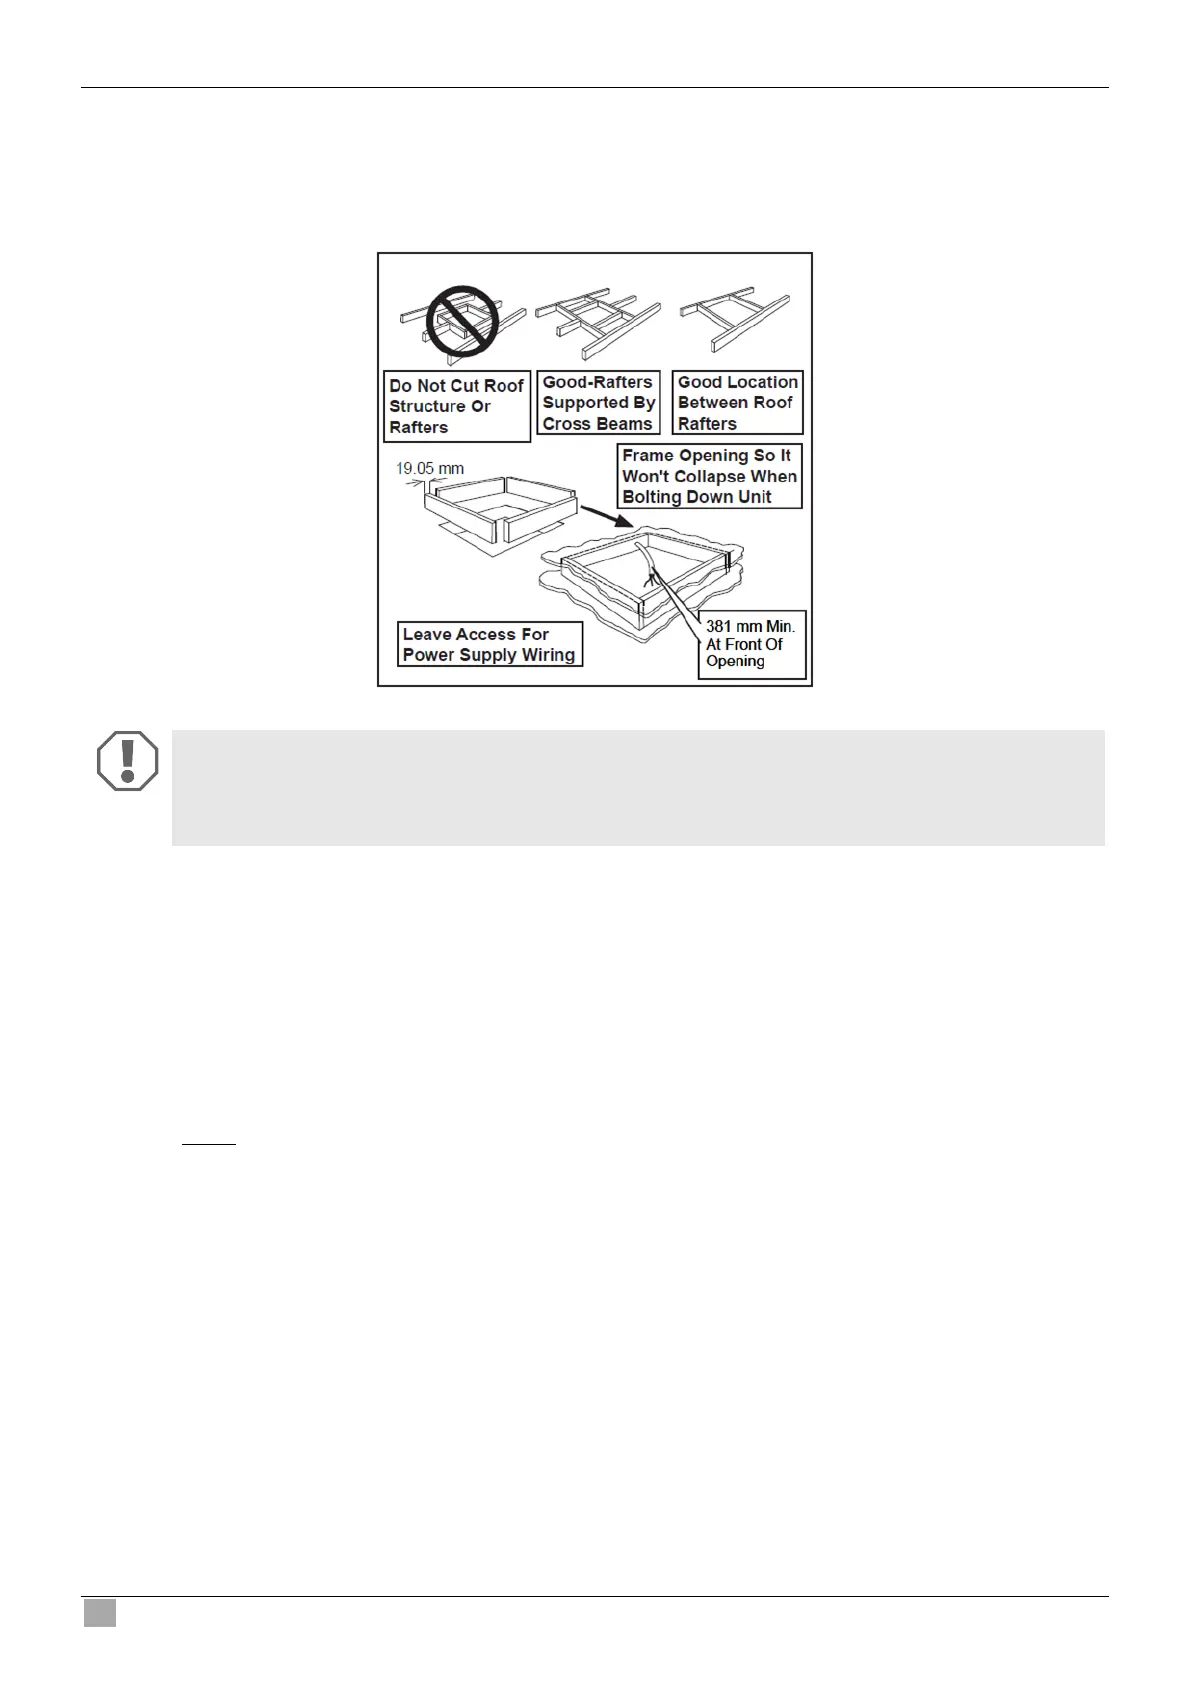
The opening created must be framed to provide adequate support and prevent air from being drawn from the roof cavity.
Framing stock 3/4″ (19mm) or more in thickness must be used. Remember to provide an entrance hole for power
supplies, indoor temperature sensor (if applicable), thermostat communication cable, and furnace wires (if applicable) at
the front of the opening.
NOTICE! Beware of damage
Maintain structural integrity. Otherwise damage to product and/or RV could occur..
NEVER create a low spot on RV roof. Otherwise, water will pool and could cause a leak..
5.4 Electrical wiring
Route a copper, with ground, 240VAC supply wire from the time delay fuse or circuit breaker box to the roof opening.
This supply wire must be located in the front portion of the roof opening.
The power MUST be on an appropriately sized separate time delay fuse or circuit breaker. It is recommended a fuse of at
least 16A is used.
Make sure that at least 381mm of supply wire extends into the roof opening. This insures an easy connection at the junction
box.
Protect the wire where it passed into the opening with approved method.