13
PRE-INSTALLATION
Installing The Floor Discharge System
Read BEFORE proceeding:
• Each 4" duct opening provides 12 in.
2
of discharge area. For each closeable register, provide an extra 12 in.
2
of
noncloseable duct discharge area. Make sure that all clearances and temperature requirements are met and the seal is
airtight.
• Ducting into dead-air space with no return air, such as holding tank areas, does not count toward achieving minimum
discharge requirements.
• 2" ducts exiting into the return-air space count as part of the minimum discharge area and minimum CFM.
• As applicable, the medium and large Furnace can be installed as a bottom-discharge system in either a horizontal or
vertical position.
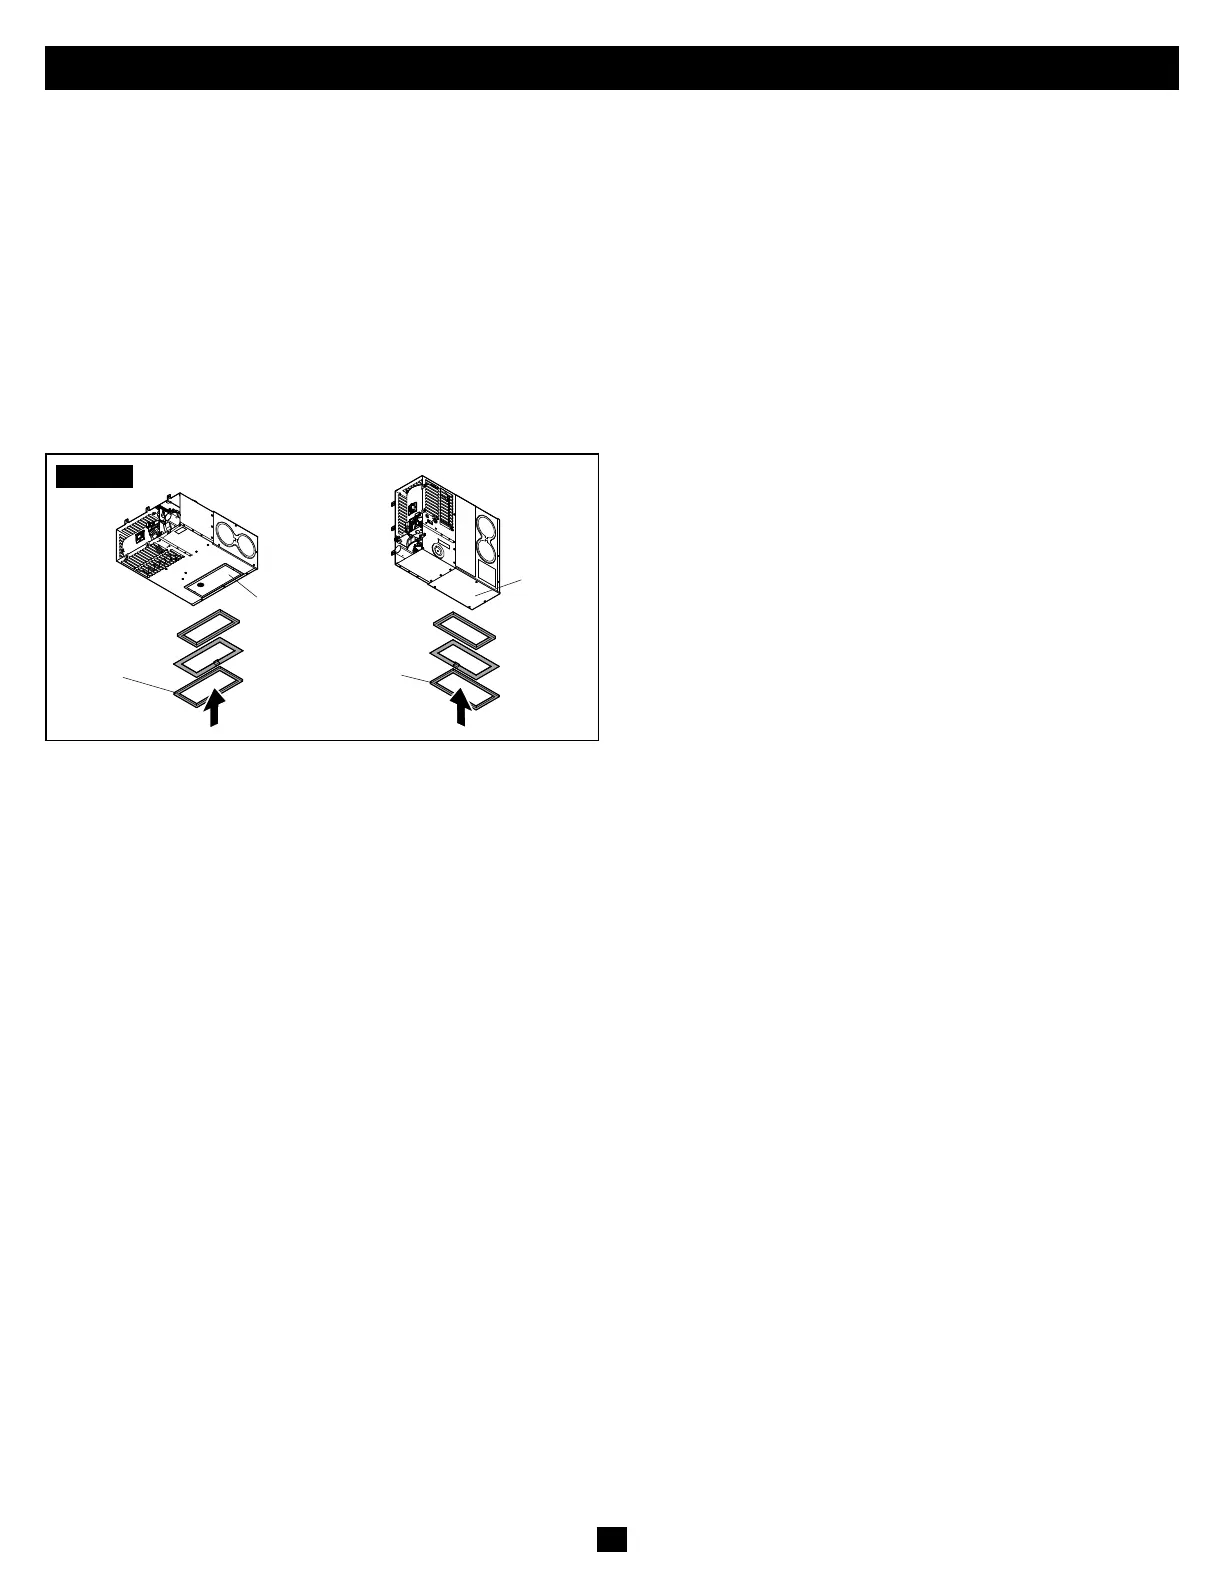
STEP1
Plenum
Plenum
Horizontal
Bottom
Discharge
Vertical
Bottom
Discharge
• Cut the opening for the floor discharge system in the floor of the RV.
• Standard Door: see “Standard Door Floor Discharge Installations” on page 14.
• Flush Door: see “Flush Door Floor Discharge Installations” on page 14.
• Small Vent: see “Small Vent Floor Discharge Installations” on page 14.
• Remove the bottom discharge plate or side.
• Fasten the plenum plate bend tabs over the floor cutout.
• Place the gasket on the plenum around the floor opening.
Plenum plates and gaskets are available for purchase through Dometic. If not using a Dometic gasket and plenum plate, seal the
Furnace to the hard ducting system using an approved foil tape, or use a gasket that has a 300° F minimum temperature rating
and a UL94-V0 rating.
Vertical Mount Furnace: Kit 30205
Horizontal Mount Furnace: Kit 30261

 Loading...