HC302, HC502 Installing and connecting the refrigerator
15
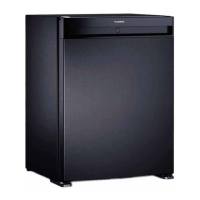
6.2 Installing freestanding version
Observe the following instructions when installing:
• Install the refrigerator so that the warm air produced can easily flow away, either
upwards or to the sides.
• Leave the device to stand for at least four hours before you connect it to the
power supply so that the refrigerant can flow back into the compressor.
➤ Place the refrigerator at the chosen place.
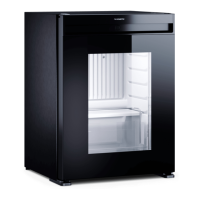
6.3 Installing built-in version
Observe the following instructions when installing:
• Install the refrigerator so that the warm air produced can easily flow away (either
upwards or to the front, fig. 3, page 4).
Key to fig. 3, page 4
• Leave the device to stand for at least four hours before you connect it to the
power supply so that the refrigerant can flow back into the compressor.
• Make sure that the refrigerator door is able to open at least 100°. Otherwise the
drawers cannot be used.
➤ Mount the refrigerator to the furniture by two screws through the fittings at the
bottom (fig. 4, page 4).
6.4 Connecting the refrigerator to the power supply
A
➤ Connect the plug of the connection cable into the AC mains.
No. Explanation
1 Cold intake air
2 Hot waste air
NOTICE!
UK only: The refrigerator is supplied with a plug fitted with 3 A fuse. In
case this fuse has to be to changed, a 3 A ASTA approved (BS 1362) fuse
must be used.
HC302-502-IO-EN.book Seite 15 Donnerstag, 16. März 2017 12:11 12