Installing the Heki2 Heki2
8
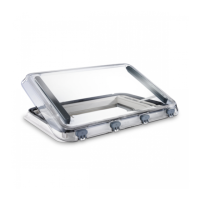
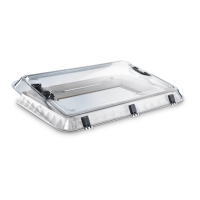
See fig. 8
➤ Check the direction of travel when installing.
You can fit the roof light sideways (hinge-side at front in direction of travel) or
lengthways (hinge-side on left or right in direction of travel).
➤ Place the outer frame in the middle of the roof opening.
➤ Press the outer frame in the roof slightly so that the packing compound spreads
out.
See fig. 9
➤ Place the 16 mounting supports on the inside of the vehicle all the way into the
recess of the outer frame.
➤ Attach the 16 mounting supports using the fastening screws
∅ 4.
To do this use the large holes in the mounting supports.
➤ Tighten the screws 10 minutes after installation.
See fig. 0
➤ Place the inner frame on the outer frame and fasten it with the fastening screws
∅ 2.5 x 12 mm into the 16 mounting supports.
To do this use the small holes in the mounting supports.
Only fasten the screws slightly by hand.
➤ Check that the roller blinds can move freely.
If they do not, then loosen the screws slightly.
See fig. a
➤ Clip on the ventilation grille (1).
It needs to click in.
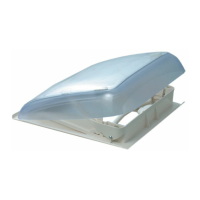
➤ Remove the protective film from both sides of the acrylic glass.
I
➤ After installing, check the roof light works properly.
➤ If necessary, enter the new vehicle height and weight in the vehicle documents.
NOTE
If the protective film is exposed to sunlight for too long, it cannot be
taken off without leaving a residue.
Heki2-IO-16s.book Seite 8 Montag, 28. November 2016 8:56 20