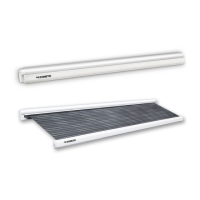
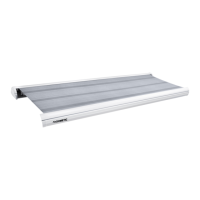
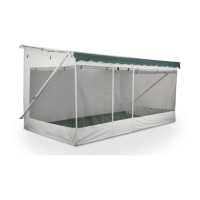
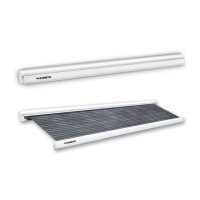
PerfectWall Connecting the awning (PW1500 and PW1750)
13
Observe the required cable cross section when connecting to the power supply:
Legend to fig. m, page 2:
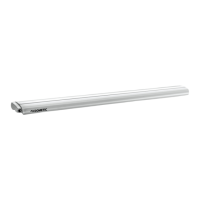
Installing the wall switch
➤ Find a suitable location inside the motor home, out of direct sunlight, to install the
switch.
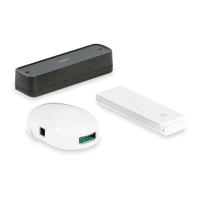
Installing the receiver of the remote control and connecting the electrical
connections
➤ Find a suitable location inside the motor home, out of direct sunlight, to install the
mounting bracket for the remote control.
➤ Connect the motor with the remote control in accordance with the applicable
electrical engineering regulations and the circuit diagram (fig. m, page 2).
Cable length Required cable cross section
2 m 1.5 mm²
4 m 2.5 mm²
6 m 4.0 mm²
8 m 6.0 mm²
No. Description
1Receiver
2 3 A fuse for LED awning light (optional)
3 on Orange line for D+ connection
4 rd Red line for LED awning light (optional)
5 bk Black line for LED awning light (optional)
6 bu Blue line for motor connection
7 bn Brown line for motor connection
8 bk Black line for power supply
9 rd Red line for power supply
10 Main switch
11 15 A fuse for main switch
3:B3:B3:,VERRN6HLWH)UHLWDJ6HSWHPEHU
More information https://www.caravansplus.com.au
 Loading...