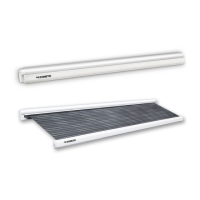
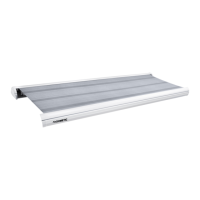
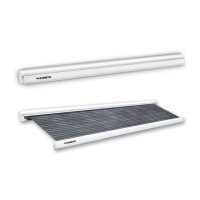
PW1000, PW1500, PW1750 Installing the awning
11
➤ Fasten the awning using a countersunk bolt, counter plate, serrated lock washer
and hexagon nut (fig. i, page 2).
➤ Insert the cover caps on the counter plates (fig. e, page 2).
➤ Retract the awning completely using the crank.
Installing the mounting bracket
The mounting bracket must be installed if the awning is to be attached to the side of
the vehicle when extended.
➤ Select the location of the installation.
➤ Mark where the holes are to be drilled.
➤ At the marked points, drill holes with a diameter of 3 mm from the outside into
the external wall (fig. j, page 2).
➤ Put the upper and lower sections of the mounting bracket together.
➤ Clean the outer sides of the lower section and the installation surface in the
vehicle.
I
➤ To glue and seal, apply an elastic adhesive, such as Sikaflex
®
-221 for example, to
the back of the mounting bracket.
➤ Fasten the mounting bracket with drill screws (fig. j, page 2).
or
➤ Rivet the mounting bracket (fig. j, page 2).
Installing the crank bracket
➤ Mount the mounting bracket for the crank at a suitable location inside the vehicle
(fig. k, page 2).
NOTE
Make sure that no glue gets on to the movable upper section of the
mounting bracket.
PW1000_PW1500_PW1750-I-18s.book Seite 11 Dienstag, 12. Juni 2018 4:37 16
 Loading...