Installing the device Dometic StarLight
14
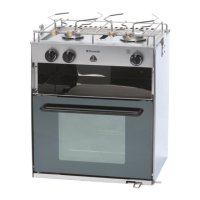
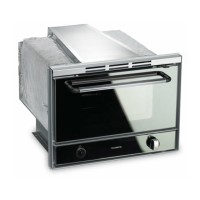
7 Installing the device
You can fit the device into an existing kitchen installation.
7.1 Selecting the installation location
When selecting the installation location, observe the following instructions:
Select a well-ventilated location for the device.
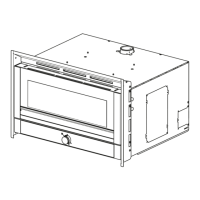
Check the dimensions of the device (fig. 4, page 3 and fig. 5, page 4).
Ensure the following minimum clearances
– 200°mm to the side walls
– 170°mm to the back wall
– 500°mm between the burner and horizontal surface above the hob
Ensure that there are no draughts in the installation location.
Do not operate the device in rooms that are potentially explosive.
If gimbals are being used, make sure that the cooker is able to vibrate.
Leave sufficient space for the vibration of the gimbal.
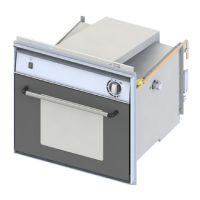
7.2 Installing the device
A
NOTICE! Beware of damage
Before drilling any holes, make sure that no electrical cables or oth-
er parts of the vehicle can be damaged by drilling, sawing and filing.
This is how to install the device (fig. 6, page 4 and fig. 7, page 5):
➤ Fasten the side plates using the screws provided leaving a space of
134 mm around the kitchen unit.
➤ Mount the device so that the bolts of the mounting plate hook into the side
plates (fig. 7 , page 5).
 Loading...