Do you have a question about the Dometic SUNCHASER 8500 and is the answer not in the manual?
Defines symbols used in the manual for clarity and understanding.
Explains the safety alert symbol and its purpose in identifying potential hazards.
Defines signal words like WARNING, CAUTION, and NOTICE used to convey hazard levels.
Stresses the importance of following all instructions to prevent injury or death.
Warns about potential hazards, modifications, and installation conditions like wind.
Lists optional components such as door roller kits and bracket spacers.
Provides a table detailing height range, arm length, and rafter length for different models.
Instructions for installing optional door roller and edge guard to prevent fabric contact.
Steps to prepare the RV's awning rail by flaring and smoothing for fabric insertion.
How to prepare the Fabric Roller Tube Assembly (FRTA) for the installation process.
Guidance on selecting the correct mounting location on the RV for stability and clearance.
Instructions for wiring an LED light switch if the awning is equipped with LED lights.
Process of feeding the awning fabric into the RV's awning rail with proper technique.
Detailed steps for attaching the top mounting brackets securely to the RV structure.
Guidance on installing stop bolts to prevent arm over-travel during operation.
Steps to properly secure the awning fabric to the rail using TEK screws.
Instructions for installing the gear cover on the right-hand side of the awning.
Instructions for installing the cover on the left-hand side of the awning assembly.
Steps for connecting the LED lights to the RV's power source and switch.
How to test the awning's functionality and all parts after installation is complete.
Procedures to ensure the awning is properly closed and secured before moving the RV.
Advises keeping installation and operating instructions with the product for future reference.
| Model | SUNCHASER 8500 |
|---|---|
| Frame Material | Aluminum |
| UV Protection | Yes |
| Extension | 8 feet |
| Fabric Material | Acrylic |
| Operation | Manual |
| Water Resistance | Yes |
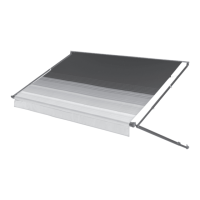
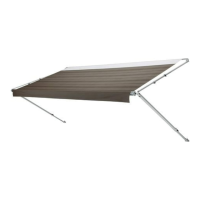
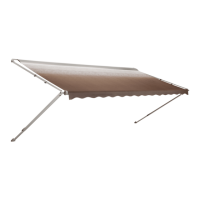
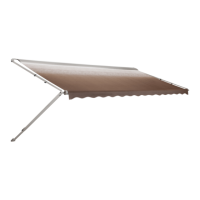
| Type | RV Awning |