22 DR
®
FIELD and BRUSH MOWER
Removing and Replacing the Drive Belt
Tools and Supplies needed:
1/2″ Wrench
Gloves
Note: Wear Gloves to protect your hands.
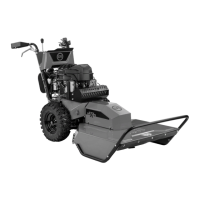
1. Remove the Seven Bolts that secure the Rear Cover Plate using a 1/2″
Wrench and Remove the Cover (Figure 38).
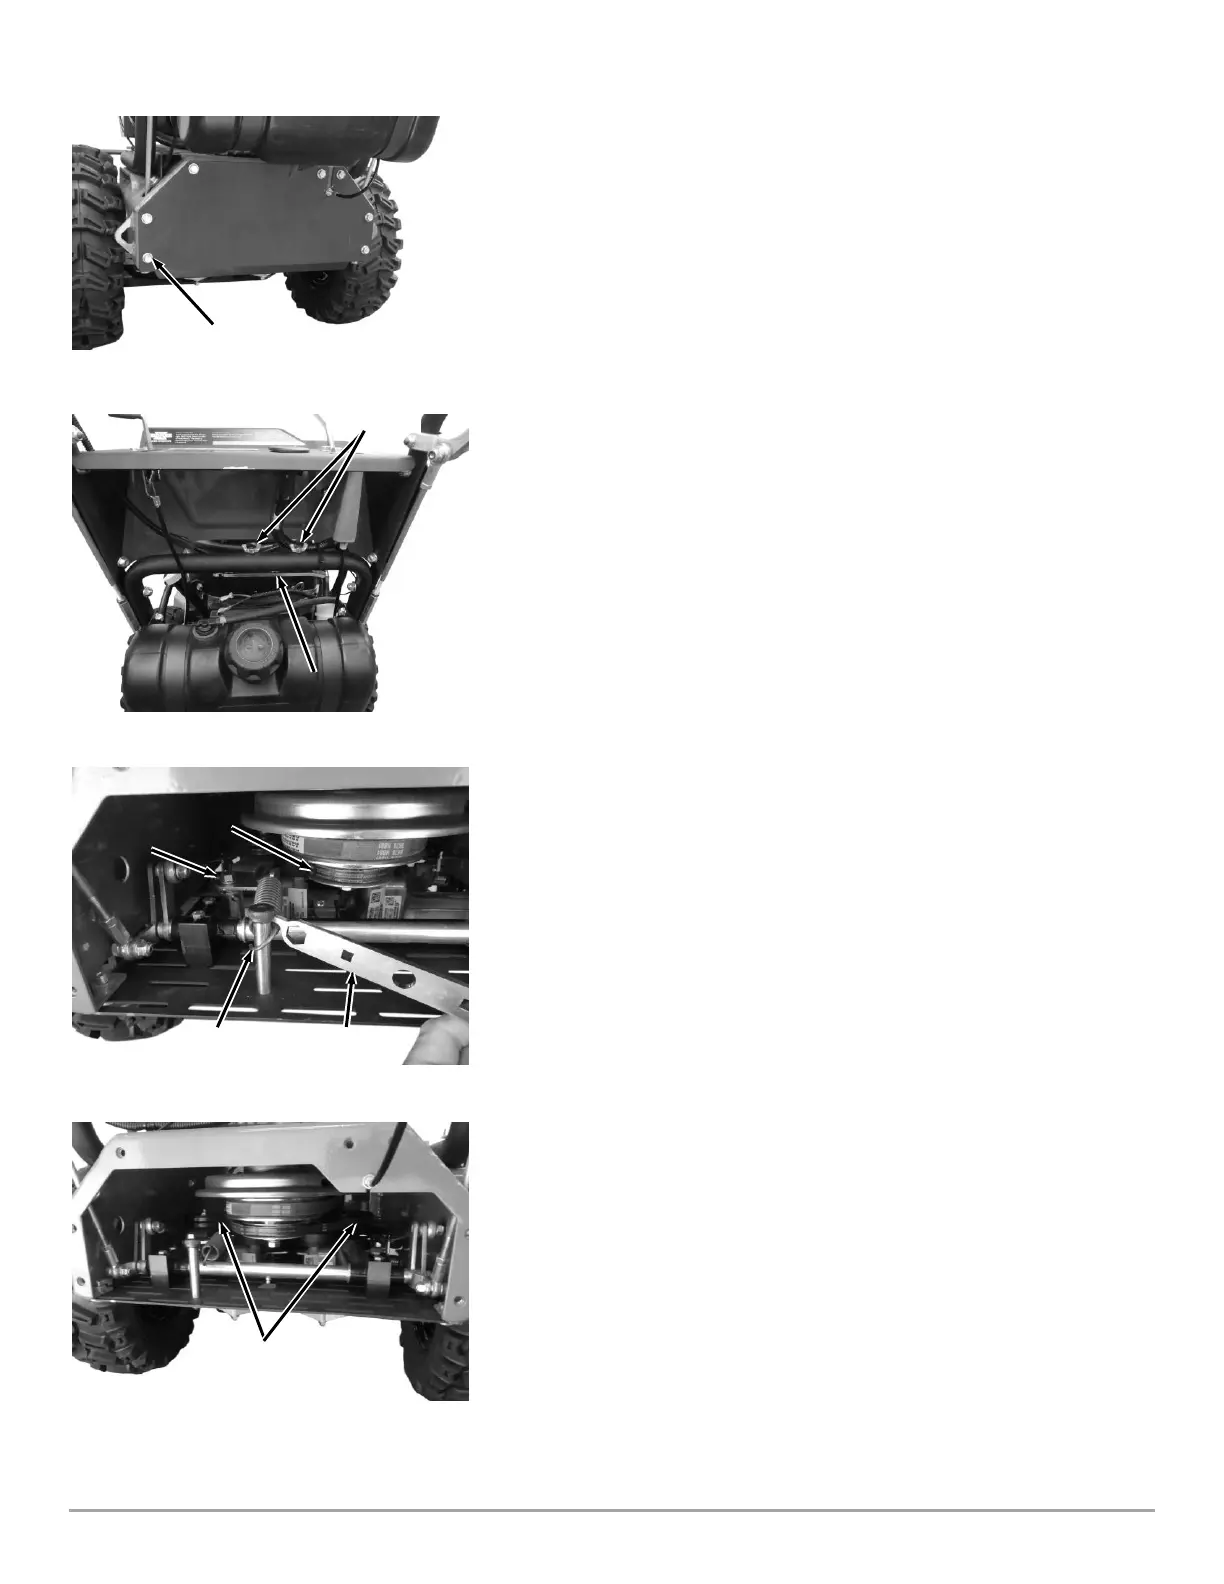
2. Remove the Two Bolts and Wing Nuts that secure the Multi-tool to the
Lower Handlebar (Figure 39).
3. Use the Multi Tool to pull the Tensioner Spring off the Shoulder Bolt (Figure
40).
Tip: If you insert the hook end of the Multi tool from the right side of the Spring
loop, you can grab the end of the Spring to pull it from the Shoulder Bolt.
4. Wrap a rope around one side of the Drive Belt and pull down and to the side
to remove the belt from the Drive Pulley.
5. Reach inside the Frame to lift the Belt off the Transmission Pulleys (Figure
41).
6. Remove the Belt.
7. Reverse steps for installing a new Belt.