5
(6) Evenly tighten all of the M12 and M8 bolts, making sure that everything is lined up correctly and all
cables are free of any impingements.
Note: Recommended torque settings.
- M12 Bolt : 30 Nm
- M8 Bolt : 20 Nm
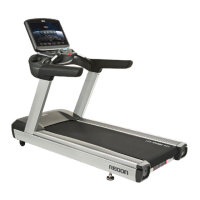
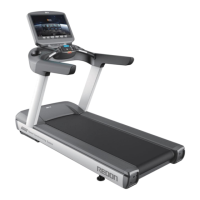
(8) Remove the rear cover from the console by unscrewing the 5 Philips head screws (see Fig.3).
(9) Fit the console main display unit to the treadmill using the 4x M8 bolts supplied (see Fig.4).
Be sure to check that the console guide lugs (Fig.5) are lined up before tightening the mounting bolts.
(10) Connect all communication/power/TV cables to the console.
※ Attention : Before connecting any cables ensure that the treadmill is disconnected from
mains power.
(11) Re-fit the console rear cover using the 5x Philips head screws.
(12) Re-fit treadmill motor bay cover.
Rear Cover
Front Cover
Console guide rib(2point)
Fig.2 Assembly “Front Cover” and “Rear Cover”