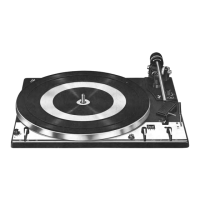
Record
changing
When
you
move
the operating
switch to
"start",
the first record
will drop and
the
tonearm will
lift, move to
the record, then
descend. lf
you
wish
to reject
a record
that is
playing
and
move
on
to
the next,
move
the operating
switch once
again to
"start".
Automatic play
without
interruption
Once the record has
been laid
down on the
platter,
insert
the
puck
through the multiple-
play
spindle.
lt
is recommended
to
place
a
45 rpm record
on
top of the
puck
for added
weight.
The record
will
then
play
continu-
ously
without
interruption.
Fig. 12
Note: Records that have been
played
can
be
lifted
back'up
the
spindle
for
repeat
plays,
or
removed
altogether. There is
no
need
to
remove the
spindle in either case.
*)
The 45 rpm record
spindle
AS 12
is
available from
audio dealers as
an ac-
cessory.
Technical
specifications
Cartridge
(pick
up)
The
following
instructions
apply
only
if
your
1215_
was
purchased
without
a
cartridge'instailed,
or
if
you
wish
to replace
the cartrid-ge
supplied
with
one of
your
own
choosing.
The
turntable will
accept
any cartridge
that
weighs
from I to
8
grams
and has standard
1/2"
mounting
centers.
Fig. 13
1. To install a cartridge,
remove the car-
tridge holder from the tonearm by
pressing
the lift toward the
rear. Hold the cartridge
holder or it will fall out once unlocked.
2. Fasten the cartridge in the cartridge
holder.
Be
sure
that it
is
located correctly.
The
accompanying
screws, spacers, nuts
and the mounting
gauge
are supplied to
help
you
do the
job
right.
3. The cartridge is correctly mounted when
the notch
in the mounting
gauge
encloses
the stylus tip, and when
the stylus tip,
viewed from
the side, is within the area
"A"
(Fig.1a).
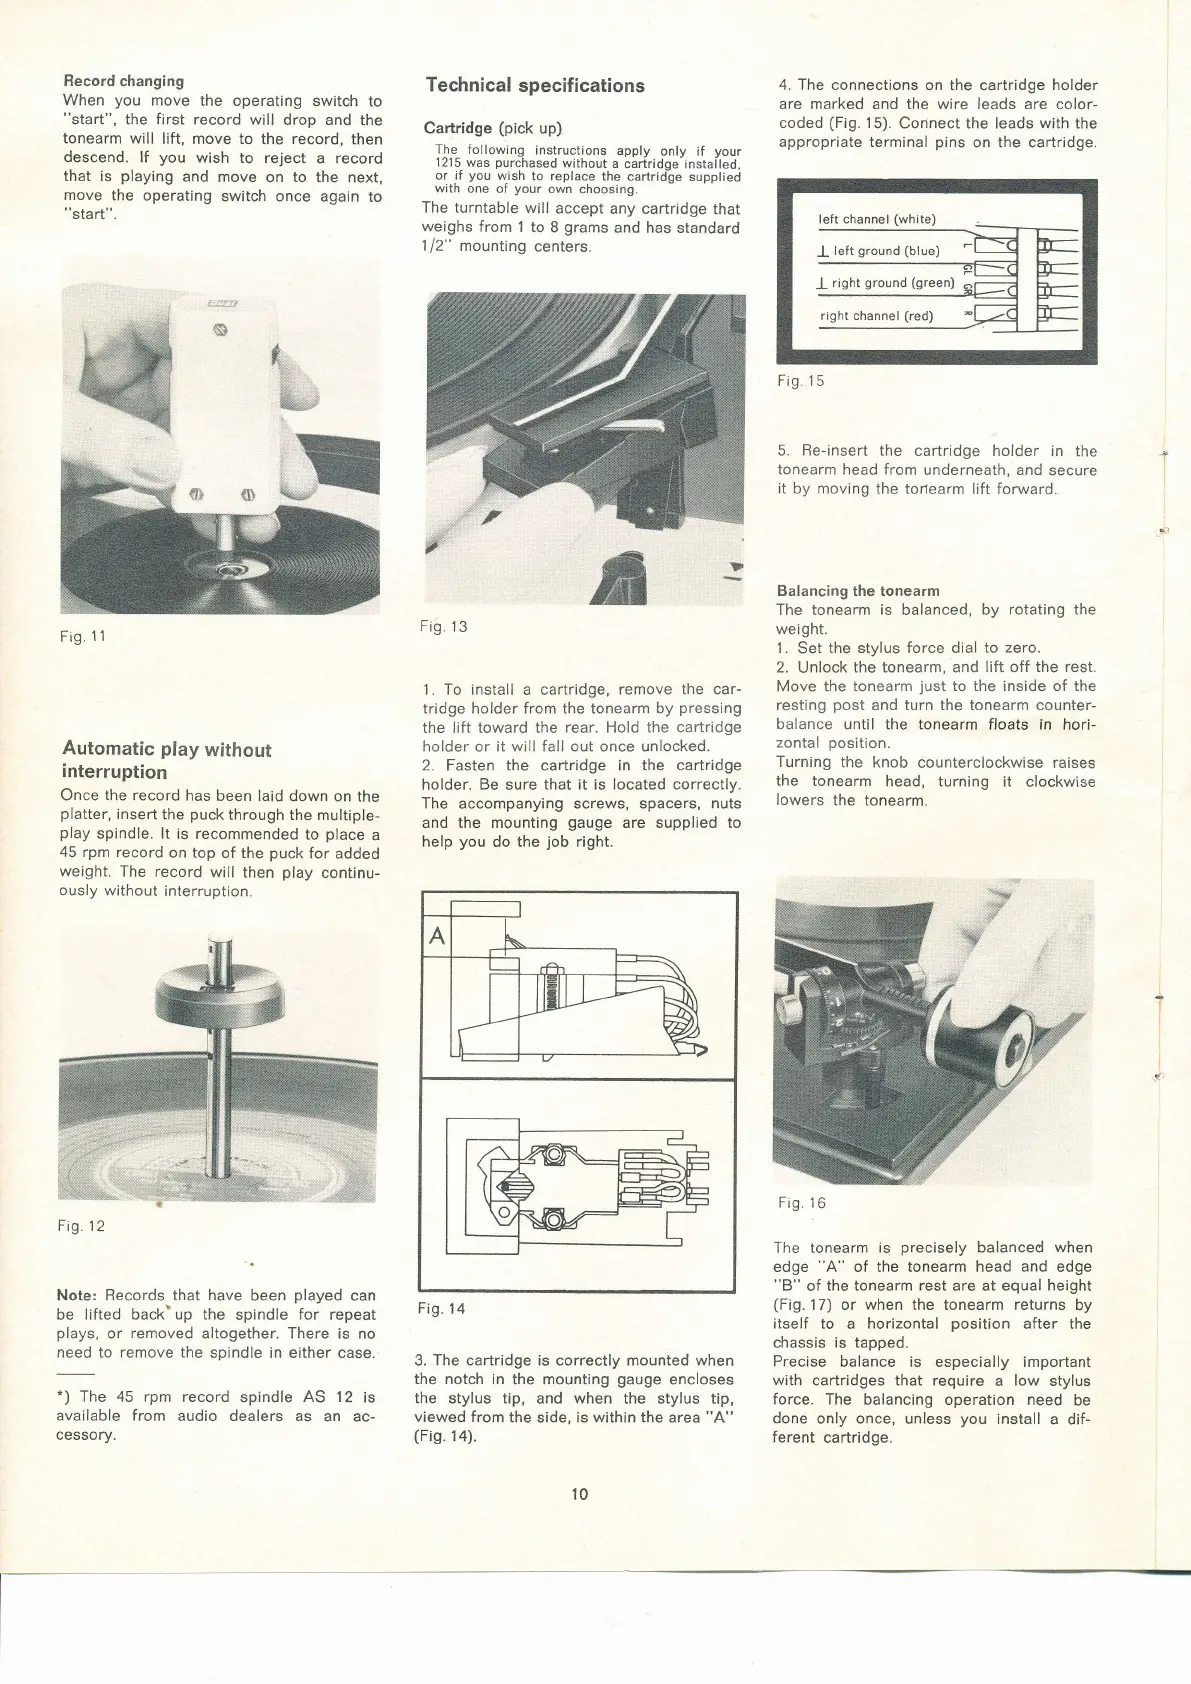
4. The connections
on the cartridge
holder
are marked and the wire leads are color-
coded
(Fig.
I5).
Connect the leads with the
appropriate terminal
pins
on the cartridge.
Fig.
15
5.
Re-insert
the cartridge holder in
the
tonearm head from
underneath, and
secure
it
by moving the
tonearm lift forward.
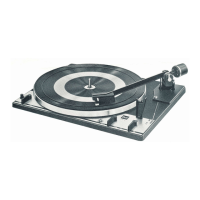
Balancing
the
tonearm
The tonearm is balanced, by
rotating the
weight.
1.
Set the
stylus force
.dial
to
zero.
2.
Unlock
the tonearm, and
lift
off
the rest.
Move the tonearm
just
to
the inside of
the
resting
post
and
turn the tonearm
counter-
balance until the tonearm
floats
in
hori-
zontal
position.
Turning
the knob
counterclockwise raises
the tonearm
head, turning it
clockwise
Iowers
the
tonearm.
Fig.
16
The tonearm
is
precisely
balanced
when
edge
"A"
of the tonearm head and edge
"B"
of the tonearm
rest
are at
equal height
(Fig.17)
or
when the tonearm returns
by
itself
to a
horizontal
position
after the
chassis is tapped.
Precise
balance is especially important
with
cartridges that require
a
low
stylus
force. The
balancing
operation
need
be
done
only once, unless
you
install
a dif-
ferent
cartridge.
I
I
Fig.
14
t0
 Loading...