A.
.
4.
A.
B.
B.
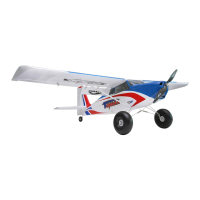
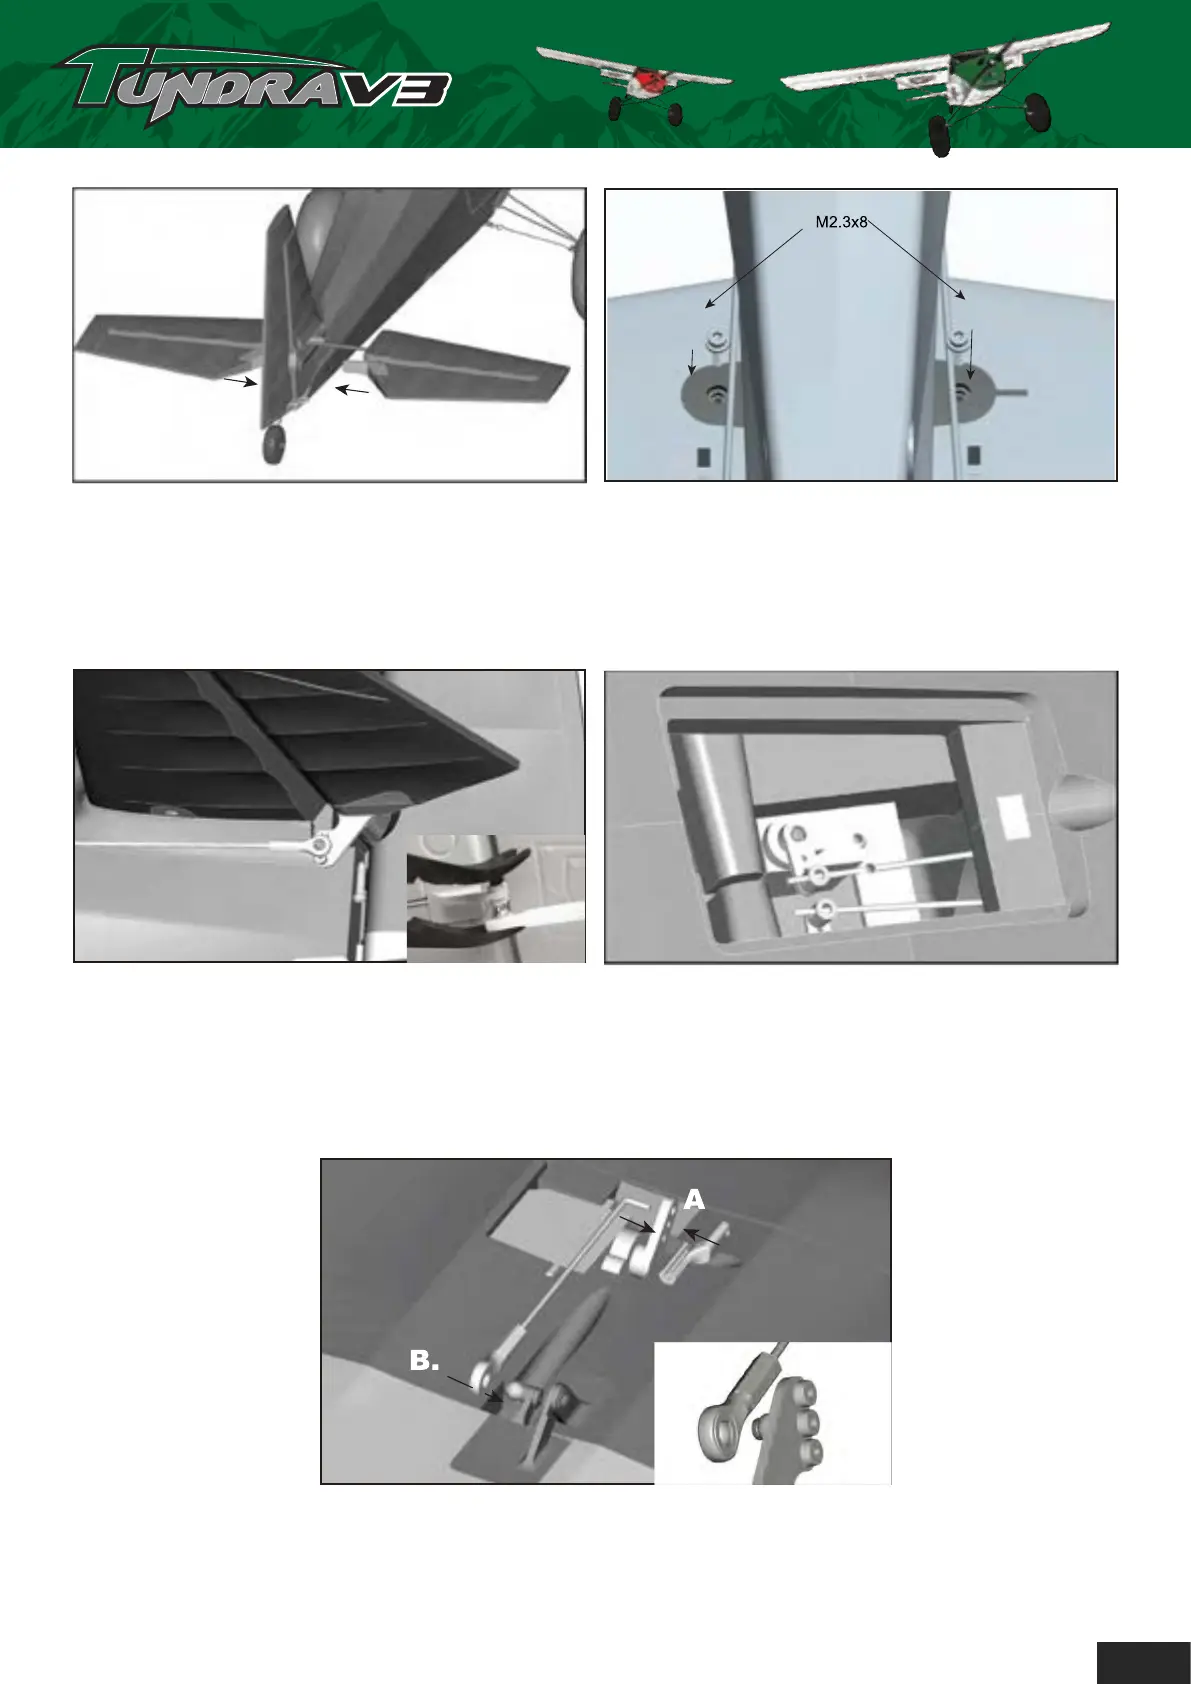
5.Using a pair of pliers (ball-link pliers preferably) connect the elevator push rod to the elevator
horn(A). To ensure both the elevator and rudder are neutral (with the servos centered) loosen
the grub screw of the piano wire fastener and slide the push rods until both surfaces are
neutral.(B) Tighten firmly when done. For added security if you wish, the tail can also be glued
in place.
6.
As mentioned earlier in this manual, the aileron pushrods are already installed, but you will still
need to attach the flap pushrods. Insert the flap push rod through the servo arm and secure in
place with the plastic keeper (A). Now set the flap servo arm as far forwards as possible, then
connect the ball-link to the flap horn and adjust so that the flap is in the fully up
(no flap) position
(B).
7.
Insert the wing spar into the fuselage at the wing root (A) ensuring it is centered. Slide one wing
half at a time onto the spar, pushing each panel firmly into place on the fuselage (A) and secure
each
panel with the provided M2.5x8mm hex bolts (B). Take care to ensure the wing servo PCB
is not damaged when connecting the wing to the fuselage.
5
 Loading...