7
CEILING SUPPORT
Ceiling supported systems are available for
diameters 10”-24".
1. Place Appliance: Position the appliance
according to the manufacturer’s instructions.
The ue outlet collar should be placed
between the rafters or joists above, if possible.
2. Frame Support Opening: Drop a plumb
bob to the center of the appliance’s ue outlet
and mark this center point on the ceiling. Refer
to Table 2 for specic framing and clearance
dimensions. Mark appropriate cutting lines
around the center point. Cut a square hole in
the ceiling for the Support Box. Frame a level,
square opening centered over the hole which
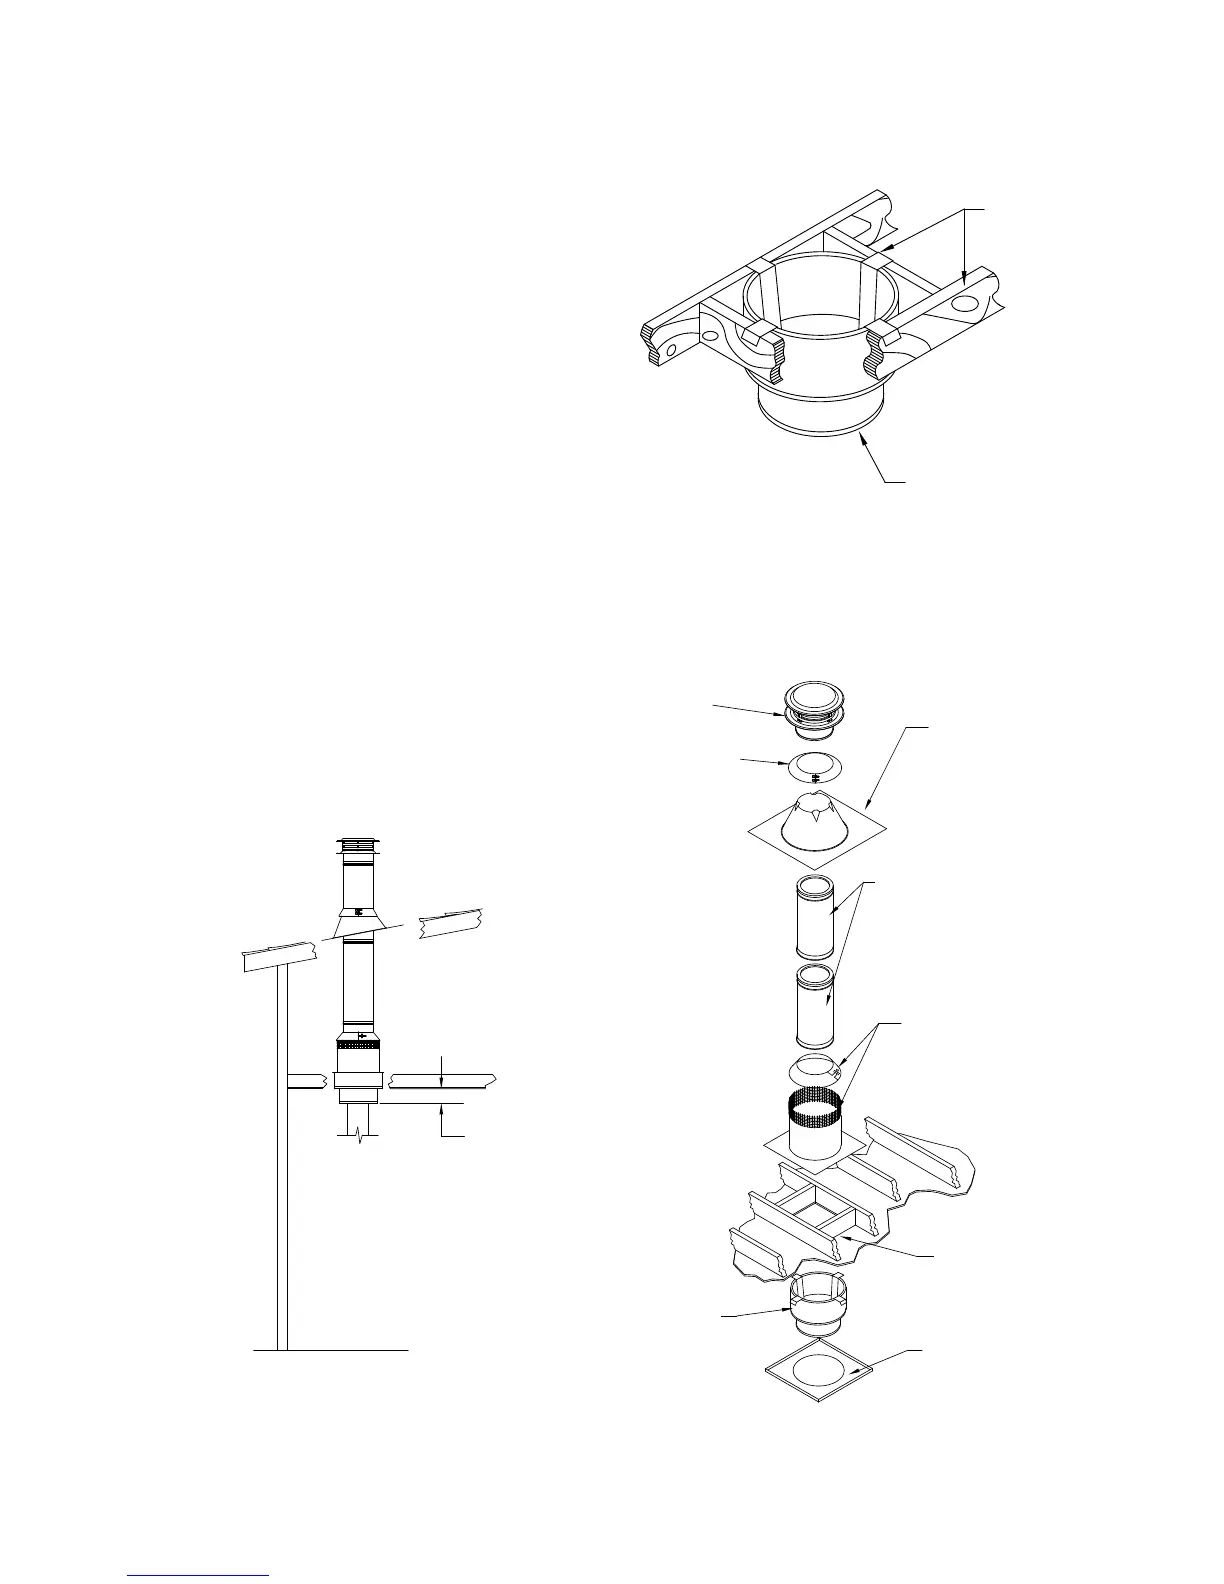
you have cut. (Figures 3 and 4).
Figure 3
Figure 4
MINIMUM OF 3
INCHES BELOW
FINISHED CEILING
CONNECTOR PIPE
GOING TO
APPLIANCE.
ALWAYS MAINTAIN A
MINIMUM OF 18 INCHES
CLEARANCE TO
COMBUSTIBLES FOR
SINGLE-WALL STOVEPIPE
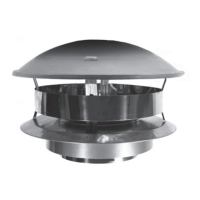
CHIMNEY CAP
STORM COLLAR
ADJUSTABLE
FLASHING
ATTIC
INSULATION
SHIELD
CHIMNEY
SECTIONS
FRAMED
OPENING
ROUND
SUPPORT BOX
ROUND TRIM
COLLAR
JOISTS &
FRAMING
3-INCH MINIMUM
REQUIRED BELOW
FINISHED CEILING