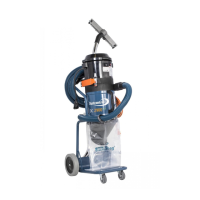
Part No 94141 DC 11-Module 7.5 kW - 25
Test running
6. Check the function and tightness of the connected
exhaust system.
7. It is normal that the pump gets hot during
operation
8. When the fi lter is being cleaned, a number of
powerful air pulses should be heard over a four
minute period with approx. 20 seconds interval.
Service
Machine service
e 11module should be tested and maintained once
a year. Worn parts must be changed.
Do not jeopardise function and lifetime. Use only
Dustcontrol spare parts.
During maintenance and service the machine must
be switched off at the main switch or the 5 pin Euro
connection be pulled out.
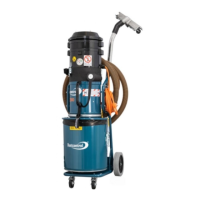
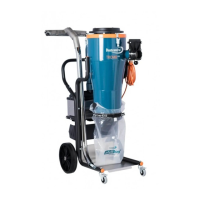
Lubrication (1) (for the DC 11-Module S and P
models)
e turbopumps bearing should be lubricated at least
once a year with lithium saponifi cated roller bearing
grease, Part No 9683.
• Release the gable plate.
• Release rear bearing cooling fl ange.
• Check the grease condition and fi ll until 2/3 of
the cover volume.
• Change the O-ring, Part No 4789, and remount
the cooling fl ange.
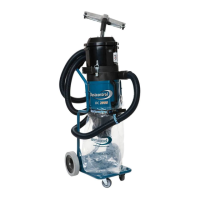
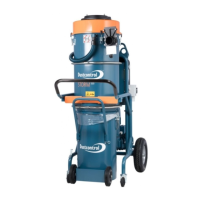
Filter change (3)
It is important that the fi lter is changed when it can no
longer clean effi ciently. e space between the changes
depends on which type of dust you extract and the air
fl ow the fi lter is exposed to.
e fi ne fi lter should be changed at least once per year.
Only a Dustcontrol fi lter should be used. Use breathing
protection during the fi lter change. Do not expose
unprotected persons to harmful dust.
1. Turn off and lock the power disconnect switch or
pull out the 5 pin Euro connection.
2. Use breathing protection
3. Disconnect the top of the cyclone
4. Disconnect the locking ring for the fi lter.
5. Lift out the fi ne fi lter and seal it in a plastic bag.
6. Lift in the new fi lter cartridge
7. Re-connect the fi lter locking ring
8. Lift the top on and connect.
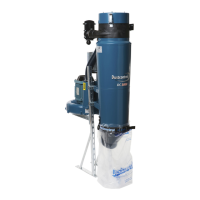
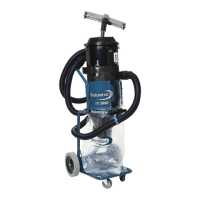
Changing the HEPA fi lter (4)
Loosen the joints C and the inlet channel D together
with the inlet cone E, and turn it to expose the micro-
fi lter. Put a plastic sack, Part No 4714, over the fi lter
housing and pull out the fi lter, seal the plastic sack.
A new microfi lter should be fi tted in reverse order to
above.
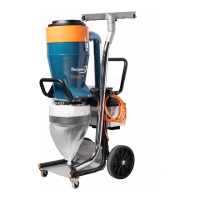
Service points
1. Lubrication of lower bearing P and S models (al-
ways)
2. Lubrication and review of vacuum valve (always)
(not fi tted to S models)
3. Filter change (fi ne fi lter, always)
4. Micro fi lter (optional)
ENGLISH