©2014 Parata Systems, LLC page 1 of 4 Parata Technical Assistance Center
120-0493 Rev 01 1-888-PARATA1 (727-2821)
Customer Guide
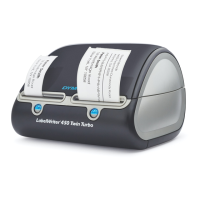
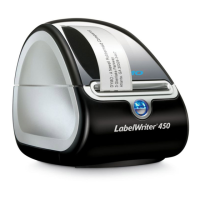
DYMO LabelWriter 450 Turbo Printer Installation
PASS
This is the process for installing a DYMO LabelWriter 450 Turbo printer on a PASS workstation
running PASS Ware or PACMED Server Plus. The process is the same for both applications.
Refer to the DYMO Quick Start Guide that came with your printer for instructions on loading
labels.
1. Open the DYMO printer box and remove the printer, USB cable, power cord, power adapter, CD,
and Quick Start Guide.
2. Connect the power and USB cables to the DYMO printer:
2.1 Connect the power cord to the power adapter.
2.2 Connect the power adapter cord to the power connection on the bottom of the printer,
then plug the power cord into an AC outlet.
2.3 Connect the square end of the USB cable into the USB port on the bottom of the printer.
A USB cable
B DYMO printer
C Power cord
D Power adapter
E Quick Start Guide
F CD