Source: DYMO Quick Start Guide © 2010 Sanford, L.P.
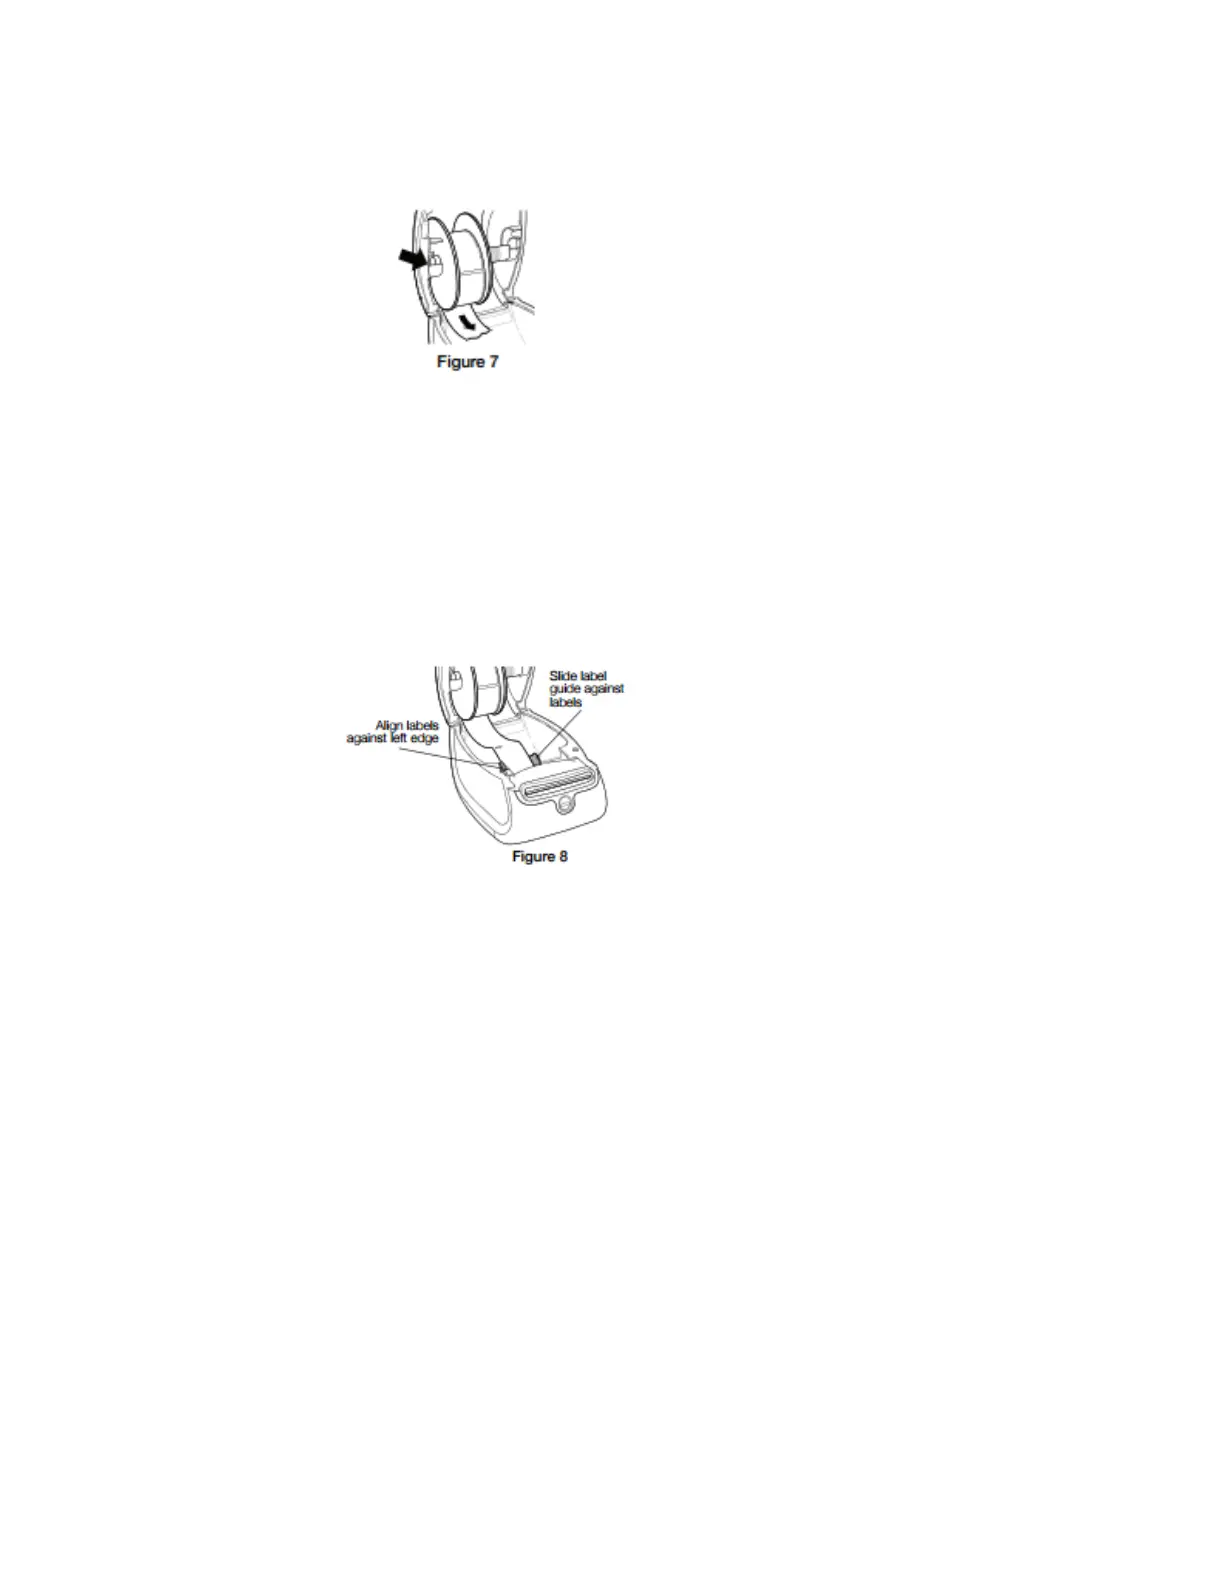
4. Insert the label spool into the slot in the printer cover with the labels extending from underneath
the roll. See Figure 7 below.
5. Align the left edge of the label with the left edge of the label feed slot and insert the label into the
slot. See Figure 8 below.
a. The printer should automatically feed the label, stopping at the beginning of the first
label.
b. If the printer does not feed the labels, make sure the first label is fully inserted and then
press the form-feed button.
c. If the first label on the roll is not a full label, press the form-feed button to eject the partial
label.
6. Slide the label guide to the left until the label guide aligns with the right edge of the label.
a. Make sure that the label guide does not pinch the label.
7. Open the symplr® program. Slide the symplr® plastic test badge through the badge reader
and print a test badge to confirm the new roll works. If the badge prints you were
successful.
8. Carefully lower the top cover.
symplr®
Have Questions? Need Help?

 Loading...