Do you have a question about the Dymo LetraTag Labelmaker and is the answer not in the manual?
Complete and return the warranty registration card for details or to register online.
Follow the instructions in this section to print your first label.
The labelmaker is powered by batteries or an AC adapter and turns off automatically.
The labelmaker uses four high-capacity AA alkaline batteries.
Instructions for removing the battery compartment cover and inserting batteries.
Details on using a 9 Volt, 1.5 A power adapter and its connection.
Steps for opening the compartment, inserting the cassette, and powering on.
Instructions on how to navigate menus to choose the desired language.
Guide to setting the current date and time for label formatting.
Details on how to adjust month, day, and year using arrow keys.
Details on how to adjust hours and minutes using arrow keys.
Steps to enter text, print, and cut the label.
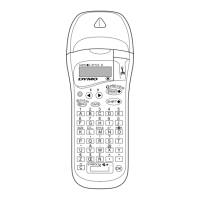
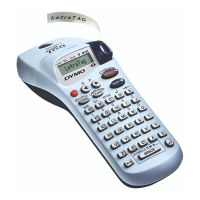
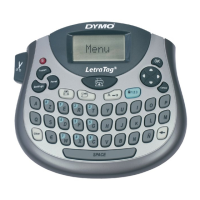
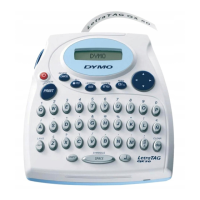
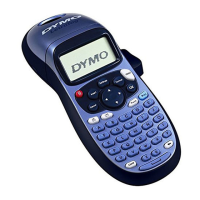
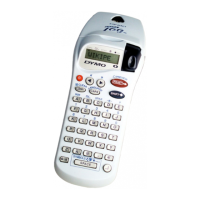
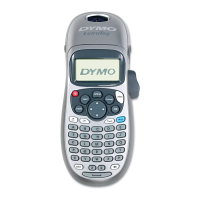
Description of power controls and the LCD display features.
Explanation of CAPS, Num Lock, Backspace, Clear, and Navigation keys.
Usage of Cancel, Settings, Insert, and Extra keys for operations.
Steps to select from five available font sizes using the Settings menu.
Description of six available font styles: Normal, Bold, Italic, etc.
Instructions to select and apply font styles via the Settings menu.
Steps to type text for two lines and insert a multi-line symbol.
How to insert the date, with format options based on language.
Steps to select and apply underline or box styles using the Settings menu.
Overview of the extended symbol set supported by the labelmaker.
Instructions for navigating and selecting symbols from the display.
Using RACE technology for character variations based on language.
How to preview label text and format before printing.
Steps to fine-tune print quality by adjusting contrast settings.
How to store up to nine labels or text entries in memory.
Instructions for recalling stored labels from memory.
Procedure for cleaning the cutter blade using a pen tip and alcohol.
Instructions for cleaning the print head with a tool inside the label compartment lid.
Solutions for common problems like no display, poor quality, and tape jams.
Information on how to provide feedback on the user guide.
Table of telephone and fax numbers for DYMO Customer Support by country.
| Display | LCD |
|---|---|
| Print Technology | Thermal Transfer |
| Borders and Underlines | Yes |
| Auto Shut-off | Yes |
| Model | LetraTag |
| Type | Handheld |
| Label Width | 12 mm |
| Label Type | LetraTag Tapes |
| Power Source | Battery |
| Supported Tape Materials | Plastic |