
Do you have a question about the Dyson HEPA Big+Quiet Formaldehyde and is the answer not in the manual?
| Night mode | Yes |
|---|---|
| Noise level | 56 dB |
| Filter model | HEPA-13 |
| LED indicators | Activity |
| Air purify rate | - m³/h |
| Number of speeds | - |
| Air purifiers functions | Cooling |
| Suitable for room area up to | - m² |
| Suitable for room volume up to | 100 m³ |
| Placement | Floor |
| Control type | Remote |
| Display type | LED |
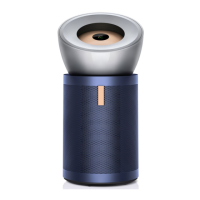
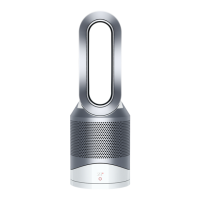
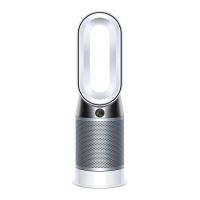
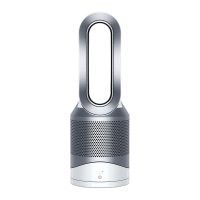
| Product color | Silver, White |
| HEPA class | HEPA 13 |
| Particle filtration | 0.1 µm |
| Filtering capability | Fine dust, Formaldehyde, Odors |
| Power consumption (max) | - W |
| Depth | 434 mm |
|---|---|
| Width | 415 mm |
| Height | 830 mm |
| Weight | 11570 g |
LCD screen reports real-time indoor air quality.
Press the power button to turn the machine on or off.
Senses CO2 levels and alerts when exceeding recommended volumes.
Details the 360° HEPA H13 filter used in the purifier.
Describes the permanent catalytic oxidisation filter that requires no replacement.
Explains the pleated K-carbon filter wrapped around the purifier's central body.
Highlights the wheels for easy manoeuvrability on various floor surfaces.
How to position and twist the conic amplifier until it securely clicks into place.
Position on a level floor for effective purification, pointing towards the furthest point or diagonally.
Instructions on using the power button to switch on/off and adjust airflow speed.
Displays safe CO2 levels indicated by green numbers on the LCD screen.
Shows building CO2 levels in yellow, suggesting ventilation.
Indicates high CO2 levels in red, requiring immediate action like opening a window.
How to unlock and lift the conic amplifier and outer cover.
Steps to press release buttons, remove the old HEPA filter, and install a new one.
Guides on placing the new filter, outer cover, and conic amplifier securely.
Steps to unlock and remove the conic amplifier and outer cover.
Instructions on pulling clips to detach the carbon filter from the purifier body.
How to wrap the new filter, secure clips, and reattach the outer cover and conic amplifier.
Wipe the machine with a damp, lint-free cloth and check for blockages.
Use a soft brush to remove dust/debris from sensor inlets, outer cover, and conic amplifier.
 Loading...