CH6 CH7 CH8
6
Gain channel
Violet, 6 flashes
None CH1 CH2 CH3 CH4 CH5 CH6* CH7 CH8
10.ACCELEROMETER CALIBRATION
Before leaving the factory every unit has been carefully tested and calibrated. Usually you don’t need to perform a
calibration of the accelerometer during use. However, in some specific cases, we’d suggest you re-calibrate the
accelerometer to obtain better performance, these include temperature changes those will probably cause the mechanical
characteristics changes of the sensor, or replacement of new sensor, etc. The calibration should be done on a horizontal
desktop and the gyro needs to be removed from the plane.
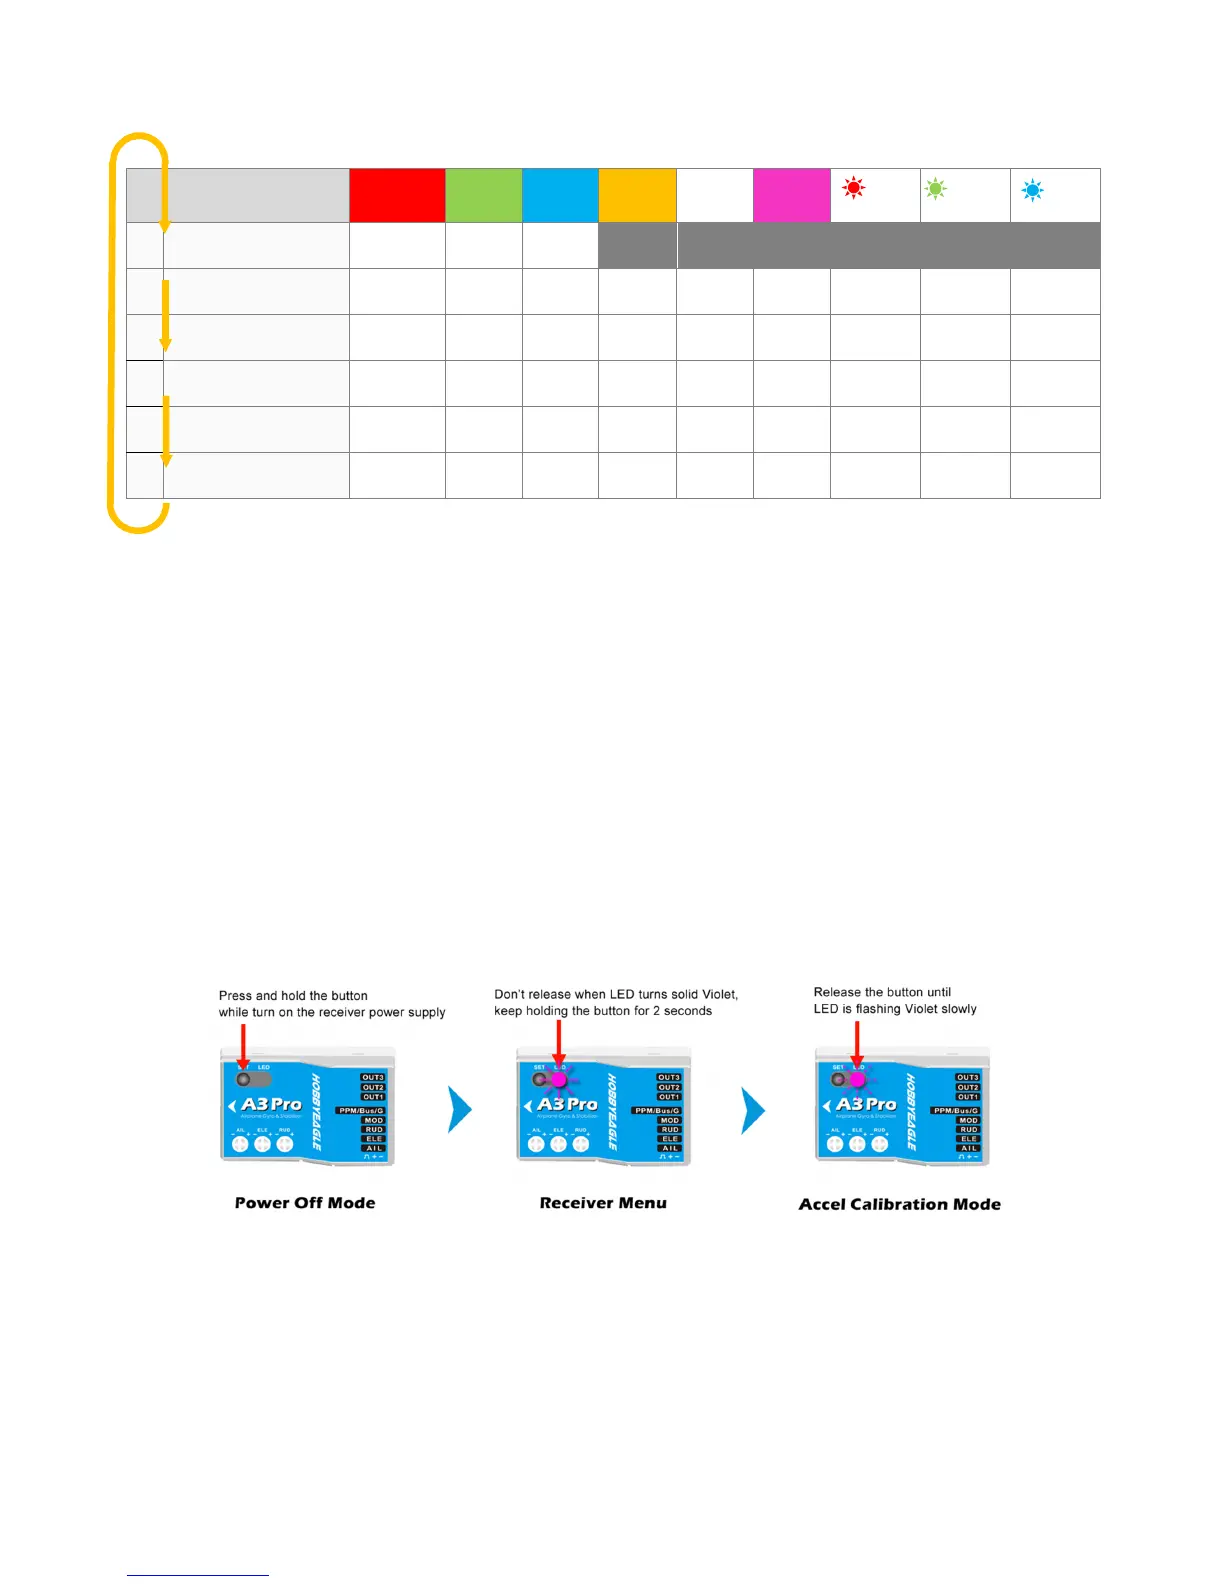
Entering the Calibration Program
To access the accelerometer calibration program, press and hold the button while turn on the receiver power supply,
release it when LED starts flash Violet slowly. (FYA: Don’t release the button when LED turns solid Violet yet, or you will get
into the Receiver Menu but not the accelerometer calibration program.)
How to perform the calibration?
There are 6 steps corresponding to 6 different orientations that should be done step by step. Put the gyro on the table and
fix it with your fingers, short press the button when you are ready to start. Each step will take about 2 seconds. While
calibrating, LED will flash Blue several times and then light up solid in Blue. Don’t move the gyro until the calibration is done.
The steps below are not ordered so you can do in any sequence. After you have finished all 6 steps, LED will flash Violet
once to save the calibration results and then start the initialization normally.