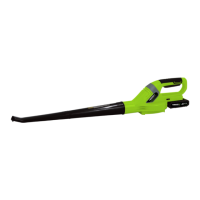
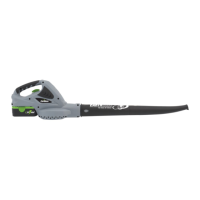
FEATURES
PRODUCT SPECIFICATIONS
LBVM2202
Input. . . . . . . . . . . . . . . . . . . . . . . . . . . . . . . . . . . . . . . . . .. . 40 V / 2.0Ah, DC only
No Load Speed . . . . . . . . . . . . . . . . . . . . . . . . . . . . . . . . . . . . 9500-12800 RPM
Max Air Speed . . . . . . . . . . . . . . . . . . . . . . . . . . . . . . . . . . . . . 166 MPH
Weight. . . . . . . . . . . . . . . . . . . . . . . . . . . . . . . . . . . . . . . . . . . . 10.1 LBS
-Variable Speed Switch-
3
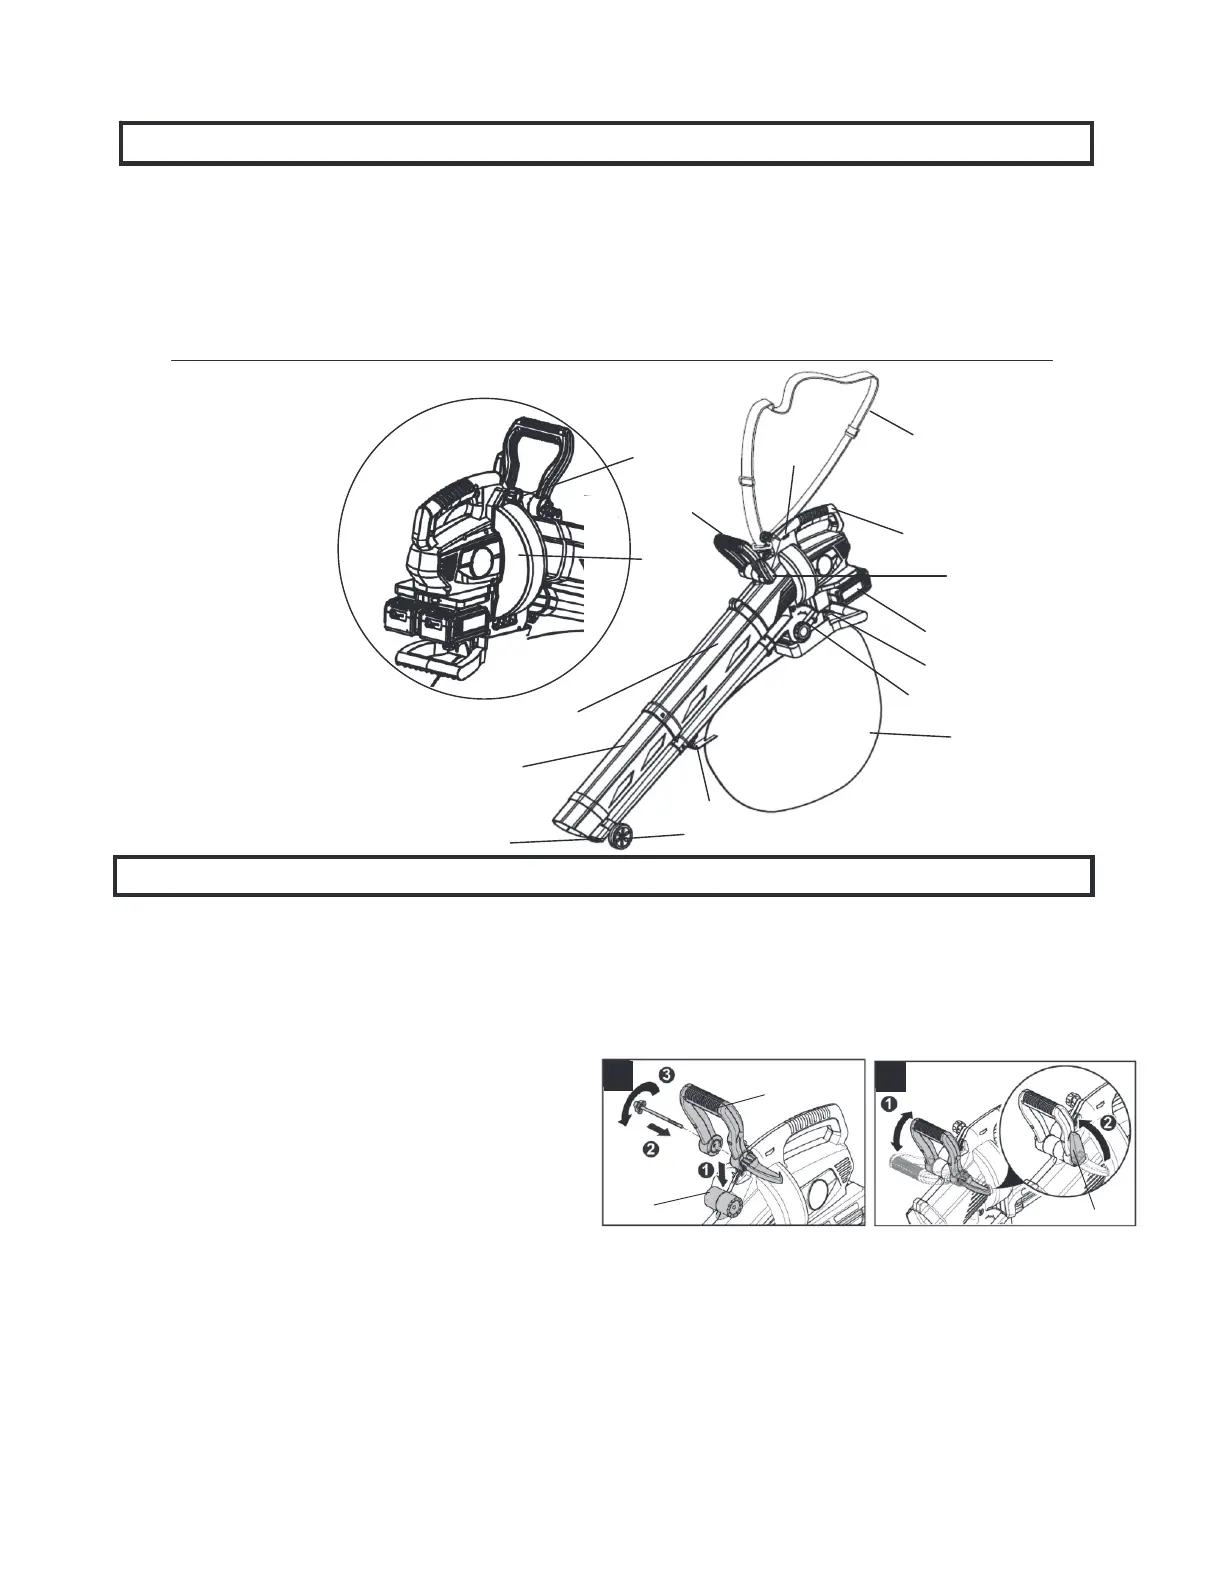
HANDLE ASSEMBLY ( Fig. 1 & Fig.2 )
Place the U-shaped grip (A) over the device housing (B) .
Push the fixing screw through the U-shaped grip and the housing.
Apply the fixing screw.
Select your preferred working angle.
Lock the U-shaped grip by pushing the quick-re-lease lever (C) in.
PACKING LIST
- Blower
- Bottom Tube
- Top Tube
- Battery * 2 and Charge r
- Carrying Belt
- Vacuum Bag
- Transport Wheel
- Deflector Tube
- Owner’s manual
This product requires some assembly.
Carefully remove the product and any accessories from the box.
Make sure that all items listed in the packing list are included.
Inspect the product carefully to make sure no breakage or
damage occurred during shipping.
Do not discard the packing material until you have carefully
inspected and satisfactorily operated the product.
If any parts are damaged or missing ,please call 1-800-633-1501
for assistance.
ASSEMBLY
3
LBVM2202
NOTE: Ens ure the blower is switched off and the batteries are
removed before attaching or removing the sweeper tube. The tube
must be assembled to the housing before use.
BOTTOM BLOW/VACUUM TUBE
UPPER BLOWER TUBE
BATTERY PACK
HANDLE
ON/OFF ROTARY
SWITCH
CARRYING BELT
TURBINE
WHEEL COVER
FIXING SCREW
TOP BLOW/VACUUM TUBE
FASTENING HOOK
TRANSPORT WHEEL
U-SHAPE GRIP
TURBINE
WHEEL
COVER
QUICK-RELEASE
LEVER FOR U-
SHAPED GRIP
VACUUM BAG
VACUUM/BLOW SELECTION LEVER
RELEASE MECHANISM FOR LEAF BAG
BLOWER OPENING
TUBE ASSEMBLY ( Fig. 3 & Fig.4 )
Press the top blow/vacuum tube onto the housing of the device until
it audibly latches in.
Fix the top vacuum/blow tube with the scre w.
Press the bottom blow/vacuum tube onto the top blow/vacuum tube
of the device until it audibly latches in.
Fix the bottom vacuum/blow pipe with the scre w.
1
2
A
B
C