6. Maintenance
To maintain the best results from your pipettor, each unit should be checked every day for
cleanliness. Particular attention should be paid to the tip cone(s).
This pipettor has been designed for easy in- house service. However, we also provide complete
repair and calibration service. Please return your pipettor to your local distributor for repair or
calibration. Before returning, please make sure that it is free from any contamination.
Check the performance of your pipettor regularly e.g every 3 months and after every in-house
service or maintenance.
6.1 Cleaning the pipette
To clean your pipettor, use ethanol and a soft cloth or lint-free tissue. It is recommended to clean
the tip cone regularly.
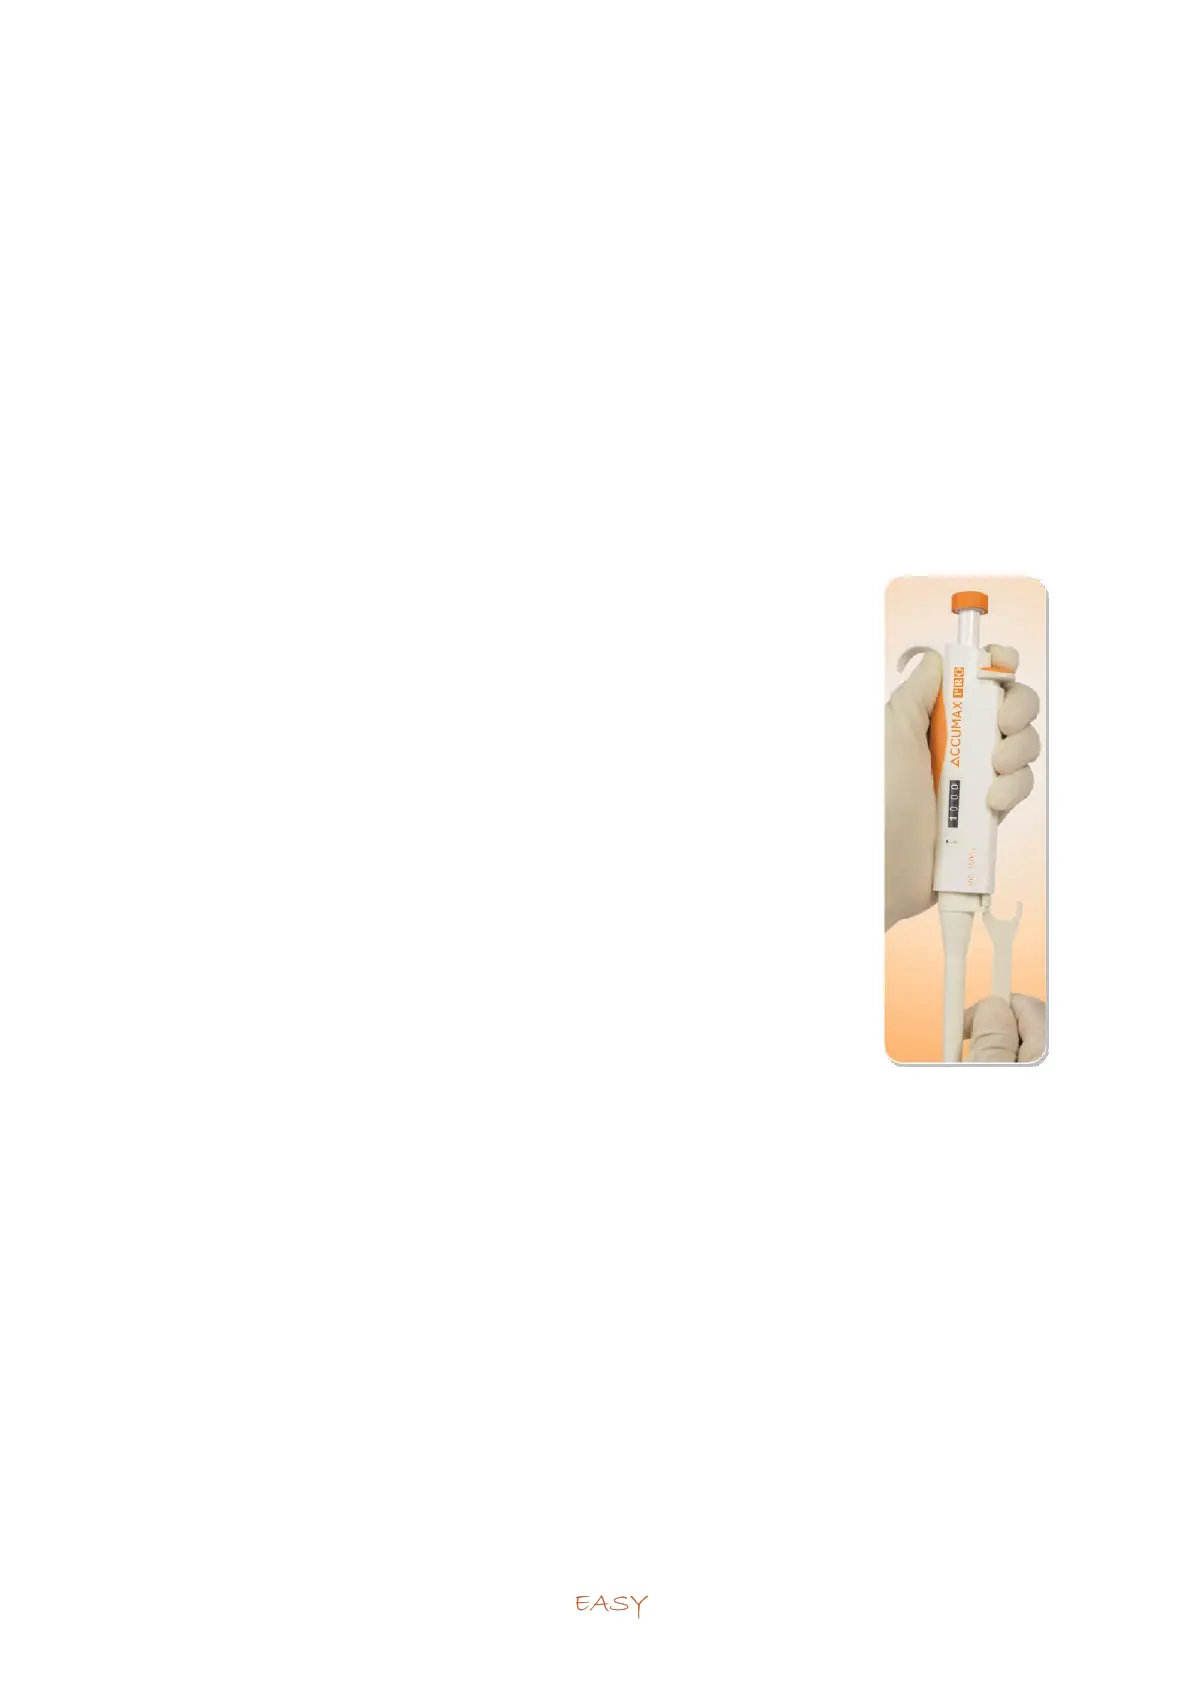
6.2 In-House Maintenance
1. Hold down the tip ejector.
2. Place the tooth of the opening tool between the tip ejector and the tip
ejector collar to release the locking mechanism.
3. Carefully release the tip ejector and remove the ejector collar.
4. Place the wrench end of the opening tool over the tip cone and turn it
anticlockwise.
5. After removing the tip cone, wipe the piston, the O-ring and the tip
cone with ethanol and a lint-free cloth.
Note: Models up to 10µl have fixed O-ring location inside the tip cone, so
do not remove or maintain it.
6. Before replacing tip cone, it is recommended to grease the piston
slightly using the silicone grease provided.
7. After reassembling, use the pipettor (without liquid) several times to
make sure that the grease is spread evenly.
8. Check the pipettor calibration.
Note: Never disassemble the upper part of the pipette. To avoid losing or
damaging fragile parts, reassemble the pipette immediately.
 Loading...