
S
Sabrina HoweAug 18, 2025
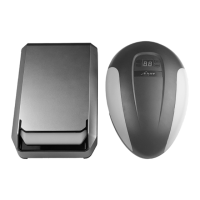
Why Easy 600 Garage Door Opener remote control does not work?
- DDaniel LeeAug 18, 2025
If the Easy Garage Door Opener remote control isn't working, it could be due to a dead battery or interference in the vicinity. Try replacing the battery first. If that doesn't work, remove any potential sources of interference nearby, such as baby monitors.