Amperage
Do not exceed three amps of current per each one
of the installed valves.
Gross Vehicle Weight Rating (GVWR)
IMPORTANT: The installation of this kit does not
alter the GVWR or payload of the vehicle. Check
your vehicle’s owner’s manual and do not exceed
the maximum load listed for your vehicle.
System Requirements
Gross Vehicle Weight Rating - The maximum
allowable weight of the fully loaded vehicle (including
passengers and cargo). This number - along with
other weight limits, as well as tire, rim size and
inflation pressure data - is shown on the vehicle’s
Safety Compliance Certification Label.
Payload - The combined, maximum allowable weight
of cargo and passengers that the truck is designed to
carry. It is GVWR minus the Base Curb Weight.
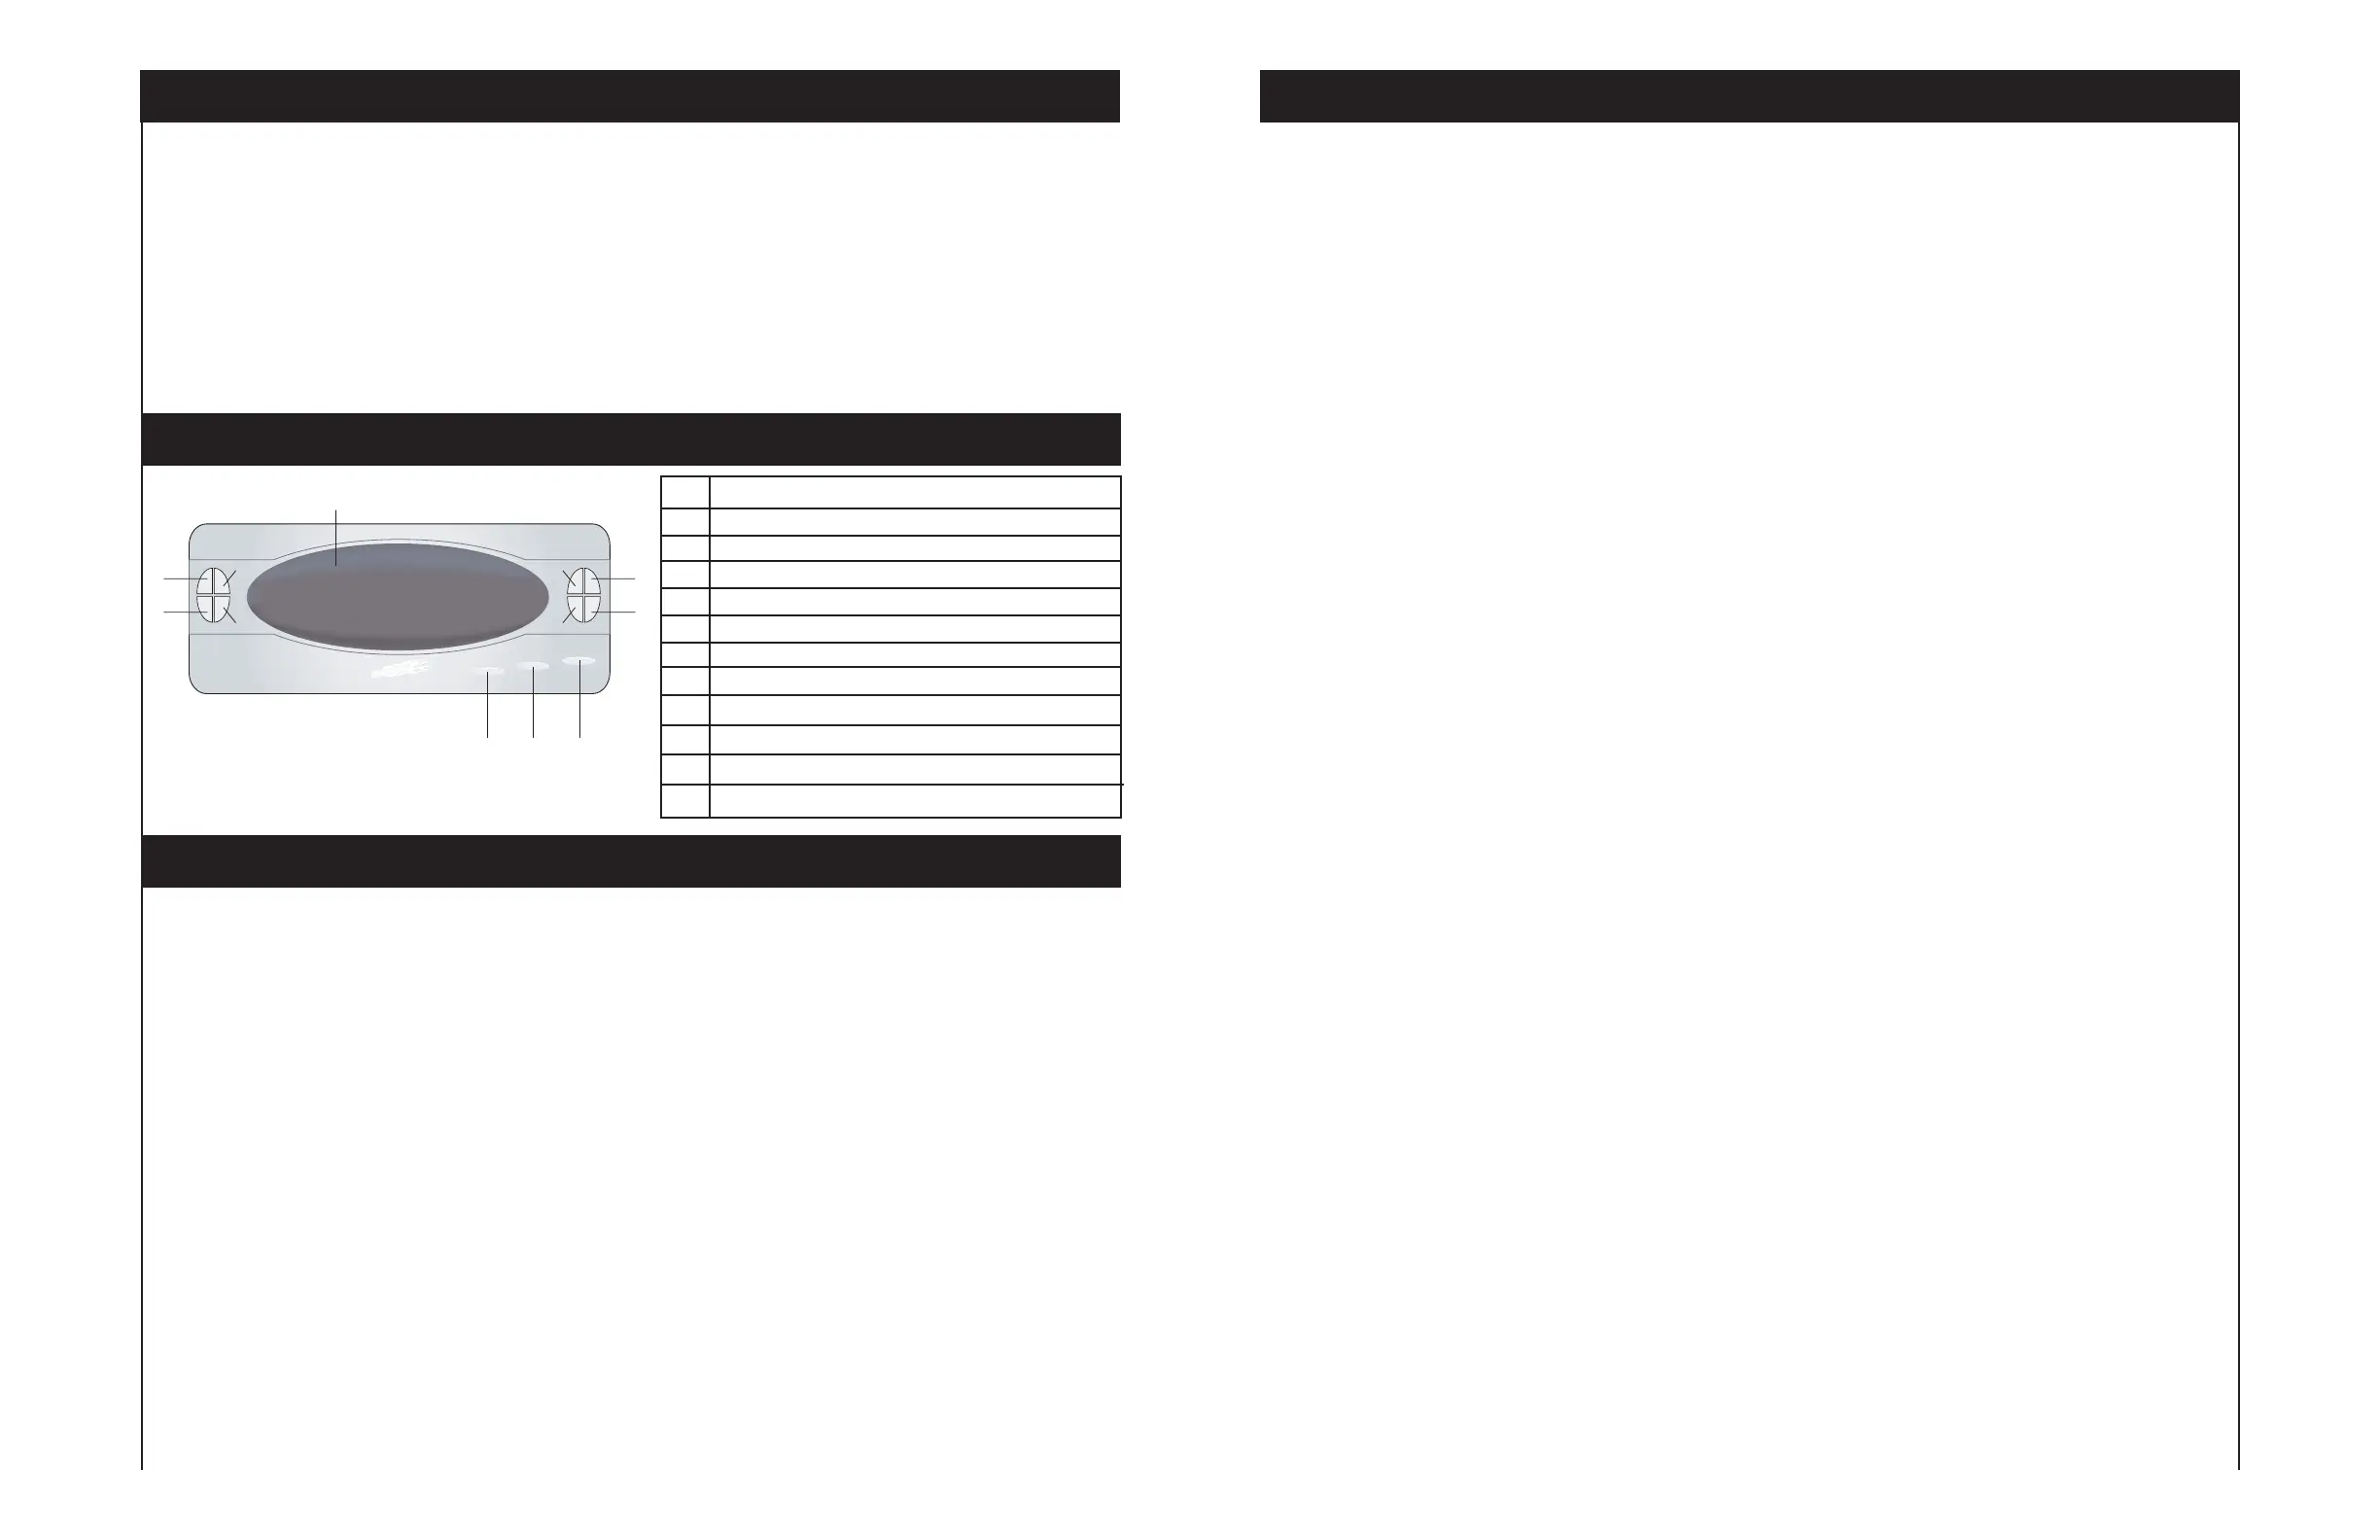
System Requirements/ECU Diagram
1
ABC
D
E
I
H
G
F
K
J
L
Tune Feature
Using the tune feature must be done before attempting any other function. The tune feature will
allow the controller to learn the exact pressures needed to lift your vehicle. By knowing this, it will
prevent the system from over-shooting your preset ride height.
1. Make sure your tank is full and your vehicle is at 0 PSI. Press and hold the Ride Height button (B) for
greater than 3 seconds until “Edit Options” appears.
2. Press the Right Front Inflate button (J) and scroll through the Edit Options menu until you see “Tune”. Turn the
tune feature on by pressing the Left Rear Inflate button (F). Exit out of the Edit Options menu by pressing the
Ride Height button (B). Wait for the controller to learn your vehicle. This may take a few minutes.
Setting Ride Height
Tank pressure must be over 145 PSI to set the ride height.
1. Make sure your tank is full. Set your vehicle to ride height manually using the individual wheel control
buttons. We recommend inflating all four corners and slowly deflating each one at a time until the desired
ride height is achieved. Ride height must be set above 30 PSI.
2. Press and hold the Ride Height button (B) for 1-3 seconds. Your settings are now saved. You may now
achieve ride height by pressing the Ride Height button (B).
A
B
C
D
E
F
All Lowered
Ride Height and Access Menu Features
All Raised
G
H
I
J
K
Right Rear Deflate
Right Rear Inflate
Left Rear Inflate
Left Rear Deflate
Display Screen
L
Left Front Inflate
Left Front Deflate
Right Front Inflate
Right Front Deflate
Setting the Features - A Quick Guide
10
Operational Instructions
Operational Instructions (Continued)
ECU Diagram
Ride-height button:
• The ride-height button has different functionality based on the length of time it is pressed.
• Short Press (less than 1 second)
• If in auto-mode, the system returns to manual-mode.
• If not in auto-mode, the system engages ride-height using the previously saved ride-height settings. If auto-pressure-
regulation is enabled, the system enters auto-mode and maintains the airbag pressures automatically. If auto-pressure-
regulation is not enabled, the sytem reverts to manual-mode after the airbag pressures are set. If the air tank pressure is
too low (less than 135 psi), “Low Air” will be displayed and the system will remain in manual mode.
• If any air bag pressure is at less than 30 psi, the system will initially attain pressures that are 10 psi greater than the ride
height settings. The system will establish the desired ride height setting in approximately 15 seconds.
• Medium Press (between 1 and 3 seconds - “Set Ride Ht” is displayed)
• If the system is in auto-mode, “Set Ride Ht” is not displayed and the system remains in auto-mode at the current settings.
• If the system is not in auto-mode, it reads the current air bag pressures, saves these as the new settings, and then engages ride-
height. If auto-pressure-regulation is enabled, the system enters auto-mode and maintains the air bag pressures automatically. If
auto-pressure-regulation is not enabled, the system reverts to manual-mode after the air bag pressures are set.
• If the airbag pressures are outside the allowed range for ride height (30-120 psi) “Range” will be displayed and the
system will not accept the new settings.
• Long Press (greater than 3 seconds - “Edit Options” is displayed)
• The system enters option-mode to allow editing of the system options. Use the right-front buttons to select an
option, the left rear buttons to change the option-setting.
• Press the ride-height button to exit option editing and to return to the previous operating mode. If system was in
auto-mode but “Auto” is now disabled, it returns to manual-mode.
If Ride Ht is enabled, the system will set the airbag pressures to the saved setting values on start-up. If Auto is enabled,
the system will then enter auto-mode. If Auto is not enabled, the system will then go to manual-mode after the pressures
are properly set.
User Interface:
Front and rear button groups:
• These eight (8) buttons open the corresponding solenoid valve when pressed.
• In auto-mode, the system returns to the manual-mode if any of these buttons are pressed.
• In option-mode, the right-front buttons scroll through the options, while the left-rear buttons modify the displayed
option’s value.
All-up/all-down buttons:
• Open all fill or dump solenoid valves when pressed.
• In auto-mode, the system returns to manual-mode if either of these buttons are pressed.
 Loading...