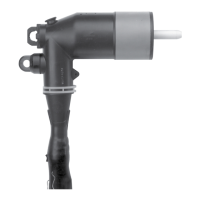
600 A T-OP II™ terminator operation instructions
3 Operation Instructions MN650047EN May 2017
Using the hotstick, insert the O&T/Torque tool into the
throat of the 200 A bushing portion at the LRTP. Engage
the rotating nut. (Refer to Figure 7.)
Turn the O&T/Torque tool counterclockwise until both the
threaded connection and the interference fit of the T-OP
II is broken.
Figure 7. Installing the O&T/Torque tool into one LRTP
ote:N The initial disconnect of the T-OP II may be difficult
until the installation torque is overcome.
Using the hotstick, lift the T-OP II termination off the
apparatus bushing and place it on the insulated standoff
bushing. (Refer to Figure 8.)
While pushing the T-body onto the standoff bushing, turn
the O&T/Torque tool clockwise to make the threaded
connection, turn until tight.
Remove O&T/Torque tool.
Figure 8. Move T-OP II Terminator to insulated bushing
Step 4
Provide a visible ground
After securing cable end of grounding elbow to the
system ground, firmly grasp the pulling eye of the elbow
with the hotstick.
Close the grounding elbow into the 200 A bushing of the
LRTP. (Refer to Figure 9.)
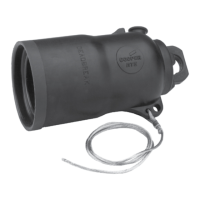
Attach drain wire of 600 A T-OP II protective cap to
system ground.
Clean and lubricate mating interface of cap.
Figure 9. Install the grounding elbow into the
200 A bushing
Grasp pulling eye of cap with hotstick and pull fully into
the stick.
Using the shotgun, install protective cap on to the
exposed apparatus bushing by threading the cap on to
the bushing stud.
Turn until tight and remove hotstick.
Repeat this procedure on both ends, for each cable to
be grounded. (Refer to Figure 10.
Figure 10. Install protective cap on exposed
apparatusbushing

 Loading...

