PREVENTIVE MAINTENANCE
. PREVENTIVE
MAINTENANCE
CHECK
CHART
CHl!CKS
WITHOUT
PARTIAL
DISASSl!MB
LY
OP'
CHASSIS
OR
CAB
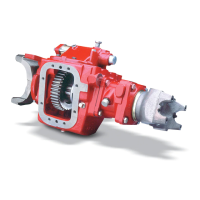
1. Clutch Housing Mounting
a. Check all caps.crews
oi
clut
ch
hou
sing
flange
tor
looseness.
2. Clutch Release Bearing (Not Shown)
a.
Re
m
ove
hand ho(e
cover
and
check
radial
and
axial
olee
r
ance
In
rel
eese
bei!rlng.
b.
Check relative posit
ion
of
t
hrus
t surface
of
release bearing w ith
thrust
sleeve
on
push·
type
clutches.
3. Clulch Pedal Shaft and Bores
4.
5.
a. Pry upward
on
shafts -
10
check wear.
b.
If
ex
ee-ssive
movement
1s
found, temovc
c
lu
tch
release mechanism and
check
bush-
ings
in
bOres and
wea1
o n
shaf
t
s.
Lubricant
a.
Change at spe<:lfled service
ln
lervals.
b. Use only the types and grades as recom·
mended. See LUBRICATION
Filler and Drain Plugs
a. Remove tl
ll
or
plug and check level
of
l
ubr
i·
oan1
at specifi
ed
In
tervals. Tlghlen fll1er
and
drain
pl
ugs
sec
ur
ely.
6. Capscrews and Gaskels
a.
Check
all
capscrews,
especia
ll
y lhose on
PTO
covers
and
reat
bear
in
g
cove
fs
101
looseness
v1hioh
would
ca.
use o
ll
leakage.
See TORQUE RECOMMENDATIONS.
b. Check PTO
ope
nin
g and re
ar
bearing
cov·
era
for
oil
leaka
ge
.
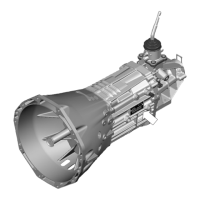
7. Gear Shift Lever
a. Ch
eck.
t
or
looseness and free play
in
hous·
Ing.
If
lever fs loose
In
housin
g,
proceed
w
it
h
Check
No. 8.
II
8. Gear
Shift
Lever Housing Assembly
a.
Remove
ihe
gear
sh
lf
1 l
ever
housing
as·
sembly
from
lransmisslon.
b. Check tension
spr
i ng and washer
for
set
and wear.
c.
Check bOtlom end
of
gear
shift
lever
for
weac
ol
slots. Also
check
for
we.at
of
finger
assembly.
CHECKS
WITH
DRIVE
LINE
DROPPED
9.
Universal
Joint
Companion Flange
or
Yoke
Nut
a.
Check
f
or
tigh
tn
ess
.
Tighten
to
recom·
mended torque.
10. Output Shafi (Not Shown)
a P
ry
upward agatns1 outp
ut
shall
10 check
radial clear
ance
in
main&haf
t rear
bea
ri
ng.
CHECKS
WITH
UNIVER
SAL
JOINT
COMPANION
FLANGE
OR
YOKE
REMOVED
NOTE: I f necessary. use solvent and shop rog 10
cl
esn
sealing
surface
of
compa
ni
on flange
or
yoke. DO NOT USE CROCUS CLOTH,
EM
ERY
PAPER OR OTHER
A
BR
ASIVE MATERI ALS
THAT
Will
MAR
SURFACE F
INIS
H
11. Splines on Output Shafi
(Not Shown)
a.
Check l
or
wear from m
ove
ment
and
chuck·
Ing
action
ot t
he
unl¥ersai
jo
in
t
co
m
pan
i
on
flange o r yoke.
12. Mainshaft Rear Bearing Cover
a.
Check
o
ll
seal tor w
ea1.
 Loading...