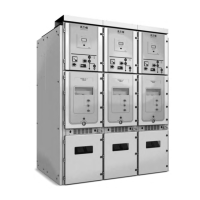
3.3.4 Preparations
1. If any cables come out of the floor, make sure they
are electrically isolated.
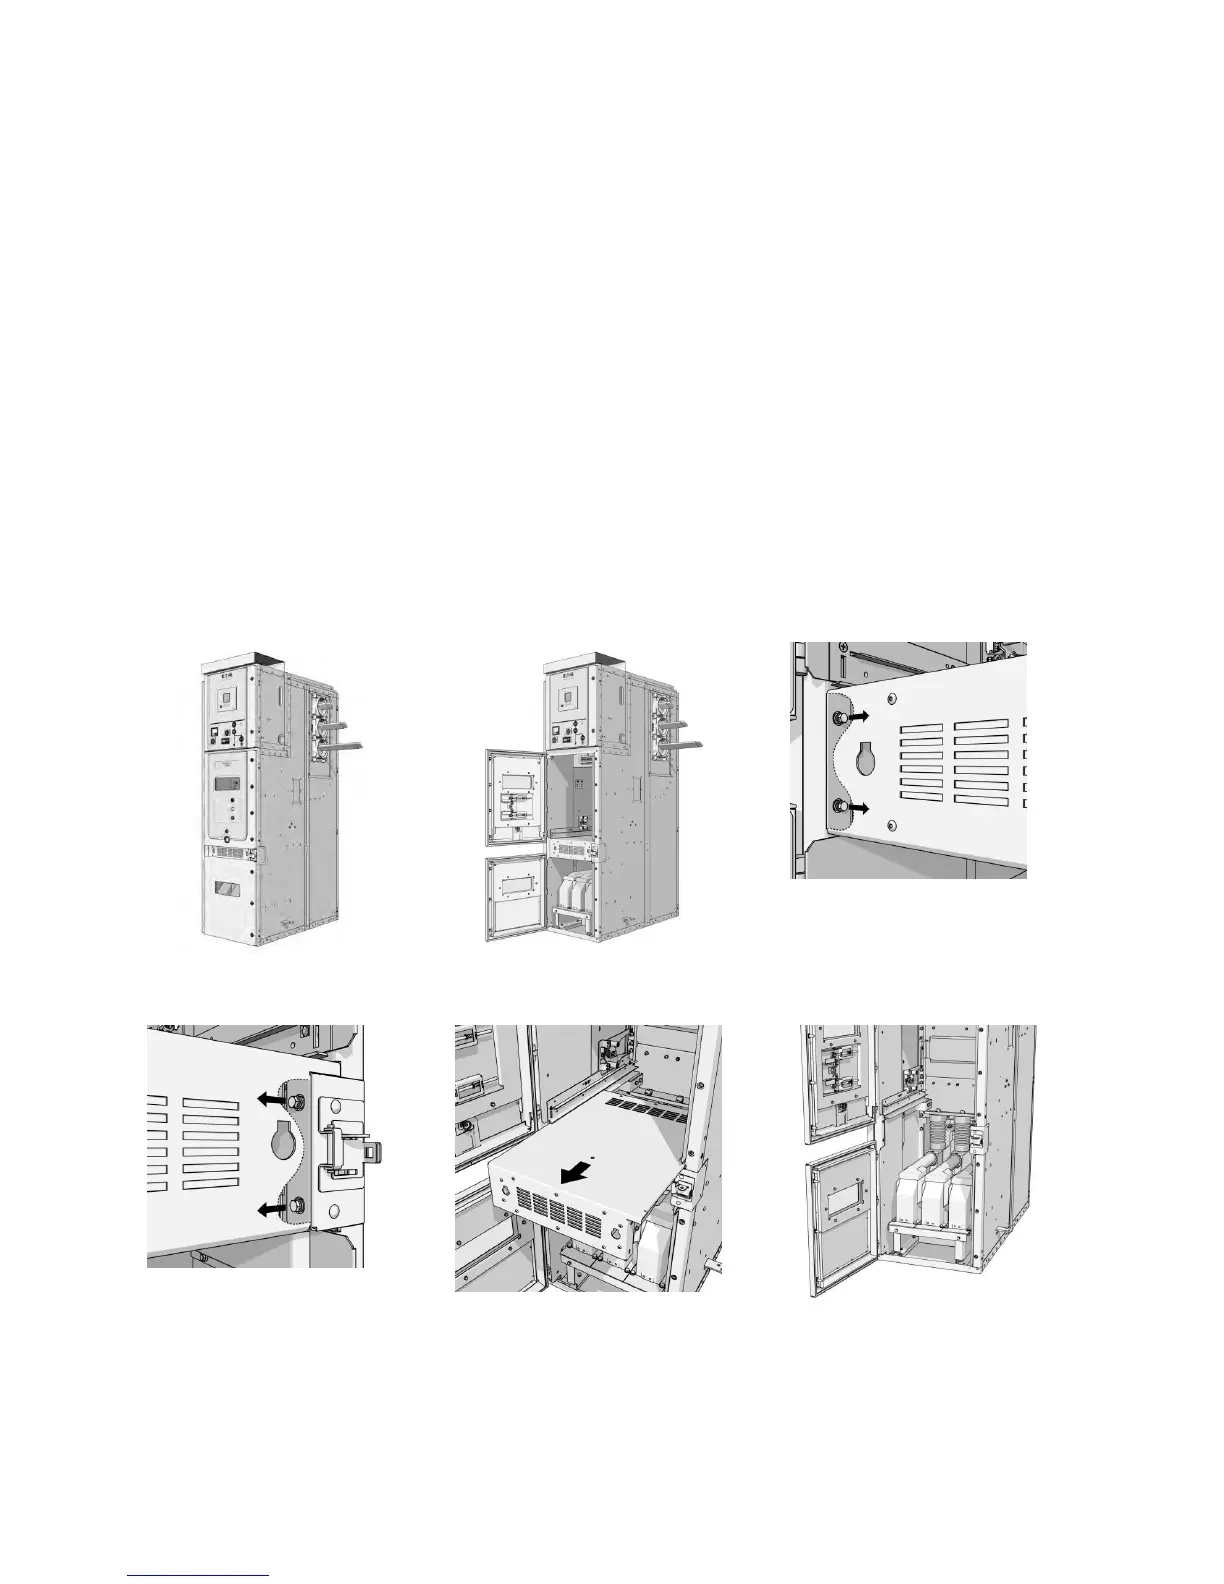
2. Open doors with panel door key.
3. Remove the bolts (2 on left and 2 on the right) from
behind the mid-pan.
4. Pull the mid-pan forward and remove from the panel.
5. Remove nuts connecting VT and bracket copper bar.
6. Remove bolts connecting VT and VT mounting tray.
7. Remove the VT one at a time and then remove the
VT mounting tray.
8. Remove secondary partition inside of the front left
side sheet.
9. Remove the protective covering from the installation
side, which is to be coupled.
10. Remove venting plate.
11. If the installation is not backed against a wall, it is
recommended to remove the rear walls of the
Power Xpert
®
UX installation.
12. When all busbars and cables are connected, follow
upper steps in reverse to reassemble installation.
 Loading...