10
Getting Started
Getting StartedGetting Started
Getting Started
1. Check box for damage. Damages caused in shipment
must be reported immediately.
2. Make sure you have all the parts:
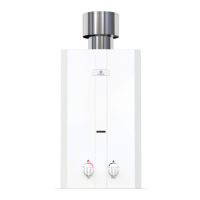
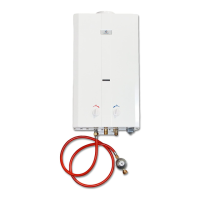
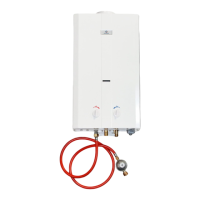
a. Water heater
b. LP gas regulator and hose
c. Rain cap
d. ½” NPT to garden hose adapter
e. Hardware pack
3. Install the rain cap to the top of the flue vent. The rain cap
should fit securely. It is recommended that a beaded layer
of high temperature sealant is used around the perimeter
of the seal between the rain cap and the flue vent.
4. If using a standard garden hose, attach the ½” NPT to
garden hose adapter to the fitting marked “Water Input”.
Use “Teflon” tape or other approved sealing method on
the threads for a secure, water tight fit. Check to make
sure the screen inside the water inlet is in place and clean.
Then attach your water input/garden hose.
5. Install gas supply line and regulator to the unit. DO NOT
OVER TIGHTEN. OVER TIGHTING MAY CRACK THE
GAS REGULATOR CAUSING A GAS LEAK! Check for
any gas smell before ignition! Make sure it is screwed all
the way on.
15