- 2 -
©2018 ECHO Incorporated. All Rights Reserved
X7672053800
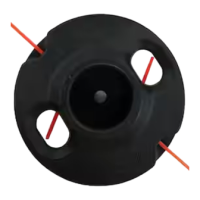
Adapter Fit-up Chart
Ref # Hardware Description Triangle Adapter
RL52
BOLT, LEFT HAND, (silver),
M10-1.25×22
(orange bag)
10 mm
RL53
BOLT, LEFT HAND, (gold)
M8-1.25×22
(orange bag)
8 mm
RL70
NUT, LEFT HAND, (blue)
M8×1.25
(orange bag)
RL71
NUT, RIGHT HAND, (gold)
M8×1.25
(green bag)
8 mm
Adapter, Large
(marked with letter “H”)
RL72
NUT, LEFT HAND, (black)
M10×1.0
(orange bag)
10 mm
RL74
NUT, LEFT HAND, (gold)
M10×1.25
(orange bag)
RL77
NUT, RIGHT HAND, (red)
3/8 in.-24
(green bag)
3/8 in.
RL78
NUT, LEFT HAND, (silver)
3/8 in.-24
(green bag)
RL98
BOLT, RIGHT HAND, (silver)
5/16-20×1/2 in.
(green bag)
8 mm
Adapter, Large
(marked with letter “H”)
and small “J” Adapter
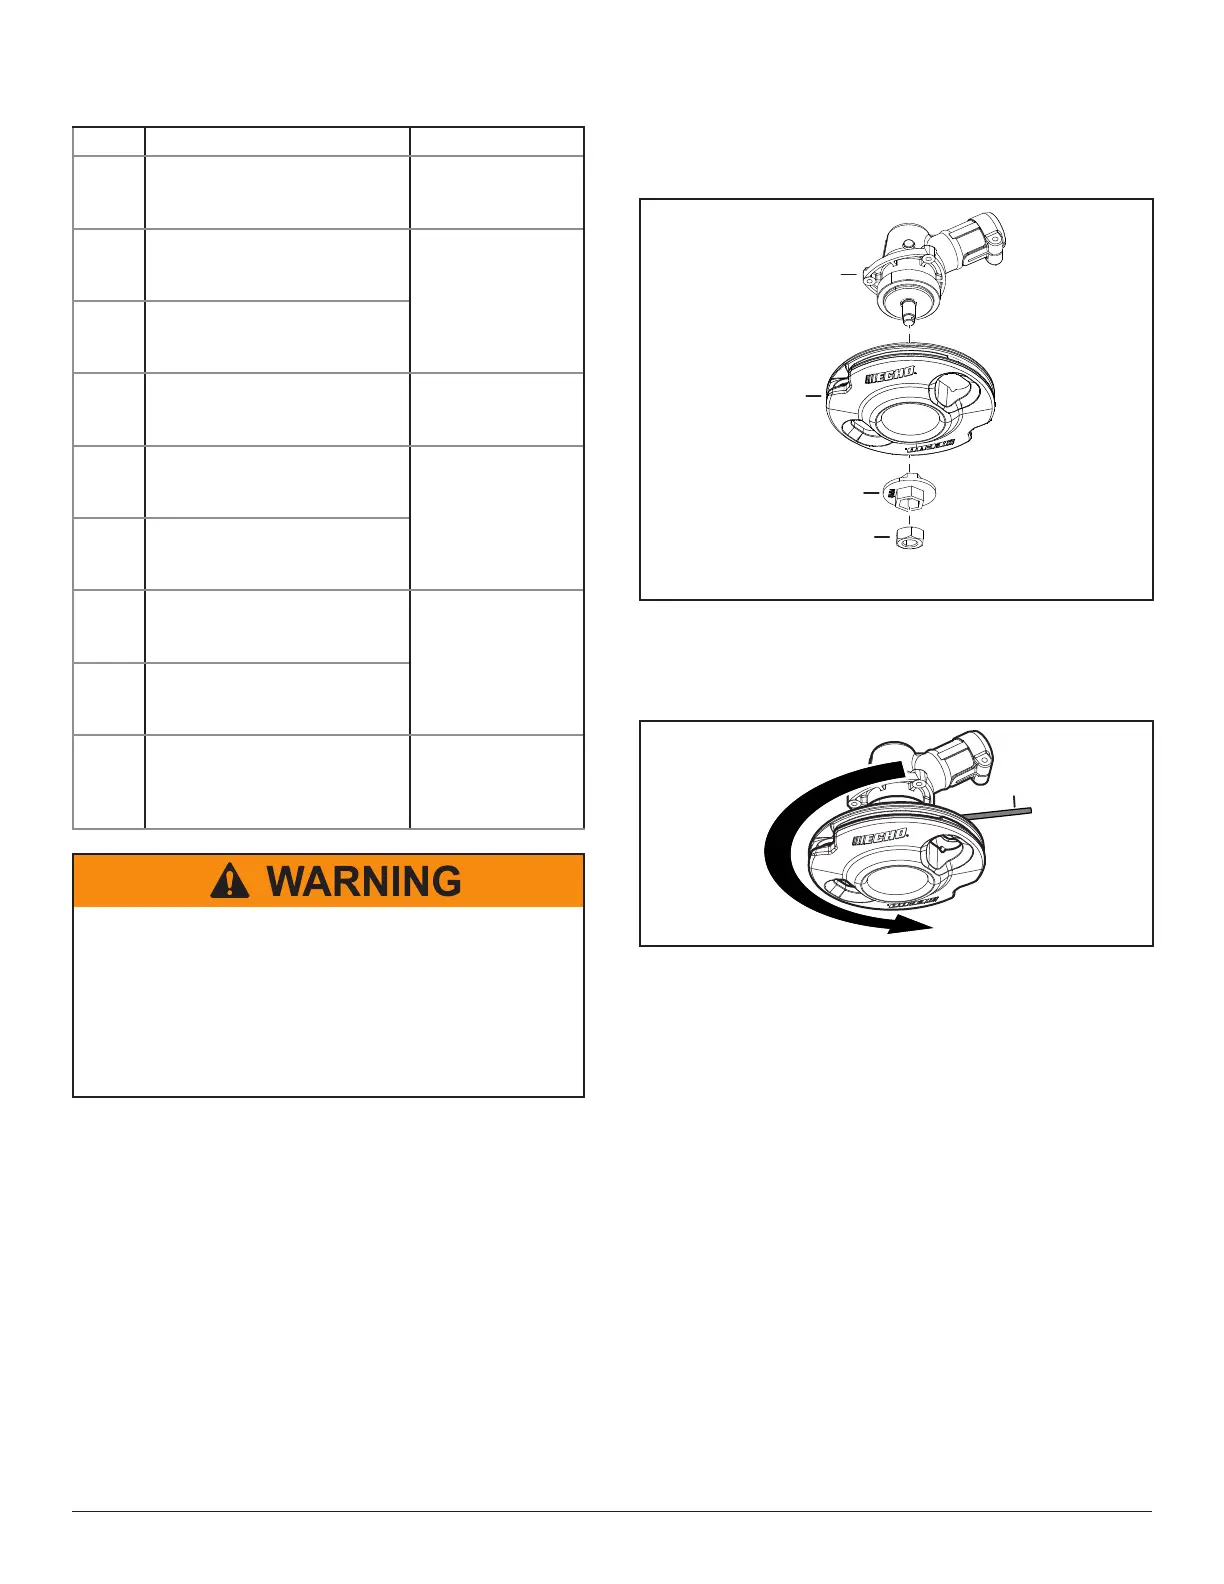
Personal injury hazard.
Read the operator’s manual for your trimmer
before installing the Rapid-Loader Trimmer
Head.
Failure to read the operator’s manual may
result in personal injury.
Note: Images of gear cases are representations only.
Your gear case may appear different.
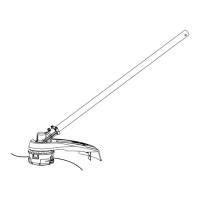
Procedure – Male Threaded Units
1. Identify the correct trimmer in the Application Fit-
up Chart, see pages 6-7. Locate and record the
RL REF#.
2. Use the Adapter Fit-up Chart to identify the
correct nut and triangle adapter.
3. Remove existing head.
4. Install as shown:
A - Gear case
B - Rapid-Loader Trimmer Head
C - Triangle adapter
D - Left-hand nut
A
C
D
5. Insert locking tool, allen wrench, or screwdriver,
(E), into gear case. Turn head counterclockwise
to tighten. Remove locking tool, allen wrench, or
screwdriver.
E
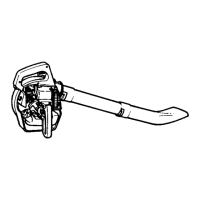
Procedure – Female Threaded Units
1. Identify the correct trimmer in the Application Fit-
up Chart, see pages 5-6. Locate and record the
RL REF#.
2. Use the Adapter Fit-up Chart to identify the
correct triangle adapter and bolt.
3. Remove existing head.
4. Install as shown:
A - Gear case
B - Rapid-Loader
Trimmer Head
C - Triangle adapter
D - Left-hand bolt
 Loading...