38
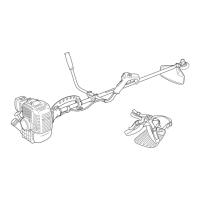
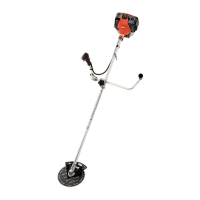
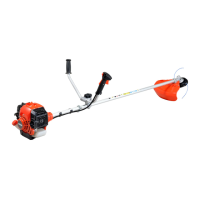
SRM-4000/5000
E
N
G
L
I
S
H
D
E
U
T
S
C
H
I
T
A
L
I
A
N
O
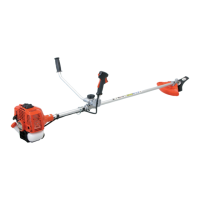
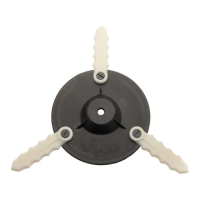
(4) Bend the line at the point 15 cm away from the middle
of whole length and hook the bent portion into the
“notch” of the intermediate separator.
(5) Wind the line firmly into groove of the spool following
“winding direction for the line LH”.
(6) When the line is wound to the end hook both line ends
into respective notch of spool for retaining tentatively
the line while leaving line ends approximately 10 cm
beyond notch.
(7) Put spool into housing with the marked side visible.
15 cm
1
2
45
6
1. Intermediate separator
2. Bent portion
3. Notch Nylon line
4. Winding direction for the line
5. If wound unfirmly, the line loosens.
6. Wind firmly into respective groove.
(6) (7)(4) (5)
(4) Den Faden durch das Loch in der Fadenspule ziehen,
dabei beachten, dass das Ende der einen Seite ca. 15
cm länger ist als die Anderen.
(5) Wickeln Sie den Nylonfaden fest, in Wickelrichtung,
auf die Fadenspule “LH”.
1. Dazwischenliegender Abschneider
2. Gebogener Teil
3. Loch für den Nylonfaden
4. Wickelrichtung des Nylonfadens
5. Wenn Sie nicht fest wickeln, lockert sich der Faden.
6. Wickeln Sie den Faden fest auf die Spule.
(4) Piegate il filo a 15 cm circa dalla metà della sua intera
lunghezza ed agganciate la parte piegata nella
“feritoia” del separatore intermedio.
(5) Avvolgete il filo nella scanalatura della bobina in
modo che sia aderente, seguendo la “direzione di
avvolgimento filo LH”.
1. Separatore intermedio
2. Parte piegata
3. Ferotoia per il filo
4. Direzione avvolgimento filo
5. Se il filo non è avvolto sufficientemente stretto, si
allenta.
6. Avvolgete il filo in modo che esso aderisca nella
rispettiva scanalatura.
(6) Wenn Sie beim Aufwickeln des Faden ans Ende
kommen, klemmen Sie die beiden Fadenenden
vorläufig so in die Schlitze der Fadenspule ein, dass
noch ungefähr 10 cm Faden überstehen.
(7) Führen Sie die Fadenspule mit der Ihnen zugewandten
Seite, welche beschriftet ist, in das Gehäuse ein.
(6) Quando il filo è stato avvolto completamente,
agganciate entrambe le estremità nella rispettiva
feritoia sulla bobina per bloccarle provvisoriamente,
lasciando circa 10 cm di filo oltre la feritoia.
Feritoia per bloccare provvisoriamente il filo.
(7) Montate la bobina sul corpo testina con il lato marcato
visibile.
3