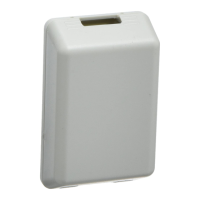
Wiring Diagrams
Below are the Equipment Interface Terminal Labels
Please take note that there is a factory-nstalled jumper
between R/H and R/C.
5.
Use drywall plugs or other screw anchors (not
included) to ensure the Equipment Interface can be
mounted securely.
6.
Fasten the backplate to the wall using the appropriate
screws (not included).
Wiring the Equipment Interface
To wire the Equipment Interface:
1.
Disconnect the power to the HVAC equipment.
2.
Disconnect the wires going to the existing Thermostat.
3.
Follow the wiring diagrams on pages 10-15, connect the
HVAC equipment to the Equipment Interface.
4.
Do not apply power until you have installed and
connected the Thermostat. (see pages 17-19)
5.
Do not install the front cover on the Equipment
Interface at this point.
9 Installing The ecobee System
D-
D+
GND
+12V
IN2-
IN2+
IN1-
IN1+
Y
W O/B
G
W2 AUX
R/H
R/C
NC
NC
ACC1
ACC1r
ACC2
ACC2r
ACC3
ACC3r
Power
System
Line
Communications
24 Vac
Y
W O/B
G
W2 AUX
R/H
R/C
ACC1
ACC1r
ACC2
ACC2r
ACC3
ACC3r
Equipment Interface
Y
G
R
Hum
W
C
Furnace
Humidier
C
24V
Air Conditioner
NOTE factory installed jumper.
Non Powered Accessories will require a jumper from RH | RC to ACC1, ACC2, ACC3 for a 24V feed.
Diagram indicates 24V humidier terminal. If your furnace control board does not have this, you must use a 110V/24V step down transformer.
Single Stage Heat/Cool With 3 Accessories