Do you have a question about the Ecobee ecobee3 lite and is the answer not in the manual?
Lists tools needed for installation.
Safely disconnect power to your heating/cooling system.
Verify that no air is coming from vents after powering off.
Detach the old thermostat cover from the wall.
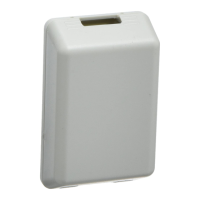
Check the old thermostat backplate for specific indicators.
Document the existing wire connections at the old thermostat.
Determine if a C wire is connected to the old thermostat.
Carefully label and detach wires from the old thermostat.
Unscrew and remove the old thermostat's mounting plate.
Decide whether to use the trim plate to cover wall imperfections.
Align and attach the trim plate to the backplate if used.
Pull wires through the backplate and secure it to the wall.
Verify the correct connection of R, Rc, or Rh wires.
Insert the remaining wires into their corresponding terminal blocks.
Gently tug wires to ensure they are securely connected.
Push excess wire back into the wall to prevent drafts.
Press the ecobee thermostat onto the backplate until it clicks.
Turn the power back on to the HVAC system at the breaker.
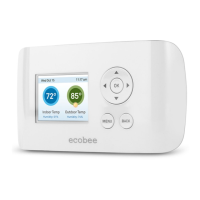
The ecobee screen will guide through setup and registration.
Congratulations message and final setup instructions.
Verify completion of initial installation steps.
Confirm presence of required wires for PEK installation.
Gather necessary items and locate the HVAC system.
Open the HVAC system cover to reveal the control board.
Document the wire connections on the HVAC control board.
Label specific wires (R, Y, G, W) connected to the control board.
Carefully disconnect the labeled R, Y, G, and W wires from the control board.
Connect the disconnected wires to the corresponding PEK terminal blocks.
Gently tug wires connected to the PEK to ensure security.
Connect the PEK's output wires to the HVAC control board terminals.
Verify the Power Extender Kit is correctly installed between wiring and board.
Securely mount the PEK and close the HVAC cover panel.
Disconnect and label wires from the old thermostat again.
Unscrew and remove the mounting plate of the old thermostat.
Decide on using the trim plate to conceal wall marks.
Align and attach the trim plate to the backplate if used.
Pull wires through the backplate and secure it to the wall.
Connect specific wires (R, G, Y) to PEK terminals and then remaining wires.
Gently tug wires connected to the thermostat for security.
Push excess wire back into the wall to prevent drafts.
Press the ecobee thermostat onto the backplate until it clicks.
Turn the power back on to the HVAC system at the breaker.
The ecobee screen will guide through setup and registration.
Congratulations message and final setup instructions.
Steps to resolve issues if the ecobee fails to power on.
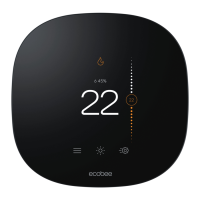
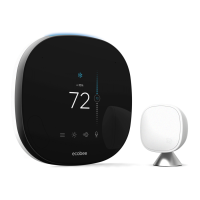
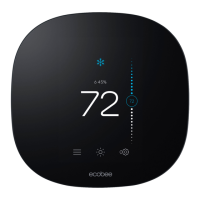
Explains the home screen, icons, and system modes.
Visual guides for conventional, heat pump, boiler, and PEK wiring.
Covers product approvals, FCC/IC compliance, and warranty terms.
| Brand | Ecobee |
|---|---|
| Model | ecobee3 lite |
| Category | Thermostat |
| Language | English |