NOTE factory installed jumper must be removed for this conguration.
Non Powered Accessories will require a jumper from RH | RC to ACC1, ACC2, ACC3 for a 24V feed.
Dual Transformer – Dual Stage Cooling With Boiler
Comp 2
Boiler
C
C
Air Conditioner
W
R
Y2
Y1
R
Y2
Dual Stage Cooling with Boiler
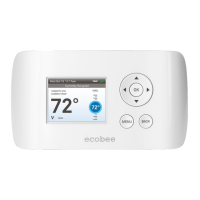
15 Installing The ecobee System
Remove factory-installed jumper
indicates a jumper. Non-powered accessories require a jumper
from RH / RC to ACC1, ACC2, ACC3 for a 24V feed.
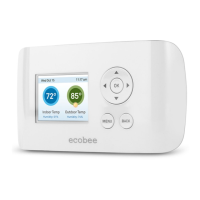
Installing the Thermostat
Before beginning installation of the Thermostat, choose
a suitable location as outlined in the Planning the Install
section on page 7.
Do not install the Thermostat:
Close to sources of heat such as incandescent lights
or heating/cooling registers.
In direct sunlight.
On exterior, non-insulated or poorly insulated walls.
In the kitchen or other areas of potentially high heat
and/or humidity.
In an area that could restrict air ow.
To install the Thermostat:
1. Remove the front cover of the Thermostat, insert
a flat-head screwdriver into one of the slots as shown
below and gently twist the screwdriver.
2. Place the Thermostat backplate on the wall. Make
sure that any existing wires can be inserted through the
opening for the wiring.
3. Using the backplate as a template, mark the location
of the mounting holes on the wall as shown below.
Insert screwdriver into one of two slots and twist gently
D- D+ GND +12V
The solid color indicates mounting holes
Installing The ecobee System 16