18|
Check Item Acceptance criteria
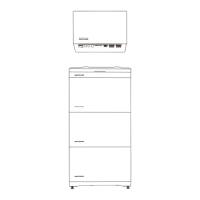
Equipments Equipments are installed correctly and securely.
Cables routing
Cables are routed properly as required by the
customer.
Cable tie Cable ties are evenly distributed and no burr exists.
Grounding
The PE cable is connected correctly, securely, and
reliably.
Switch All the switches connecting to the system are OFF.
Cable connection
The AC/DC power cable, battery cable, and
communication cable are connected correctly, securely,
and reliably.
Unused terminal and
port
Unused terminals and ports are locked by watertight
covers.
Installation
environment
The installation space is proper, and the installation
environment is clean and tidy.
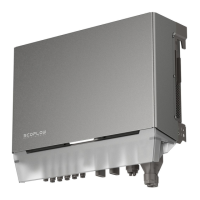
1. Set the BATTERY SWITCH on top of the Junction Box to ON
position.
2. Turn on the AC switch between the inverter and the power grid.
3. Set the PV SWITCH at the bottom of the inverter to ON position.
4. Observe the LED to check the inverter operating status.
1. Set the BATTERY SWITCH on top of the Junction Box to ON
position.
2. Turn on the AC switch between the inverter and the power grid.
3. Set the PV SWITCH at the bottom of the inverter to ON position.
4. After commissioning, press and hold for three seconds the
BATTERY ON/OFF button on top of the battery junction box.
5. Observe the LED to check the inverter operating status.
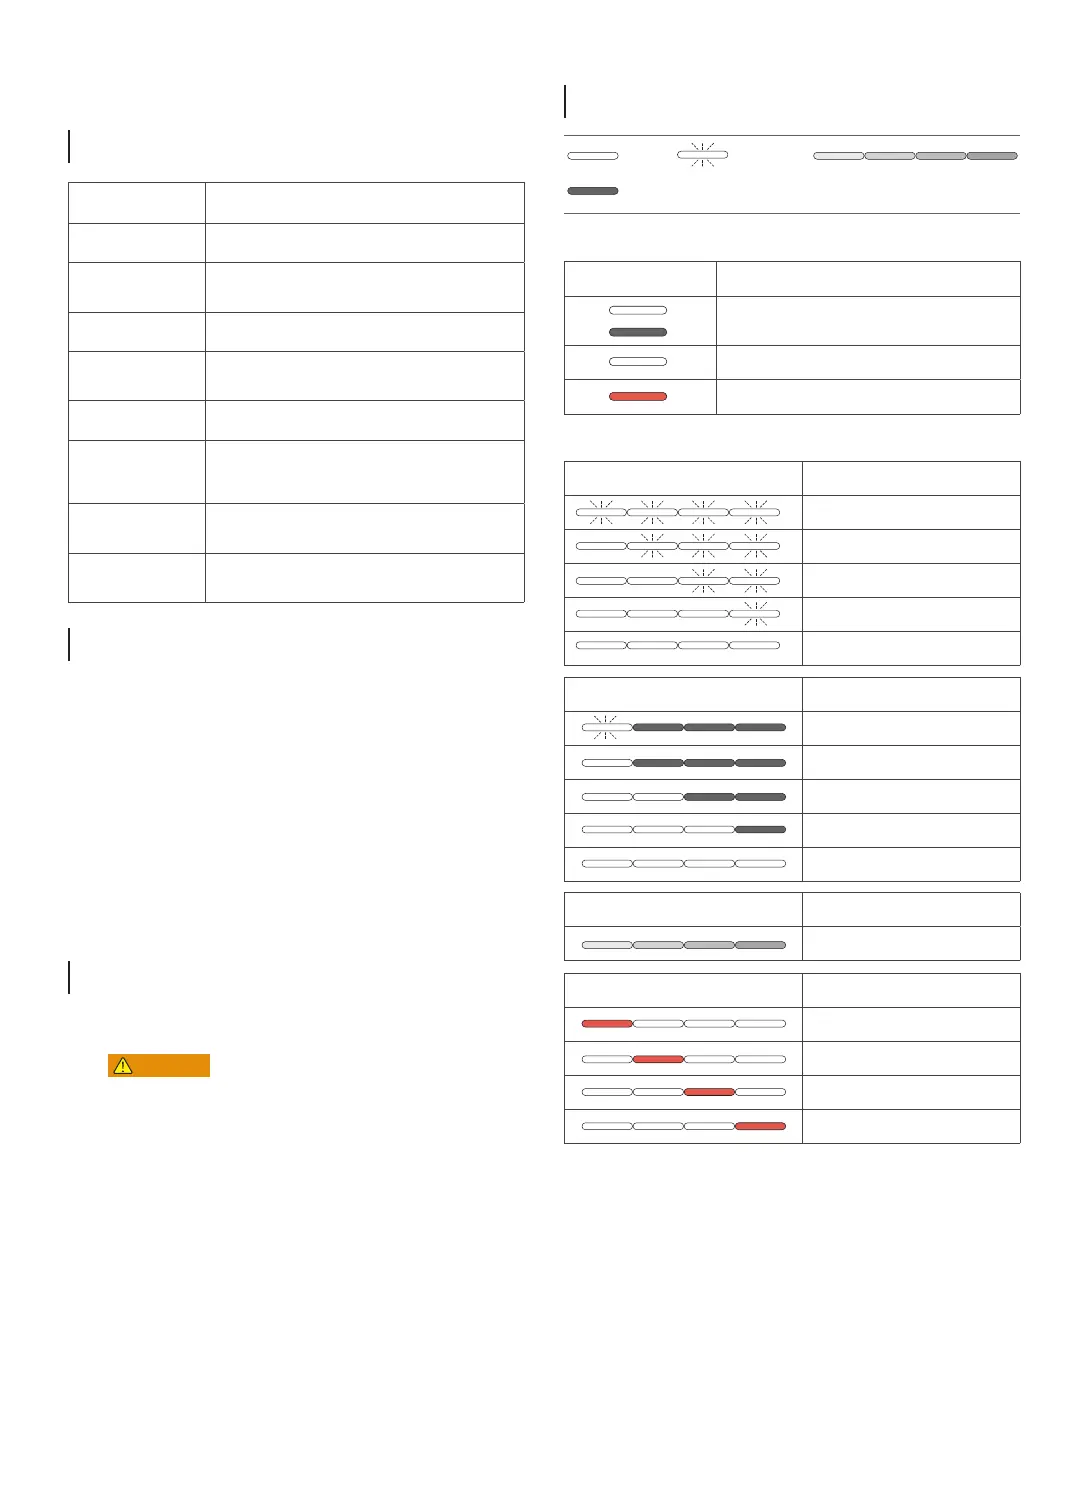
Over-the-air Updates Status Description
Over-the-air update is in progress
Discharge Status Description
<5%
5-25%
25-50%
50-75%
75-100%
Faulty Status Description
Electrical connection is faulty
Communication is faulty
Battery is faulty
Battery junction box is faulty
Charge Status Description
0-25%
25-50%
50-75%
75-99%
100%
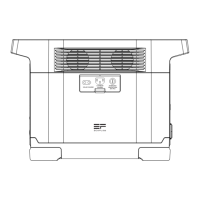
Status Description
Standby / Startup / Self-check / Over-the-air updates
/ Alarm, system is still operating
Operating in grid-tied/backup mode
EPO shutdown / Fault, system cannot work
on 1s
off 1s
Blinking
Carousel white
On
Off
Before installing, operating, and maintaining the equipment,
always disconnect it from all power.
• After the system powers off, the remaining electricity and heat may
still cause electric shocks and body burns. Therefore, put on protec-
tive gloves and begin operating the equipment five minutes after
the power-off.
1. Send a shutdown command on the App.
2. Turn off the AC switch between the inverter and the power grid.
3. Set the PV SWITCH at the bottom of the inverter to OFF
position.
4. (Optional) Press and hold the button on the PV SWITCH to
reveal the lock hole and lock it up to prevent accidental startup.
The lock is prepared by the customer.
5. Set the BATTERY SWITCH on top of the Junction Box to OFF
position.
6. (Optional) Press and hold the button on the BATTERY SWITCH
to reveal the lock hole and lock it up to prevent accidental start-
up. The lock is prepared by the customer.
7. Press and hold the BATTERY ON/OFF button of the junction box
for 10 seconds, until the indicator is off.
8. Sequentially disconnect GRID cables, PV input cables, battery
cables, communication cables and all modules connecting to
the system.
System
Commissioning
Checking before
Power-On
LED
Indicators
System
Power-Off
System
Power-On
 Loading...