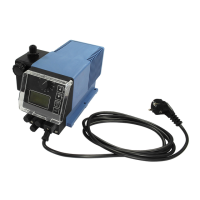
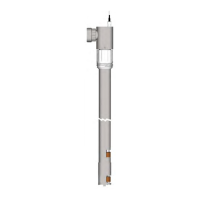
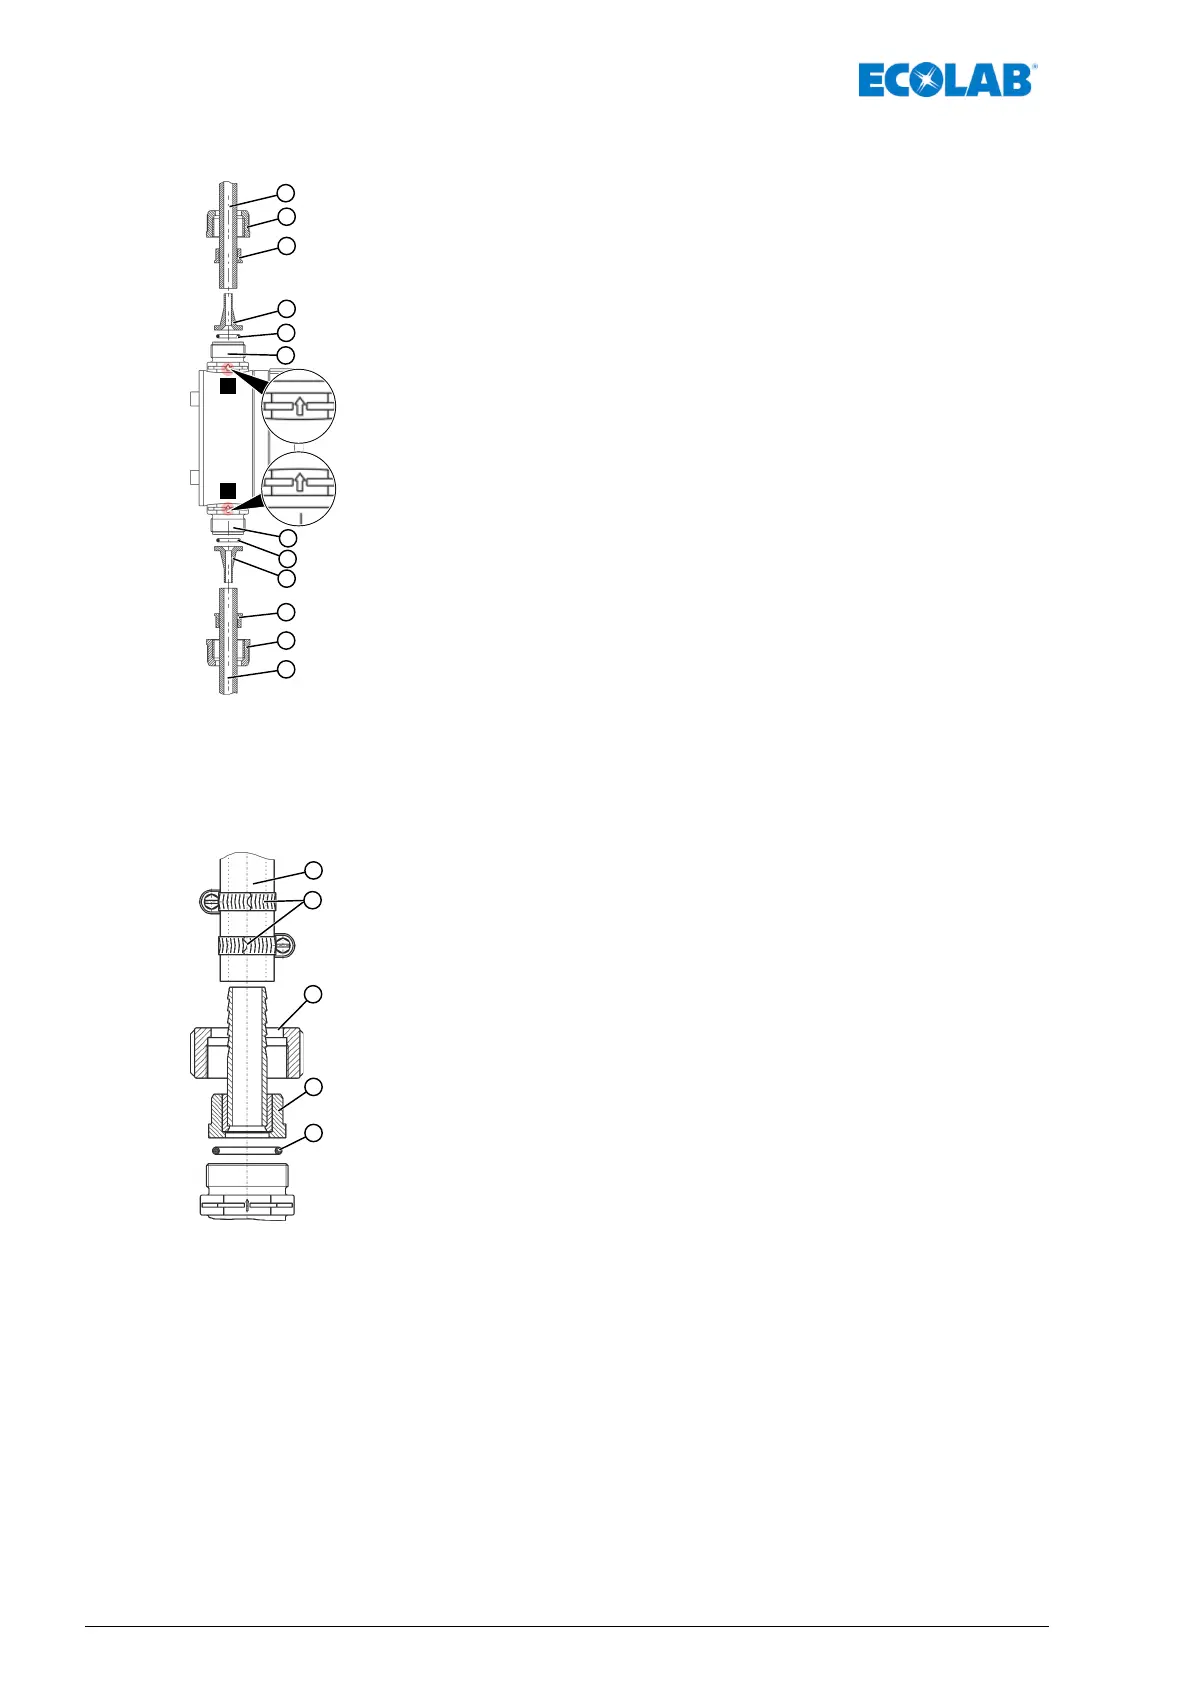
4.1.3 Hydraulic Connections - EMP III
1 Metering hole
2 Union nut
3 Clamping piece
4 Tapered part
5 O-ring
6 Pressure valve
7 Suction valve
P Pressure side
S Suction side
n Trim the hose to the precise length.
n Slide the union nut (pos. 2) and Clamping piece (pos. 3) over the hose and
attach the hose to the tapered part up to the stop collar (pos. 4).
n Insert the O-ring (pos. 5) into the valve groove and tighten the union nut.
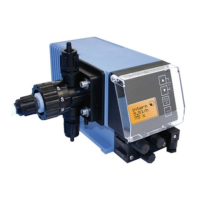
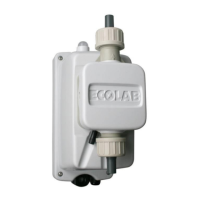
4.1.4 Hydraulic Connections - EMP IV
Hose connection
1 Hose
2 Hose clamp
3 Union nut
4 Hose nipple with insertion part (welded)
5 O-ring
n Trim the hose (pos. 1) to the precise length.
n Place O-ring (pos. 5) into groove of suction/pressure valve.
n Tighten up hose nipple (pos. 4) with union nut (pos. 3).
n Push hose clamp (pos. 2) over hose. (2 pieces recommended).
n Push hose over hose nipple (here, it can be necessary to pre-heat the hose in
hot water).
n Tighten up hose clamps.
Device installation
12MAN033535 Rev. 06-04.2020
 Loading...