EasyManua.ls Logo

Ecolab Nalco Water STORM - User Manual

Ecolab Nalco Water STORM
33 pages
Print Icon
To Next Page IconTo Next Page
Loading...
Settling Rate Monitor
Installation, Operation & Maintenance Manual
By:
Nalco Water
Engineering & Project Development
February 2020
Nalco Reference No: ESTDS-STORM-IOM
Revision
Date
Comment
Prepared
Checked
Approved
K
20/02/2020
SC
DM
DM

Questions and Answers

  • D
    David CunninghamJul 26, 2025
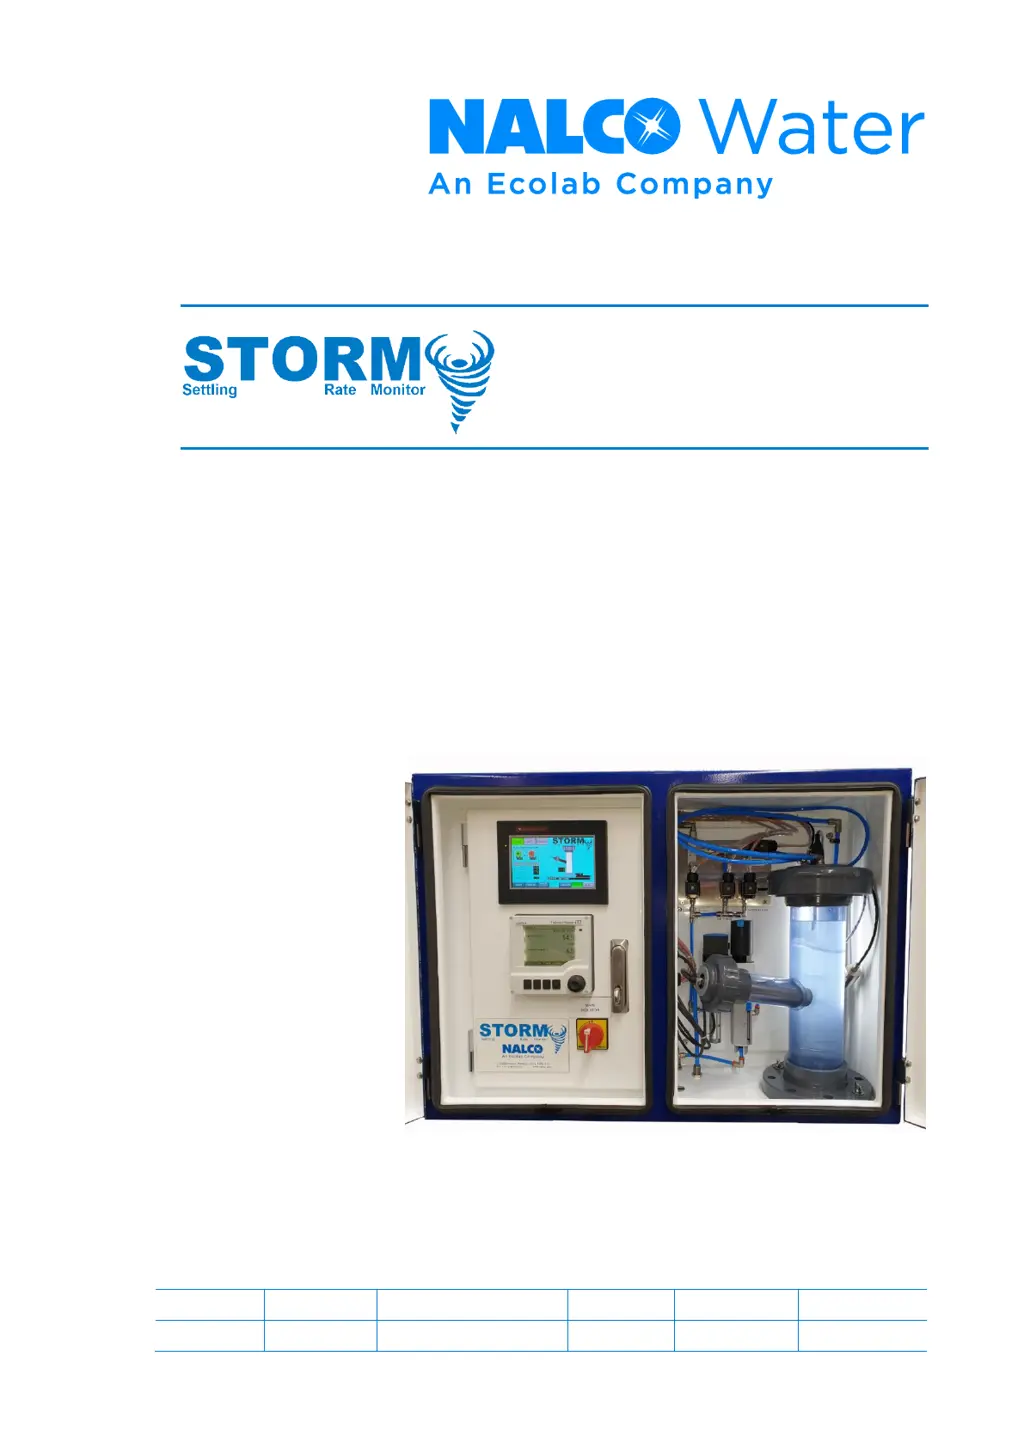
    What to do if the settle timer does not record on Ecolab Nalco Water STORM?
    • A
      Abigail GutierrezJul 26, 2025
      If the settle timer on your Ecolab Measuring Instruments isn't recording, it could be due to a few reasons. First, there might be an issue with the flocculant system. This could involve pump failure, problems with the flocculant makeup, or a line blockage. To address this, check the flocculant system operation, dosing pump operation, and test flocculant solution samples. Another potential cause is a fouled turbidity instrument. Try removing the instrument and cleaning it.
  • J
    Jeremy CookeAug 5, 2025
    Why sample level will not hold in cylinder in Ecolab Measuring Instruments?
    • R
      Raymond BurgessAug 5, 2025
      If the sample level isn't holding in the cylinder of your Ecolab Measuring Instruments, there are several things you can check. Start by inspecting the settling cylinder for air leaks, making sure the top union and instrument unions are tight and that the union O-rings are installed. Also, ensure the turbidity instrument connection is airtight; if it feels loose, apply thread tape and reinstall it. Next, verify the sample line camlock is connected firmly and squarely. Finally, check the camlock female connection O-ring and replace it if it's worn or missing.
  • I
    icruzNov 14, 2025
    How to troubleshoot sample not drawing into settling cylinder in Ecolab Nalco Water STORM Measuring Instruments?
    • J
      jacksteeleNov 14, 2025
      If the sample isn't drawing into the settling cylinder of your Ecolab Measuring Instruments, begin by checking that the air line isolator is open. It's part of the filter/regulator unit. Next, verify the air pressure on the regulator; it should be at 6 bar. Insufficient pressure can weaken the vacuum needed to draw the sample. Ensure all airline push-fit connections are firmly screwed into the top cap of the settling cylinder and that air hoses are completely pushed into these connections. Inspect the settling cylinder for air leaks, ensuring the top union and instrument unions are tight and that union O-rings are installed. Confirm the turbidity instrument connection is airtight; apply thread tape and reinstall if it feels loose. Check that the sample line camlock is connected firmly and ...

Summary

1 INTRODUCTION

1.1 Design Features

Details the design and build of the Nalco STORM21Settling Rate Monitor to meet international standards.

2 SAFETY

3 SCOPE

3.1 Equipment Specification

Lists the technical specifications for the STORM21Settling Rate Monitor cabinet and components.

4 INSTALLATION

4.1 STORM Panel Location

Provides guidance on where to install the STORM21unit on the thickener bridge.

4.2 Sample Hose Location

Describes the ideal positioning for the sample point in the thickener.

4 INSTALLATION

4.3 Site Services

Details the required power, water, and air services for the STORM21unit.

4.4 Electrical Terminations

Explains the different input voltage ranges and their corresponding power terminations.

4 INSTALLATION

4.4.2 Control & Status Signals

Outlines the status and control signals for connecting the STORM21to site control systems.

4 INSTALLATION

4.5 Commissioning Checklist

A step-by-step checklist for commissioning the STORM21unit, covering electrical, mechanical, and functional tests.

5 PRINCIPLE OF OPERATION

5.1 Description of Operation

Explains the STORM21system's function in controlling Flocculant and Coagulant dosing.

5.2 Settling Rate 21 Flocculant Dose Control

Details how turbidity monitoring controls flocculant addition based on settling rate.

5.3 Supernatant Turbidity 21 Coagulant Dose Control

Explains how supernatant turbidity is used to control coagulant addition.

5.4 Sampling Sequence

Outlines the step-by-step process of sample collection and analysis.

6 HMI OPERATION

6.1 Main (Home) Screen

Describes the default HMI screen, its layout, and displayed information.

6.1.1 Control Functions

Explains how to select operation modes (AUTO, OFF, MANUAL) and use other controls.

6 HMI OPERATION

6.1.2 Displayed Information

Details the parameters and graphical indicators shown on the HMI screen.

6.1.3 Navigation

Explains how to navigate between different screens using the HMI buttons.

6 HMI OPERATION

6.2 Flocculant Control Configuration Screen

Details the parameters for tuning the Flocculant Pump control loop.

6.2.1 Control Functions

Explains how to adjust tuning parameters for the Flocculant Pump control loop.

6 HMI OPERATION

6.3 Coagulant Control Configuration Screen

Details the parameters for tuning the Coagulant Pump control loop.

6.3.1 Control Functions

Explains how to adjust tuning parameters for the Coagulant Pump control loop.

6 HMI OPERATION

6.4 Sampling Sequence Configuration Screen

Allows modification of the sample sequence timings for various steps.

6.4.1 Control Functions

Explains how to adjust the timing parameters for each step in the sampling sequence.

6 HMI OPERATION

6.4.2 Navigation

Describes navigation options from the Sampling Sequence Configuration screen.

6 HMI OPERATION

6.5 System Configuration Screen

Used for scaling and tuning the 4-20mA signal from the turbidity probe.

6.5.1 Control Functions

Details scaling, ranging, and tuning of the turbidity probe's analogue signal.

6 HMI OPERATION

6.5.2 Displayed Information

Shows how raw and scaled turbidity readings are displayed.

6.5.3 Navigation

Describes navigation options from the System Configuration screen.

6 HMI OPERATION

6.6 Manual Control Screen

Allows individual energising of solenoid valves for testing in Manual mode.

6.6.1 Control Functions

Explains the function of each valve and the Sample Test button.

6 HMI OPERATION

6.7 Mode Select Screen

Allows selection of STORM system, Flocculant pump, and Coagulant pump modes.

6.7.1 Control Functions

Details how to select system and pump modes (AUTO, MANUAL, OFF).

6 HMI OPERATION

6.8 Quick Start Settings for Floc control

Provides quick start settings for Floc control, including initial setpoints and monitoring.

7 TROUBLESHOOTING

8 MAINTENANCE

8.1 Cleaning and Preventative Maintenance Intervals

Schedules for cleaning and preventative maintenance tasks for the system components.

8.2 Turbidity Instrument Removal

Step-by-step procedure for removing the turbidity instrument for cleaning or inspection.

8 MAINTENANCE

8.3 Settling Cylinder Removal and Re-installation

Details the procedure for removing and reinstalling the settling cylinder.

8.3.1 Settling Cylinder Removal Procedure

Specific steps for disconnecting components before removing the settling cylinder.

8 MAINTENANCE

8.3.2 Settling Cylinder Replacement

Steps for reassembling and reconnecting the settling cylinder after maintenance.

8 MAINTENANCE

8.4 Replacement parts

Lists available replacement parts with manufacturer/supplier and part numbers.

9 ELECTRICAL DRAWINGS

9 ELECTRICAL DRAWINGS

9 ELECTRICAL DRAWINGS

9 ELECTRICAL DRAWINGS

9 ELECTRICAL DRAWINGS

9 ELECTRICAL DRAWINGS

9 ELECTRICAL DRAWINGS

Ecolab Nalco Water STORM Specifications

General IconGeneral
BrandEcolab
ModelNalco Water STORM
CategoryMeasuring Instruments
LanguageEnglish

Related product manuals