Page 9
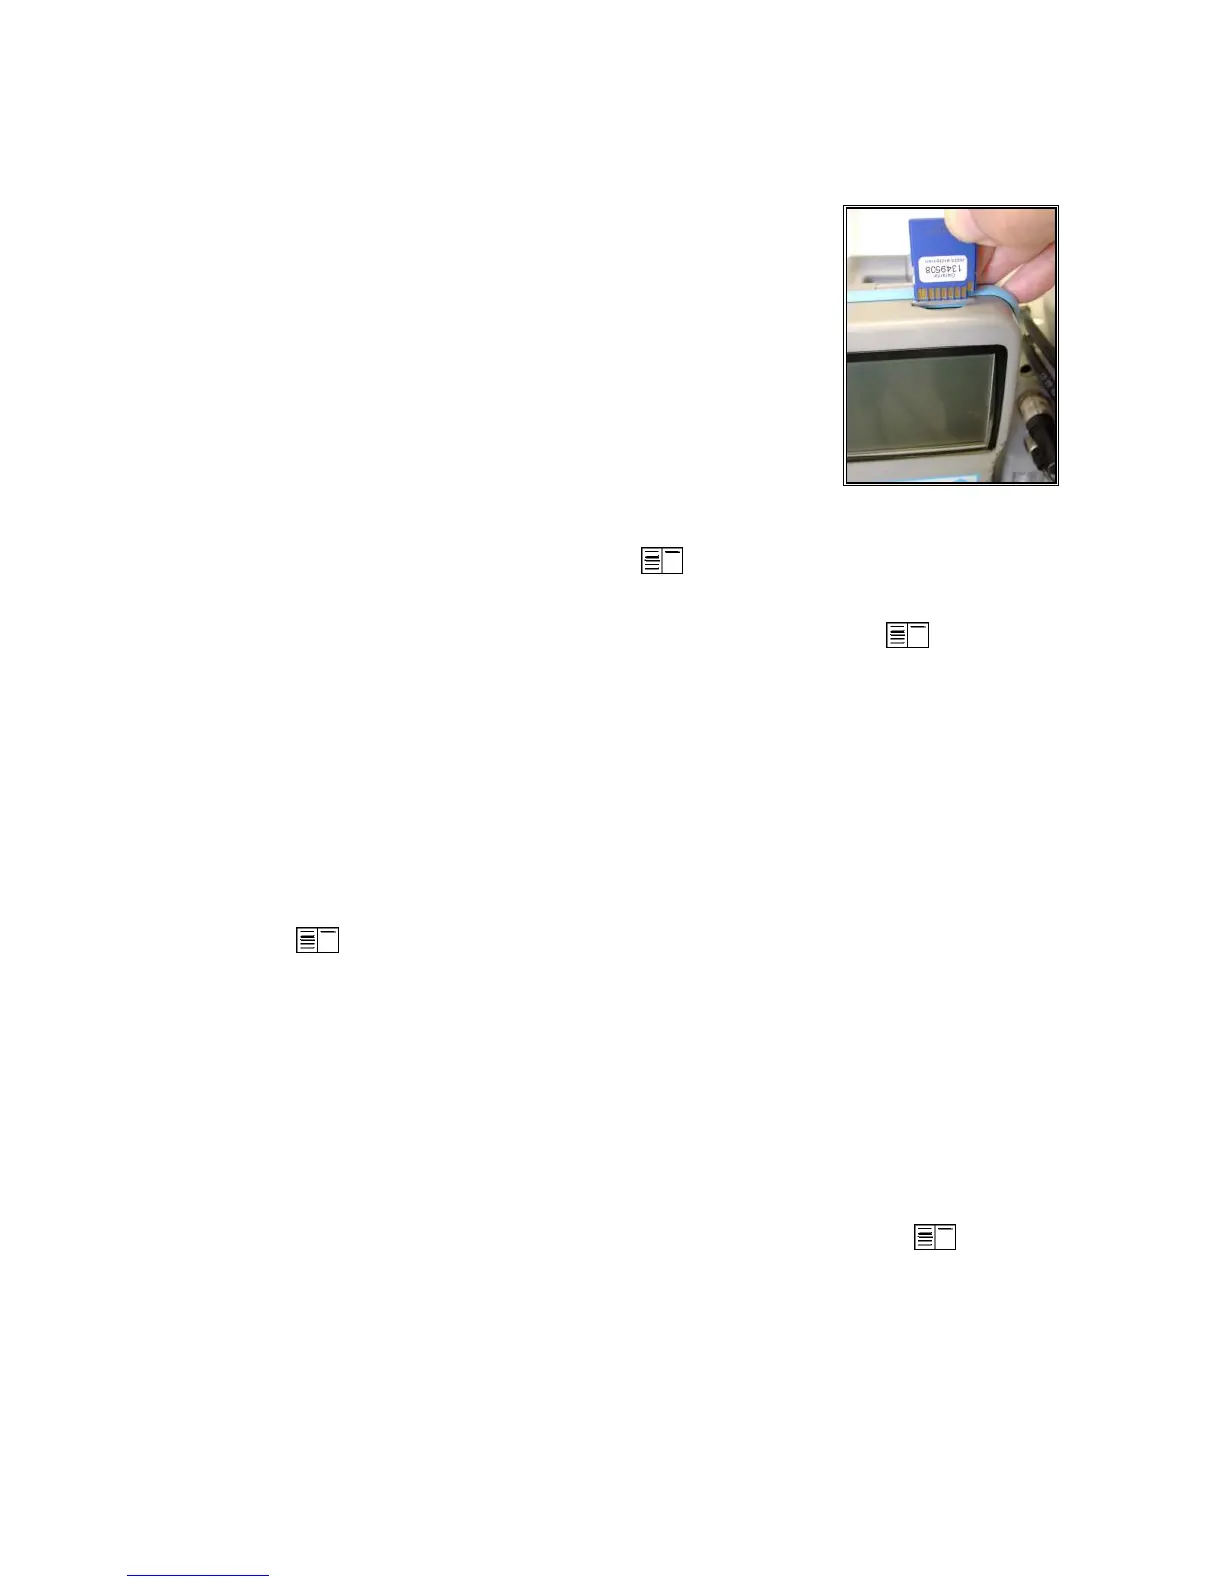
Capturing Data on Memory Card (2GB max)
Data Logging in Timed Intervals
1. Go to Automatic Meas. > Save to MM
Card. This is the time interval that each
data point is recorded to the memory card
(min. 1sec, max 255sec). Input desired
amount in seconds and press OK.
2. Select Datalogger > “Start dl? Are you
sure?” > Press F1
3. Analyzer is now in Datalogging mode. The
blinking disk in the top right corner indicates that the analyzer
is currently logging data. Press to return to the main menu
and select Gas Analysis to view real-time measurements.
4. To complete data logging and save the file, press to return
to the main menu, go to Automatic Meas. > Datalogger >
“Finish dl? Are you sure?” > Press F1.
OR
Capturing Data Snapshots On-Demand
1. Go to Automatic Meas. > Save to MM Card and input 255.
2. Select Datalogger > “Start dl? Are you sure?” -> Press F1
3. Press to return to the main menu and go to Gas Analysis
to view real-time measurements.
4. Press 5 (disk symbol). You will see an X over the disk icon
in the top right corner. This is normal and expected.
5. When you are ready to capture the first data point, press 5
(disk symbol), wait 2 seconds, and press 5 again. The
data point was captured during the 2 second interval.
6. Repeat step 5 for all desired data points.
7. To complete data collection and save the file, press to
return to the main menu, go to Automatic Meas., select
Datalogger -> “Finish dl? Are you sure?” -> Press F1.
Each data file will be saved separately as J2KDL-00, J2KDL-01, etc. Open in
Microsoft Excel. You can also import the data from the SD card into ECOM’s
free DAS 5 software to create formal reports.