Warning:
CO
2
can be dangerous! CO
2
cylinders contain high-pressured gas, which can be hazardous if handled improperly. Please handle with care.
1
2
3
4
5 6
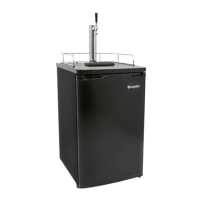
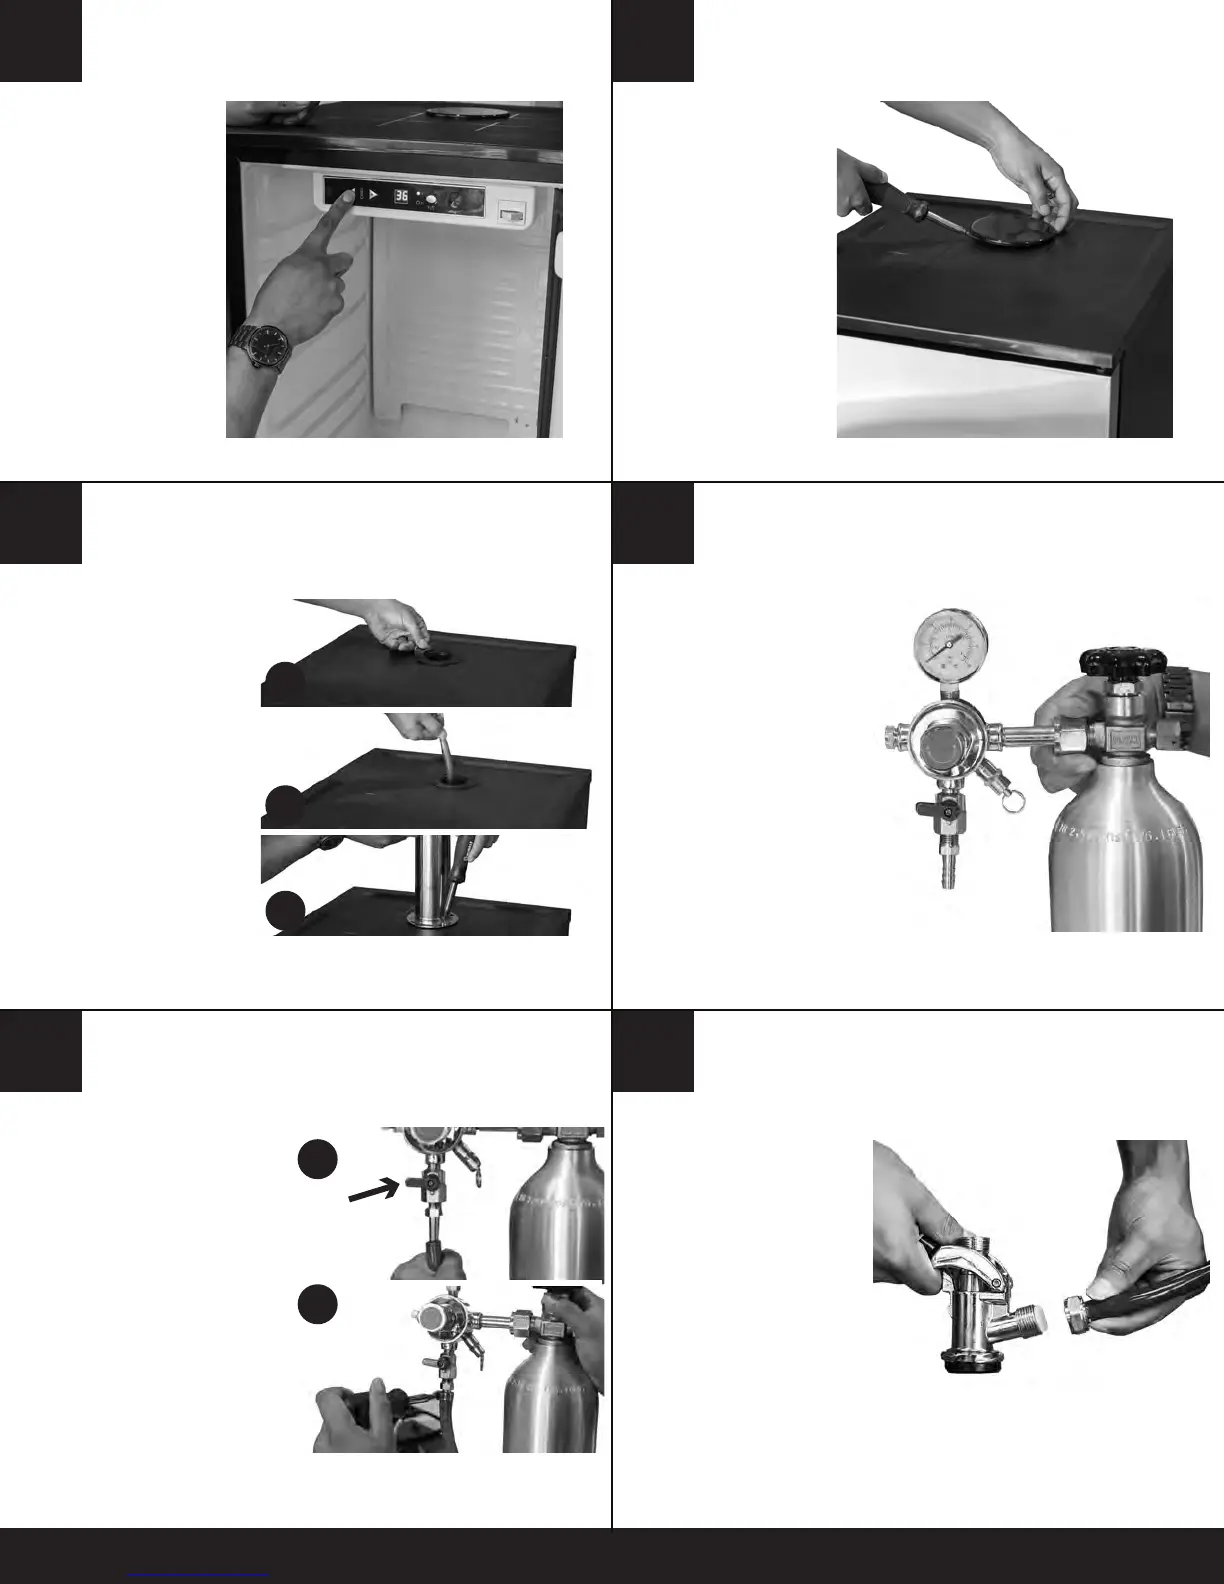
Ensure the power light is
on and set the thermostat
using the (+) and (-)
buttons to the desired
temperature. The
recommended
temperature setting is 36
degrees Fahrenheit.
NOTE: Temperature
settings can vary
depending on beer type,
ambient temperature and
preference. We do not
recommend plugging this
unit into an extension
cord.
Power On Remove Plug
Mount Tower Connect Regulator to CO
2
Cylinder
Attach CO
2
Tube to Coupler
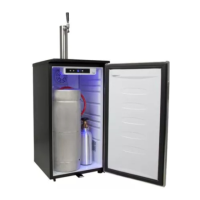
Carefully remove the
tower plug (#12)
located on the top of
the unit by opening the
cabinet, and with your
hand, push plug
through the top of the
cabinet from the inside.
Use flat head
screwdriver as a prying
tool if necessary.
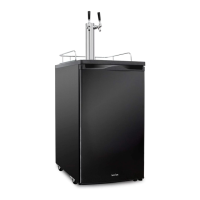
(A) Place the black rubber tower
gasket (#13) flat on the top of
the cabinet and line up the
pre-drilled holes.
(B) Unbox the tower (#2) and
unravel the beer line hose from
the bottom. Feed the clear beer
line (#9) through the large
opening at the top of the cabinet.
(C) Place the tower on top of the
unit and align the screw holes at
the bottom of the tower to the
pre-drilled holes located on the
top of the cabinet. Secure the
tower by attaching the four tower
screws (#14) with a phillips head
screwdriver to the top of the
cabinet. The faucet connection
for the tower should now face the
front of the cabinet. If the faucet
is not facing the front of the
cabinet, remove it and reinstall it
to the proper position. Screw the
black faucet handle (#1) onto the
faucet.
Before you start, make sure the
CO
2
cylinder (#6) is full and the
valve is closed completely by
turning the knob clockwise until
it stops. Attach the CO
2
regulator (#4) to the CO
2
cylinder by screwing the hex nut
on the right side of the regulator
onto the cylinder valve. Hand
tighten the nut until it stops and
then slightly tighten from there
with a wrench or pliers.
NOTE: A fiber washer is
normally required to connect a
regulator to a CO
2
cylinder, but
the standard regulator provided
includes a built-in o-ring. Once
that o-ring has worn out or leaks
it will need to be replaced.
Replacement parts can be found
at kegerator.com.
Remove the rubber protective
cap located on the side of the
keg coupler (#7). Secure the
hex nut at the end of the CO
2
tube (#5) to the side of the
coupler. Use a wrench to tighten
hex nut to the coupler.
* Do not remove or discard
the gray check valve located
on the side of the coupler.
This part prevents liquid
from going into the regulator
and also provides a seal
between the air line and
coupler.
Connect CO
2
Tube to Regulator
(A) Make sure the CO
2
regulator (#4)
shut off valve is closed by checking
that the lever below the main body is
perpendicular (9 o’clock) to the valve
barb fitting.
(B) Slide the metal hose clamp (#11)
over end of the CO2 tube (#5) that
does not have the hex nut fitting on
the end and attach that end of the
CO2 tube to the hose barb fitting at
the bottom of the regulator (#4).
Secure the tube by sliding up the
previously installed metal hose clamp
(#11) all the way up to where the
hose meets the regulator. Use a
flathead screwdriver to tighten. Make
sure the clamp does not impede the
valve.
A
B
C
A
B