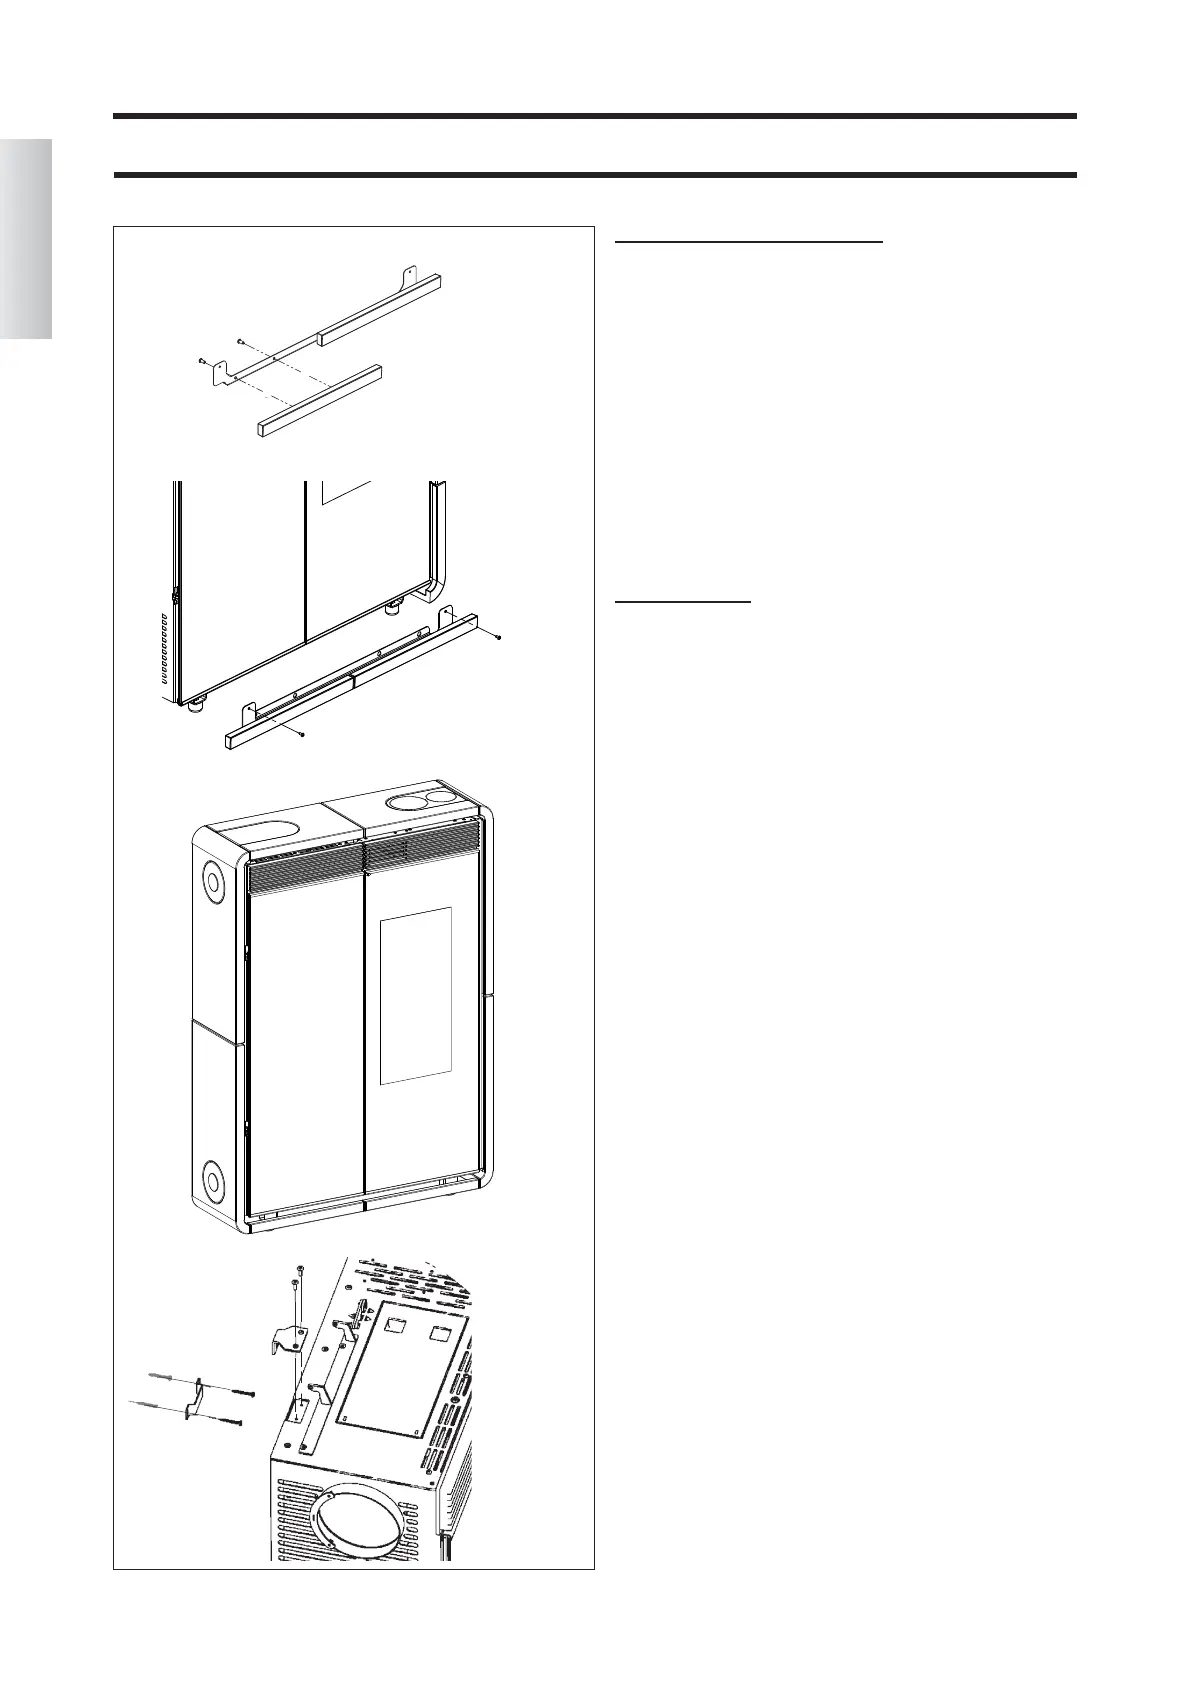
COVERING ASSEMBLY
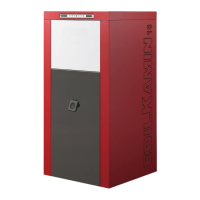
TINY
LOWER INSERT ASSEMBLY
Fig. 15
Fasten the two ceramic inserts (W) to the sheet metal sup-
port plate (Z) using the M4x8 screws.
Fig. 16
Fix the sheet metal support complete with the ceramic
inserts on the base of the stove using the self-tapping
screws supplied; the holes are accessible by opening the
two glass doors.
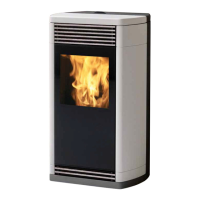
Fig. 17
The figure shows the completely assembled stove.
POSITIONING
Fig. 18
Secure the stove to the wall using the supplied brackets (A
and B) or, if necessary, an alternative system that will
ensure the stove's stability.
For proper operation, the stove must be level.
Check the load bearing capacity of the floor.
ENGLISH
38
Fig. 15
Fig. 16
(W)
(W)
(Z)
Fig. 17
Fig. 18
(a)
(b)
*
*