37
ENGLISH
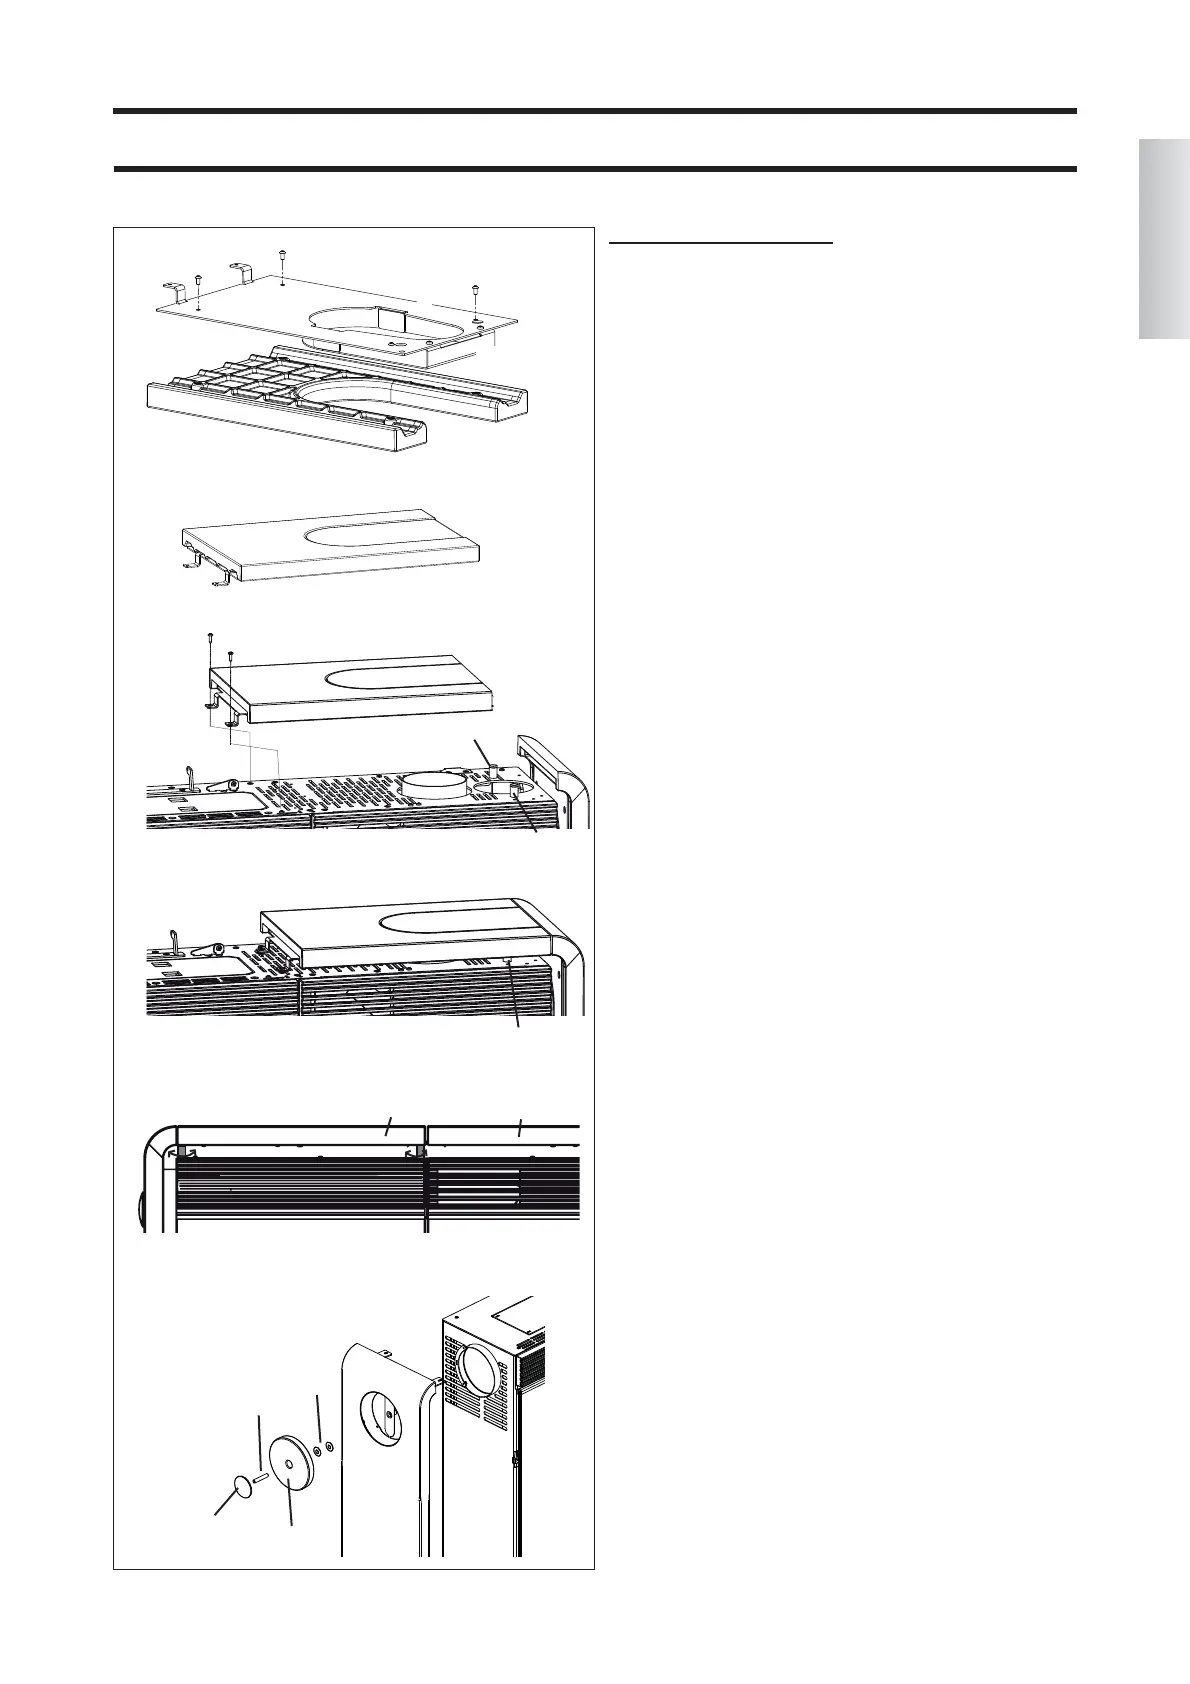
Fig. 9
Fig. 11
Fig. 13
(R)
(O)
(N)
(T)
(U)
Fig. 10
Fig. 12
(V)
(K)
(Y)
(X)
Fig. 14
(M)
(M)
(M)
(N+R+O)
(N+R+O)
*
*
*
*
*
*
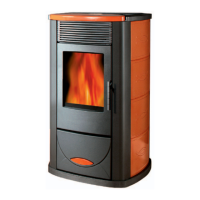
COVERING ASSEMBLY
TINY
RIGHT TOP ASSEMBLY
Fig. 9
The right top is composed of painted metal support (N),
and a painted closed lid (R) which are already assembled
together and also assembled to the stove, and to a ceramic
component (O).
(if the smoke outlet or the hot air duct are used with a top
outlet, the closed lid (R) should be replaced with the open
lid included in the accessories bag).
ATTENTION!!! Place the ceramic component (O) on
large enough surface and place a cloth or similar item
under it to prevent scratching.
Remove the metal support (N) complete with lid (R) from
the stove and secure it with the 4 M4 x8 screws (*) to the
ceramic component (O).
Fig. 10
Turn over the ceramic and support assembly (components
N, R, O) as shown in the figure.
Fig. 11
Secure the three components (N, R, O) to the stove (in the
same starting position) using the two self-tapping screws
(*) removed earlier.
Fig. 12/13
Use the 4 pins (M) under the LT and RT tops to align the
two ceramic components, right semi-top (U) and left semi-
top (T).
Fig. 14
Screw the metallic boss (Y) to the threaded bracket (V).
Insert all of it in the ceramic cover (X); Place everything
into the ceramic lid (X); complete by inserting two spacers
(K) Ø 40 with hole Ø 8.
Screw the unit to the side of the stove.
TINY